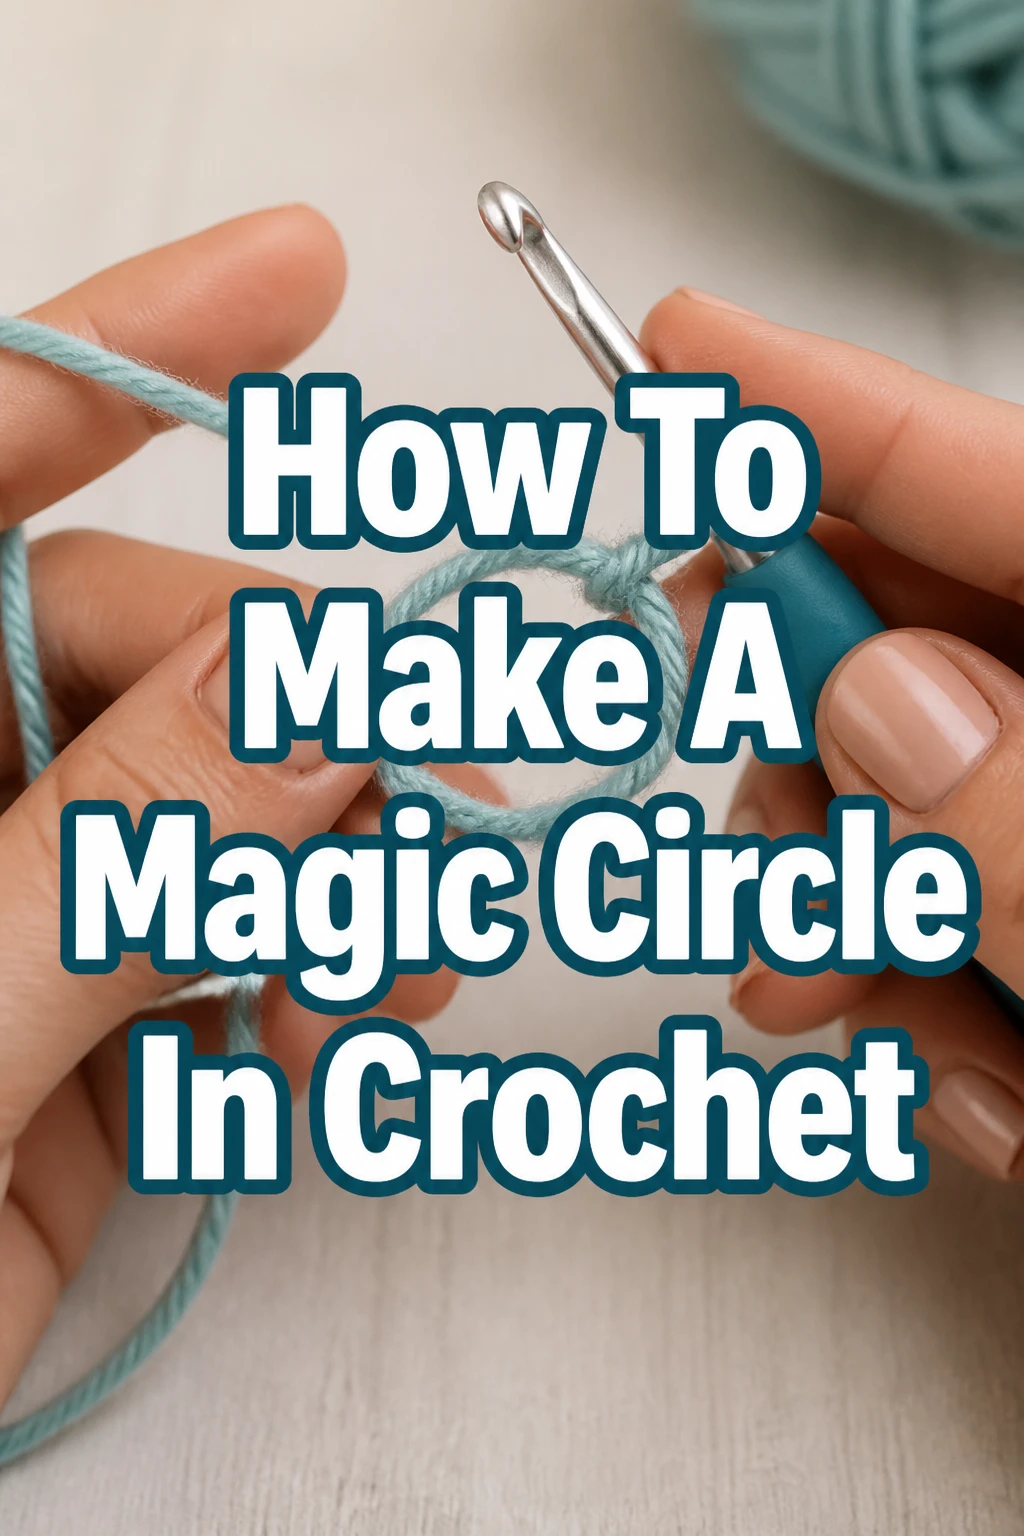
How To Make A Magic Circle In Crochet
Learning new crochet techniques can feel a little intimidating at first.
I remember when I first tried to master the magic circle; it seemed impossible to get it just right.
This guide comes from countless hours of practice and will help you create perfect, seamless starting points for all your round projects.
Quick Overview
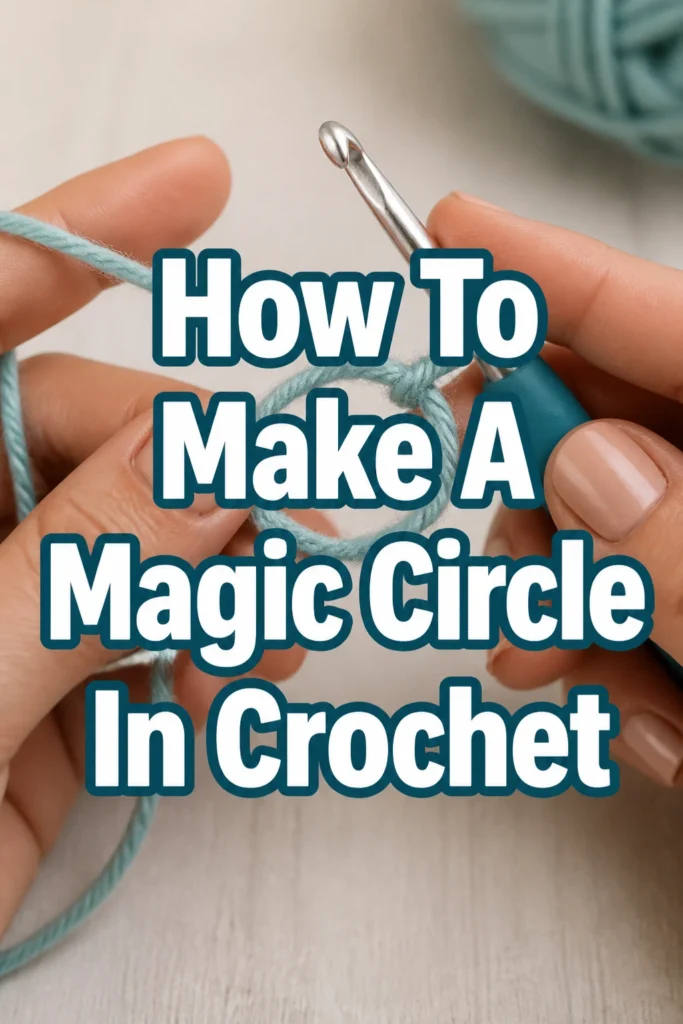
The magic circle, also known as the magic ring or adjustable ring, creates a tight, closed center for your crochet projects. This technique is essential for items like amigurumi, hats, and granny squares, preventing a hole from forming in the middle. You’ll master it quickly with clear steps.
- Time needed: 10-15 minutes for your first attempt, much faster with practice
- Difficulty: Beginner
- What you’ll need: Yarn, crochet hook, scissors
Step-by-Step Instructions
Step 1: Get Ready to Start
Before you begin, gather your materials. Choose a yarn and a crochet hook that match its recommended size.
Holding your yarn and hook comfortably will make the process smoother.
Step 2: Create Your Yarn Loop
Take the tail end of your yarn and drape it over the palm of your non-dominant hand. Hold the working yarn (coming from the ball) with your index and middle fingers.
Wrap the working yarn around these two fingers once, forming a loop. The yarn tail should hang down, and the working yarn should cross over the tail, making an “X” shape on your palm.
Pro Tip: Don’t wrap the yarn too tightly around your fingers. You need to be able to slide your hook underneath it easily. A relaxed grip helps maintain tension.
Step 3: Insert Your Hook
Insert your crochet hook underneath the first strand of yarn on your fingers. This is the strand closest to your palm.
Then, catch the second strand of yarn (the one forming the “X”) with your hook.
Step 4: Pull Up a Loop
Carefully pull the second strand of yarn through the first strand on your fingers. You now have one loop on your hook.
Gently twist your hook counter-clockwise to secure this loop, ensuring it doesn’t slip off.
Step 5: Chain One to Secure
Yarn over your hook. This means wrapping the working yarn around your hook from back to front.
Pull this yarn through the loop already on your hook. This creates a chain stitch, which locks your magic circle in place.
Pro Tip: This initial chain stitch doesn’t usually count as your first stitch unless your pattern specifically states otherwise. It simply secures the loop.
Step 6: Work Your First Stitches into the Ring
Now you’re ready to make your first stitches into the magic circle. For most patterns, you’ll start with single crochet stitches.
Insert your hook into the large yarn loop you created around your fingers, not into the small chain stitch you just made. Yarn over, pull up a loop.
Yarn over again and pull through both loops on your hook. This completes one single crochet stitch.
Continue making the required number of stitches (e.g., 6 single crochet) into the large loop, always going under both strands that form the initial ring on your fingers.
Step 7: Close the Circle
Once you’ve made all your stitches, you’ll have a series of stitches sitting on your large yarn loop.
Find the yarn tail you left hanging at the beginning. Gently but firmly pull this tail.
Watch as the center of your circle cinches closed, gathering all your stitches tightly together. This creates that characteristic “magic” effect with no hole.
Pro Tip: Don’t yank the tail too hard initially. Pull it steadily until the center is closed. If it feels stuck, check that your stitches aren’t too tight around the original loop.
Step 8: Join and Continue
After closing the circle, you’ll typically join your first and last stitches to complete the round. Insert your hook into the top of the very first stitch you made (not the securing chain).
Make a slip stitch to join: yarn over and pull through both the stitch and the loop on your hook. Your magic circle is now complete and ready for the next round of your project.
Common Mistakes to Avoid
Pulling the Wrong Yarn Tail
When you have your initial loop and the yarn tail hanging, it’s easy to accidentally pull the working yarn instead of the tail. This will not close your circle; it will just unravel your stitches. Always make sure you are pulling the short tail that was at the very beginning of your loop.
Making Stitches Too Tight
If your stitches are too tight when working into the magic circle, you might find it difficult to pull the tail to close the ring. Work your stitches with a relaxed tension, allowing them to slide a little on the initial loop. This makes cinching the circle much smoother.
Not Securing the Initial Loop
Skipping the initial chain stitch after pulling up your first loop can lead to an unstable magic circle. Without that securing chain, your loop might unravel or loosen prematurely, making it harder to work your stitches into it. Always make that first chain to lock everything in place.
Forgetting to Count Stitches
It’s common to lose count of your stitches when working into the magic circle, especially for beginners. If you have too few or too many stitches, your project won’t lay flat or will be the wrong size. Use a stitch marker in your first stitch to help keep track, and count carefully before closing the circle.
Troubleshooting
My Circle Won’t Close
If you’ve pulled the yarn tail and the circle isn’t closing, first check that you’re pulling the correct tail. If you are, your stitches might be too tight. Try to gently loosen them slightly with your hook or fingers. Sometimes, an inconsistent tension during stitch creation can prevent a smooth closure.
There’s Still a Hole in the Center
A small hole can remain if the yarn tail wasn’t pulled tight enough, or if the yarn itself is very thick and stiff. Give the tail another firm tug. If it still won’t completely close, it might be due to a very loose initial loop or stitches that are too bulky for the yarn weight. For future attempts, try making your initial loop slightly smaller.
My Stitches Keep Coming Undone
If your stitches are unraveling as you work, it’s likely that your initial securing chain wasn’t made or was too loose. Ensure you make that first chain stitch firmly after pulling up the initial loop. Also, check your overall tension; very loose stitches can easily come undone.
Key Takeaways
- The magic circle creates a perfectly tight, seamless center for round crochet projects.
- Always begin by wrapping the yarn around your fingers to form a secure loop.
- A single chain stitch secures the initial loop before you start making your main stitches.
- Work all your first-round stitches directly into the large yarn loop, not into the securing chain.
- Pulling the yarn tail firmly cinches the center closed, creating the “magic” effect.
- Practice makes perfect; don’t get discouraged if your first few attempts aren’t flawless.
Frequently Asked Questions
Why use a magic circle instead of chaining and joining?
The magic circle creates a much tighter, more seamless center than chaining and joining. When you chain and join, a small hole often remains in the middle, which isn’t ideal for projects like amigurumi where you want a very neat, closed starting point.
Can I make a magic circle with any type of yarn?
Yes, you can make a magic circle with virtually any type of yarn, from fine lace weight to bulky. The key is to adjust your hook size accordingly and maintain a consistent tension. Some very slippery yarns might be a bit more challenging for beginners but are still doable.
What if my yarn tail breaks when I pull it?
If your yarn tail breaks, it usually means you’ve pulled it too hard or the yarn itself is fragile. To prevent this, pull the tail gently but firmly. If it does break, you’ll need to undo your stitches and start over, being more careful with the tension and the strength of the yarn.
Does the magic circle unravel easily?
Once properly closed and the subsequent rounds are worked, the magic circle is very secure and does not unravel easily. The tension of your stitches and the working of subsequent rounds lock it into place. You can also weave in the tail securely for extra peace of mind.
Our Top Recommended Finds
- Ergonomic Crochet Hook Set: A comfortable hook reduces hand strain, making long crafting sessions more enjoyable and helping maintain consistent tension.
- Stitch Markers: Essential for marking your first stitch in a round, preventing you from losing count, especially in the magic circle’s initial stages.
- Yarn Winder: Keeps your yarn neat and tangle-free, which is incredibly helpful when managing tails and working with various yarn weights.
Your Next Creative Journey Awaits
You’ve just learned a fundamental skill that will transform your crochet projects. The magic circle opens up a world of possibilities, from adorable stuffed animals to beautiful mandalas.
Don’t let this newfound knowledge sit idle. Grab your hook and yarn, and try making another magic circle right now. The more you practice, the more natural it will feel. Soon, you’ll be creating stunning pieces with perfectly neat centers.