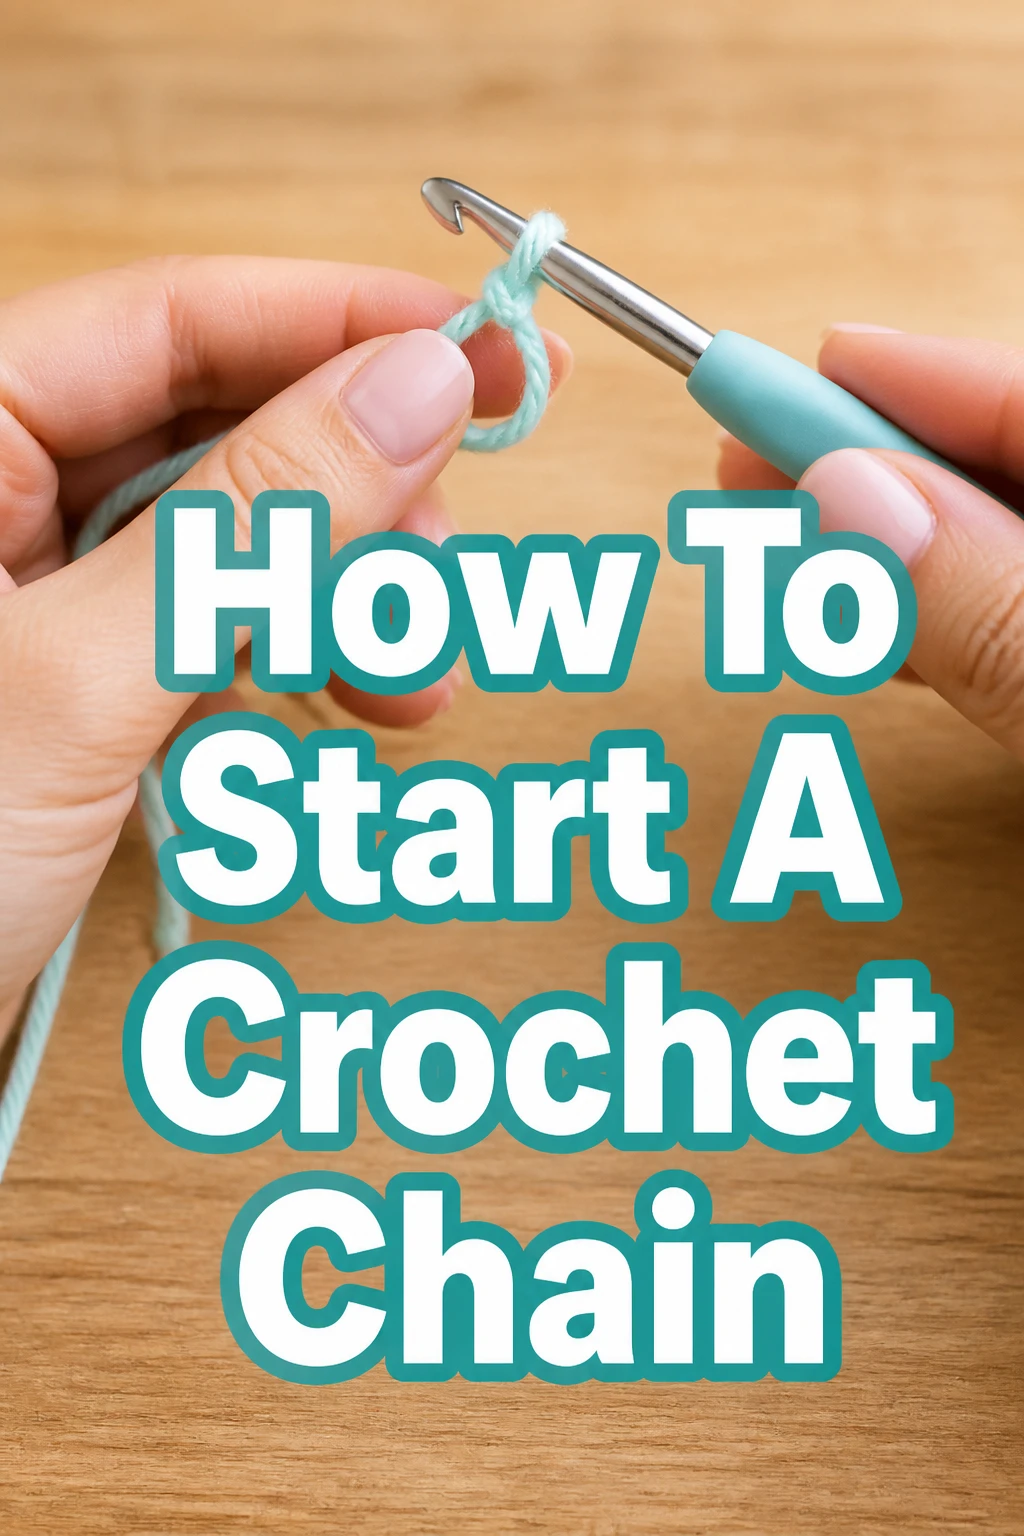
How To Start A Crochet Chain
Learning to crochet begins with a single, fundamental stitch: the chain. It’s the very first building block for almost every project you’ll ever make. I still remember the excitement, and slight confusion, of forming my first wobbly chain.
This guide will walk you through each movement. You’ll soon be creating neat, consistent chains with confidence. Trust me, it’s easier than it looks.
Quick Overview
Starting a crochet chain is the essential first step for any beginner. You’ll learn how to hold your hook and yarn, create a slip knot, and form your first stitches. This foundational skill opens the door to countless creative projects.
- Time needed: 10-15 minutes (to learn and practice)
- Difficulty: Beginner
- What you’ll need: A crochet hook, a ball of yarn, and a pair of scissors
Step-by-Step Instructions
Step 1: Gather Your Materials
Choose a medium-weight yarn, often labeled as “worsted” or “aran.” This type of yarn is easy to see and handle. Avoid very dark or fuzzy yarns for your first attempts.
Select a crochet hook that matches your yarn. Look at the yarn label for a recommended hook size, usually a letter or number (e.g., H/5mm, I/5.5mm). A slightly larger hook can sometimes make it easier to see your stitches as a beginner.
Step 2: Hold Your Hook
Grip the crochet hook comfortably, much like you would a pencil or a knife. There isn’t one “right” way, so experiment to find what feels natural. Your hand should be relaxed, not tense.
Ensure the hook’s head is facing towards you or slightly upwards. This position helps you catch the yarn effectively. A relaxed grip prevents hand fatigue during longer crafting sessions.
Step 3: Create a Slip Knot
Lay the end of your yarn (the “tail”) over the working yarn (the yarn coming from the ball). Form a loop, crossing the tail over the working yarn. The tail should be on top.
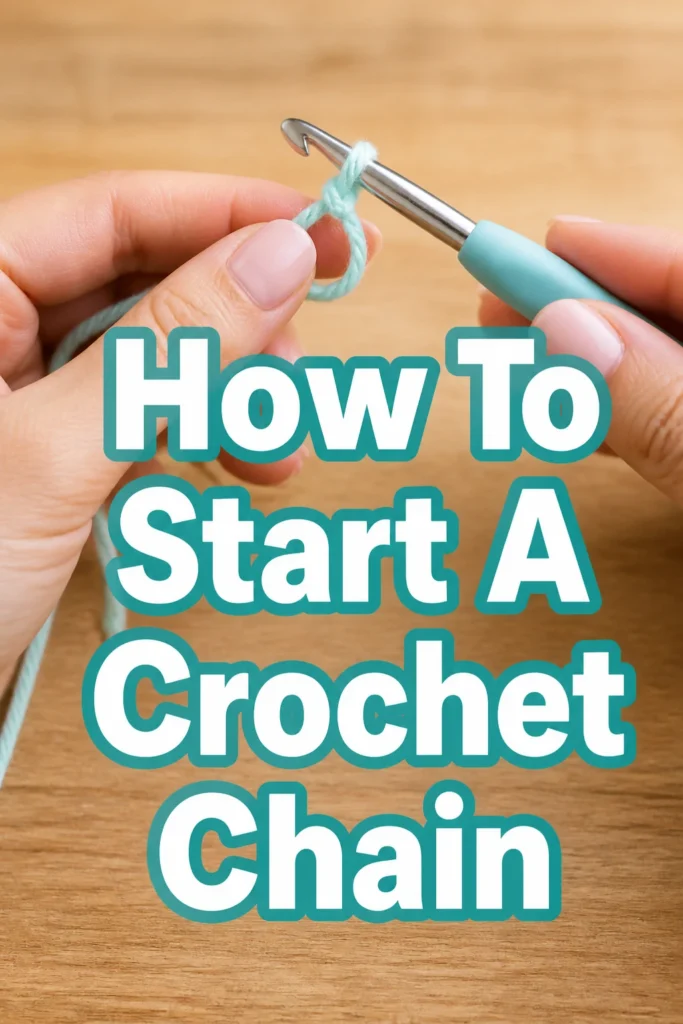
Insert your crochet hook into the center of this loop, from front to back. Catch the working yarn with your hook. This is the yarn connected to the ball.
Pull the working yarn through the loop you just made. A new loop will form on your hook. Gently tug on both the tail and the working yarn to tighten the knot around the hook, but don’t make it too tight.
Pro Tip: The slip knot should be snug enough to stay on the hook but loose enough to slide easily. If it’s too tight, you’ll struggle to pull yarn through it.
Step 4: Position the Yarn for Working
Drape the working yarn over the fingers of your non-hook hand. Many people wrap the yarn once around their pinky finger for tension, then over their ring and middle fingers, and under their index finger. This creates a smooth path for the yarn.
Experiment with different ways to hold the yarn. The goal is to maintain consistent tension, allowing the yarn to feed smoothly as you crochet. Your index finger will often act as a guide.
Step 5: Yarn Over (YO)
Bring your crochet hook under the working yarn. Then, scoop the yarn up and over the hook from back to front. The yarn should now be wrapped around your hook.
Ensure the yarn is caught securely by the hook’s head. This action is called “yarn over” and is fundamental to most crochet stitches. It creates the new loop you’ll pull through.
Step 6: Pull Through the Loop
Rotate your hook slightly downwards, so the hook’s head is facing away from you. This helps the hook glide through the slip knot without snagging. It’s a subtle but important movement.
Guide the hook, with the yarn-over caught, through the original loop (the slip knot) that was on your hook. Pull it all the way through. You have now made your first chain stitch!
Release the old loop from the hook as the new loop forms. There should now be only one loop remaining on your hook. This new loop is the basis for your next stitch.
Step 7: Repeat for More Chains
Repeat the “yarn over” (Step 5) and “pull through the loop” (Step 6) process. Each time you pull the yarn through, you create another chain stitch. You’ll see a series of V-shapes forming.
Maintain consistent tension as you work. This is key to creating an even and attractive chain. Practice will naturally improve your tension control.
Step 8: Count Your Chains
Look at your completed chain. Each “V” shape represents one chain stitch. The loop currently on your hook does not count as a stitch. Count the Vs starting from the stitch closest to your hook.
Practice counting regularly. This skill is vital for following patterns and ensures your projects are the correct size. Don’t worry if your first chains are a bit uneven; it’s all part of the learning process.
Step 9: Secure Your Work (Optional for Practice)
Cut the working yarn, leaving a tail of about 6 inches. Yarn over one last time with this tail. Pull the tail all the way through the loop remaining on your hook.
Pull the tail firmly to create a knot. This secures your chain and prevents it from unraveling. For practice swatches, this step isn’t strictly necessary but is good to know for finishing projects.
Step 10: Practice, Practice, Practice
Make long chains, then unravel them and start again. The more you practice, the more comfortable your hands will become with the movements. Repetition builds muscle memory.
Focus on making your stitches uniform in size. Don’t be afraid to pull out your work and restart. Every practice session makes your next project easier and more enjoyable.
Common Mistakes to Avoid
Too Tight Tension
When your stitches are too tight, it becomes very difficult to insert your hook into them for subsequent rows. This can lead to frustration and uneven fabric. Try to relax your grip on both the hook and the yarn, allowing the yarn to flow more freely through your fingers. Ensure your slip knot and initial chain stitches are not cinched too tightly around the hook.
Too Loose Tension
Conversely, if your tension is too loose, your chain stitches will look floppy and inconsistent. They might have large gaps, making it hard to identify where to place your next stitch. Try to wrap the yarn slightly more firmly around your tensioning fingers or use a slightly smaller hook. The goal is a uniform, even stitch that holds its shape.
Twisted Chain
As you work your chain, it’s easy for the entire strand to twist, especially if you’re not paying attention to the orientation of your V-shapes. A twisted chain can make it challenging to work into the correct side of the chain for your first row. Always keep the front of your V-shaped stitches facing you as you crochet, ensuring a flat foundation.
Incorrect Yarn Over
A common mistake for beginners is to yarn over from front to back, or to wrap the yarn around the hook multiple times unintentionally. This creates extra loops or an incorrect stitch structure. Always remember to bring your hook under the working yarn, then scoop up and over from back to front, creating a single wrap.
Troubleshooting
My chain keeps unraveling
This usually happens if you haven’t properly secured your chain, or if the slip knot wasn’t tight enough at the beginning. Make sure you pull the tail firmly after creating your initial slip knot. When finishing practice, always cut the yarn and pull the tail through the last loop to create a secure knot.
My hook gets stuck in the yarn
If your hook seems to snag or get caught, it might be due to a few reasons. Your tension might be too tight, making it hard to pull the yarn through the loop. Alternatively, you might be using a hook that is too small for your yarn, or the yarn itself might be splitting. Try relaxing your grip, or consider using a slightly larger hook or a smoother yarn.
My chain looks uneven and wobbly
Uneven stitches are perfectly normal for beginners. This is almost always a tension issue. Your hands are still learning to maintain consistent pressure on the yarn. Keep practicing, and consciously try to make each stitch the same size. Don’t be afraid to unravel and restart sections until you achieve a more uniform look.
Key Takeaways
- The slip knot is the essential starting point for your crochet journey.
- Consistent tension is crucial for creating even, attractive chains.
- “Yarn over” (YO) means wrapping the yarn from back to front over your hook.
- Each V-shape in your chain represents one completed stitch.
- Practice is the most effective way to improve your chain-making skills.
- Don’t be afraid to unravel and restart; it’s part of the learning process.
Frequently Asked Questions
What size hook and yarn should I use as a beginner?
For beginners, a medium-weight (worsted or aran) acrylic yarn paired with a corresponding hook size (typically H/5mm or I/5.5mm) is recommended. This combination is easy to see, doesn’t split easily, and is comfortable to handle.
How many chains do I need to make?
The number of chains you need depends entirely on your project. Patterns will always specify the starting chain count. For practice, simply make a chain long enough to feel comfortable with the motion, perhaps 20-30 stitches.
Can I use any type of yarn to start a chain?
While you can use any yarn, some are much easier for beginners. Avoid very thin, dark, fuzzy, or slippery yarns initially. Stick to lighter-colored, smooth, medium-weight yarns to clearly see your stitches.
Why is my chain curling up?
A chain that curls is often a sign of very tight tension. When stitches are pulled too taut, they naturally want to contract and curl. Try to loosen your grip, allow more slack in your yarn, and ensure your stitches are not cinched too tightly around the hook.
Our Top Recommended Finds
- Ergonomic Crochet Hook Set: A set with comfortable handles reduces hand strain and allows for longer, more enjoyable crocheting sessions.
- Beginner-Friendly Acrylic Yarn Pack: Choose a pack with several colors of smooth, medium-weight acrylic yarn. This provides variety for practice and future small projects.
- Small Yarn Snips/Scissors: A sharp, small pair of scissors is invaluable for cleanly cutting yarn tails and finishing your work.
Embark On Your Crocheting Adventure
You’ve just taken the crucial first step into the wonderful world of crochet. The humble chain stitch is the foundation of almost every project, from cozy blankets to intricate garments. Mastering it is a significant achievement.
Now that you can confidently create a chain, you’re ready to learn more. Consider trying your first row of single crochet or double crochet stitches. These build directly upon your newly formed chain. Grab your hook and yarn, and start creating something beautiful today!