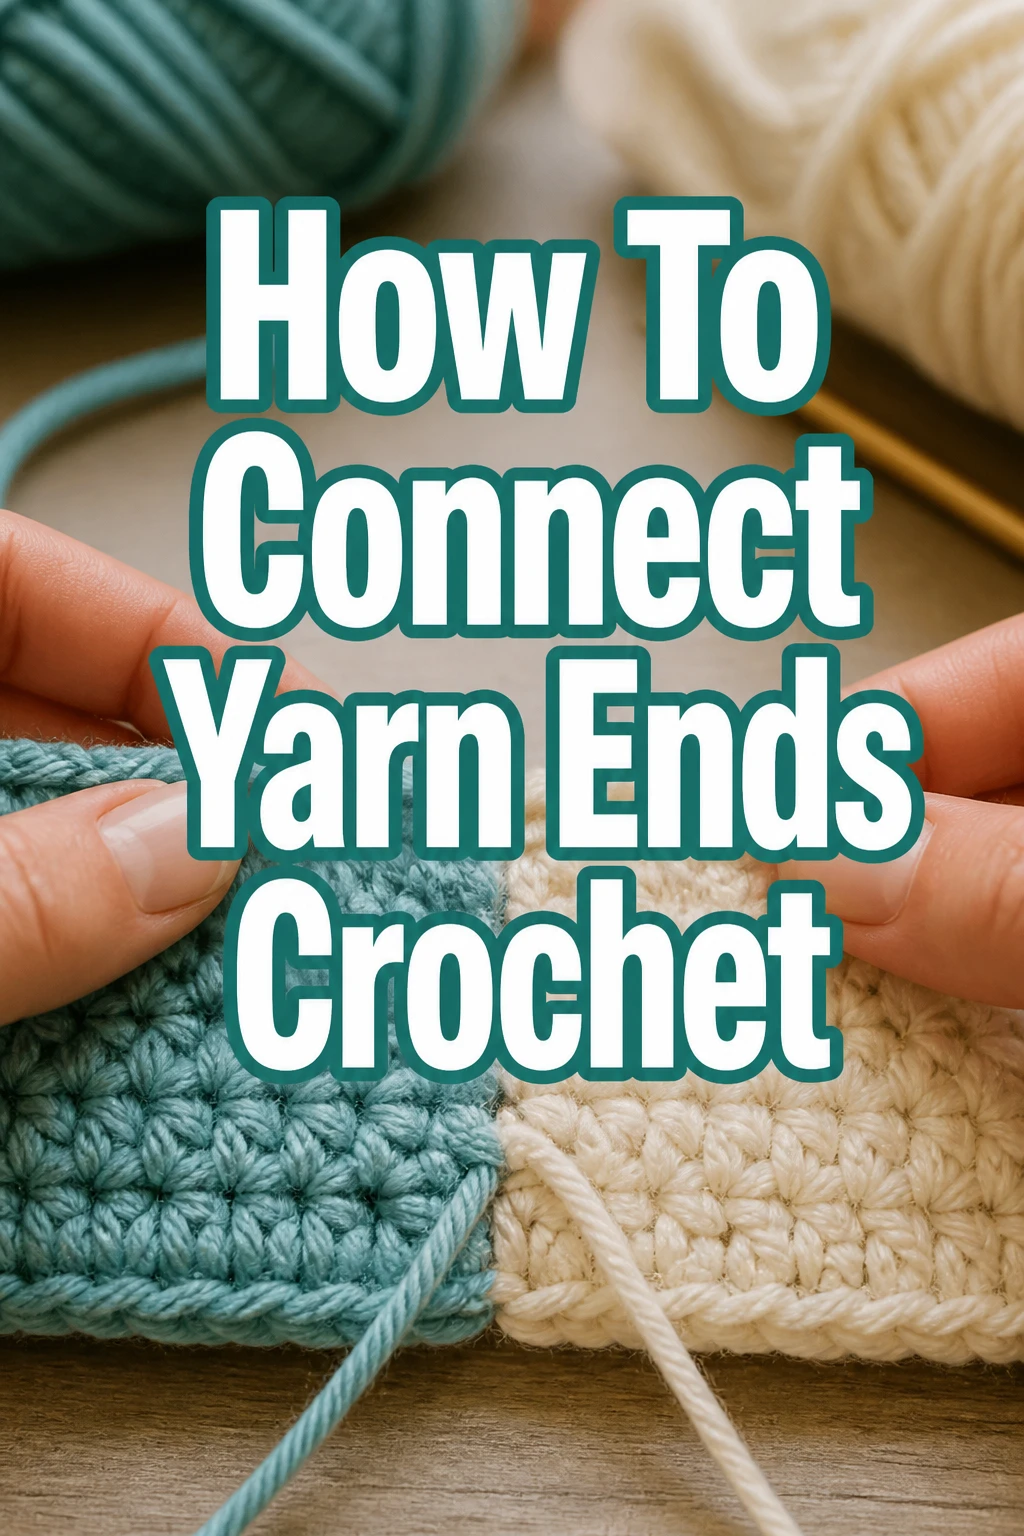
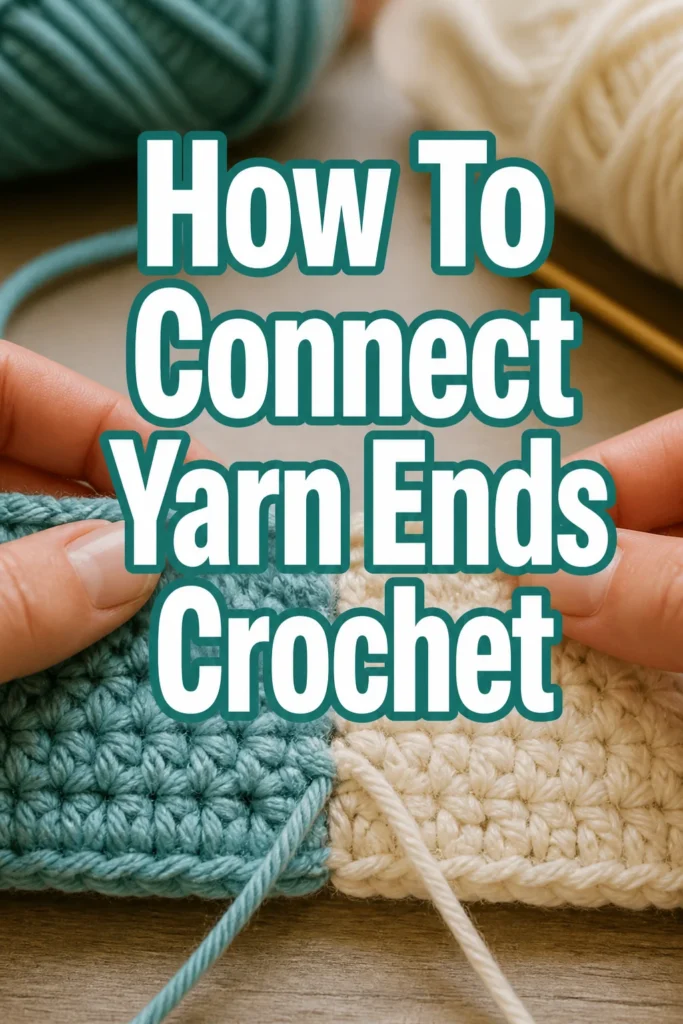
How To Connect Yarn Ends Crochet
Every crocheter knows the moment: you’re in a rhythm, your project is flowing, and suddenly, your yarn ball runs out.
Connecting a new skein smoothly and securely is a fundamental skill that transforms your work.
I’ve spent countless hours at the hook, perfecting these techniques to ensure my projects are seamless and durable, and I’m here to share what I’ve learned with you.
Quick Overview
This guide will teach you how to join new yarn ends to your crochet project cleanly and securely, making your transitions virtually invisible.
- Time needed: 5-10 minutes per join
- Difficulty: Beginner
- What you’ll need: Your crochet project, new yarn, scissors, tapestry needle (optional)
Step-by-Step Instructions
Step 1: Choose Your Joining Method
Before you begin, consider the best way to join your yarn. Different methods suit different projects and yarn types.
Today, we will focus on the Magic Knot, a super strong and neat method, along with a secure weave-in for finishing.
Step 2: Prepare Your Yarn Ends
Take the working end of your old yarn and the beginning end of your new yarn. You will be working with both simultaneously.
Ensure you have about 4-6 inches of tail on both the old and new yarn to make handling easier.
Step 3: Lay the Yarn Ends
Place the tail of your old yarn (the one currently attached to your project) parallel to the main strand of your new yarn.
Then, lay the tail of your new yarn parallel to the main strand of your old yarn.
Pro Tip: Overlap the tails by a few inches. This gives you enough space to tie the knots comfortably without them being too close to the project or too far apart.
Step 4: Tie the First Knot
Take the tail of the old yarn. Form a simple overhand knot around the main strand of the new yarn.
Make sure this knot is snug but not overly tight yet. It should be able to slide a little.
Position this knot a few inches from the end of the new yarn’s tail.
Step 5: Tie the Second Knot
Now, take the tail of the new yarn. Form another simple overhand knot around the main strand of the old yarn.
This knot should mirror the first one, but on the opposite side of the join.
Again, make it snug but not fully tightened just yet.
Step 6: Pull the Knots Together
Gently but firmly pull on the two main working strands of yarn (the one from your project and the one from the new skein).
You will see the two knots slide towards each other until they meet in the middle.
Pull until the knots are very tight and securely pressed against each other, forming a single, small knot.
Pro Tip: Give a good, firm tug on both working strands to ensure the knot is completely secure. This prevents it from unraveling later. Test its strength by trying to pull the ends apart.
Step 7: Trim the Excess Tails
Once your magic knot is fully tightened and secure, carefully trim the two small yarn tails very close to the knot itself.
Use sharp scissors for a clean cut. Be careful not to snip the main working yarn strands.
The beauty of the magic knot is that these trimmed ends won’t unravel, making it a very clean finish.
Step 8: Continue Crocheting
You now have a strong, nearly invisible join. Continue crocheting as normal with your new yarn.
The magic knot will integrate into your stitches, becoming part of the fabric.
It’s a fantastic method for projects where you want minimal bulk and maximum security, like blankets or garments.
Common Mistakes to Avoid
Not Tying Knots Securely Enough
A common pitfall is not pulling the magic knot tight enough. If the knots aren’t fully cinched, they can loosen over time or with washing.
Always give a firm, confident tug on the main yarn strands after the knots meet. This ensures a lasting, durable connection.
Trimming Tails Too Soon
Some crocheters trim the tails before fully tightening the knot. This can lead to the knot unraveling as you pull the main strands.
Always ensure the knot is completely secure and tested before reaching for your scissors. Patience here pays off in a strong join.
Using the Wrong Method for Yarn Type
While the magic knot is versatile, it works best with non-slippery yarns like acrylic, wool, or cotton. Very slick yarns, like silk or some superwash wools, might benefit from a different approach.
For slippery yarns, consider a Russian join or weaving in the ends extensively with a tapestry needle for extra security.
Joining in the Middle of a Visible Row
Ideally, try to join new yarn at the end of a row or round, or in a less conspicuous spot if possible.
While the magic knot is discreet, placing it in a less visible area minimizes any potential slight bulk or color variation.
Troubleshooting
Knot Feels Bulky
If your magic knot feels too bulky, it might be due to a very thick yarn or not trimming the tails close enough.
Ensure you’ve trimmed the excess tails as close as possible without cutting the main strands. For very chunky yarns, a Russian join or careful weaving might be preferred.
Yarn Tails Slip Out
If the trimmed tails slip out, it means the knot wasn’t tight enough, or the yarn is particularly slippery.
Re-tie the knot, ensuring you pull the main strands very firmly. For slippery yarns, try wetting the ends slightly before tying to create more friction, or opt for a different join method.
Color Change is Abrupt
Sometimes, even with a neat join, a sudden color change can look stark. This is natural for distinct color transitions.
To soften the transition, consider carrying the old color for a few stitches with the new color, or planning your joins to occur in less prominent areas of your work.
Key Takeaways
- The Magic Knot is an excellent, secure, and nearly invisible way to join new yarn.
- Always ensure both knots are pulled very tightly together before trimming any tails.
- Trim the excess yarn tails as close to the knot as possible for a neat finish.
- Consider your yarn type; the Magic Knot works best with non-slippery fibers.
- Practice makes perfect; don’t be discouraged if your first few joins aren’t flawless.
- Joining at the end of a row or in an inconspicuous spot can further enhance invisibility.
Frequently Asked Questions
Can I use the Magic Knot for all yarn types?
The Magic Knot is highly versatile and works well for most fibers like acrylic, wool, and cotton. However, very slick yarns such as silk, bamboo, or some superwash wools might benefit from other methods like the Russian Join or weaving in extensively, as they can sometimes slip.
Will the Magic Knot come undone in the wash?
When tied correctly and securely, the Magic Knot is very strong and durable. It should withstand regular washing and wear without coming undone. The key is to ensure it is pulled extremely tight during the joining process.
What if I don’t want to use a knot?
If you prefer to avoid knots entirely, methods like the Russian Join create a splice within the yarn itself, making it very smooth. Alternatively, you can always weave in both the old and new yarn tails extensively into your stitches using a tapestry needle, securing them over several inches.
How much yarn should I leave for tails when joining?
It’s generally recommended to leave about 4-6 inches (10-15 cm) of tail on both the old and new yarn ends. This gives you enough length to comfortably tie the knots and trim them without struggling, ensuring a secure connection.
Our Top Recommended Finds
- Sharp Yarn Scissors: A good pair of sharp, small scissors is invaluable for making clean cuts close to the knot without fraying the yarn. They ensure a professional finish.
- Blunt-Tip Tapestry Needles: Essential for weaving in any remaining small ends or for using alternative knot-free joining methods. The blunt tip prevents splitting your yarn.
- Yarn Ball Winder: While not directly for joining, a winder helps manage your yarn, preventing tangles and making it easier to find the ends when you need to connect new skeins.
Embrace Your Crochet Journey
Mastering yarn joins is a significant step in your crocheting adventure. It boosts your confidence and allows you to tackle larger, more intricate projects with ease.
No longer will running out of yarn be a frustrating roadblock, but a simple, seamless transition.
Now that you know how to connect yarn ends, consider exploring colorwork projects, where frequent joins are common, or even tackle a large, multi-skein blanket.
Pick up your hook, grab some yarn, and start creating something beautiful today.