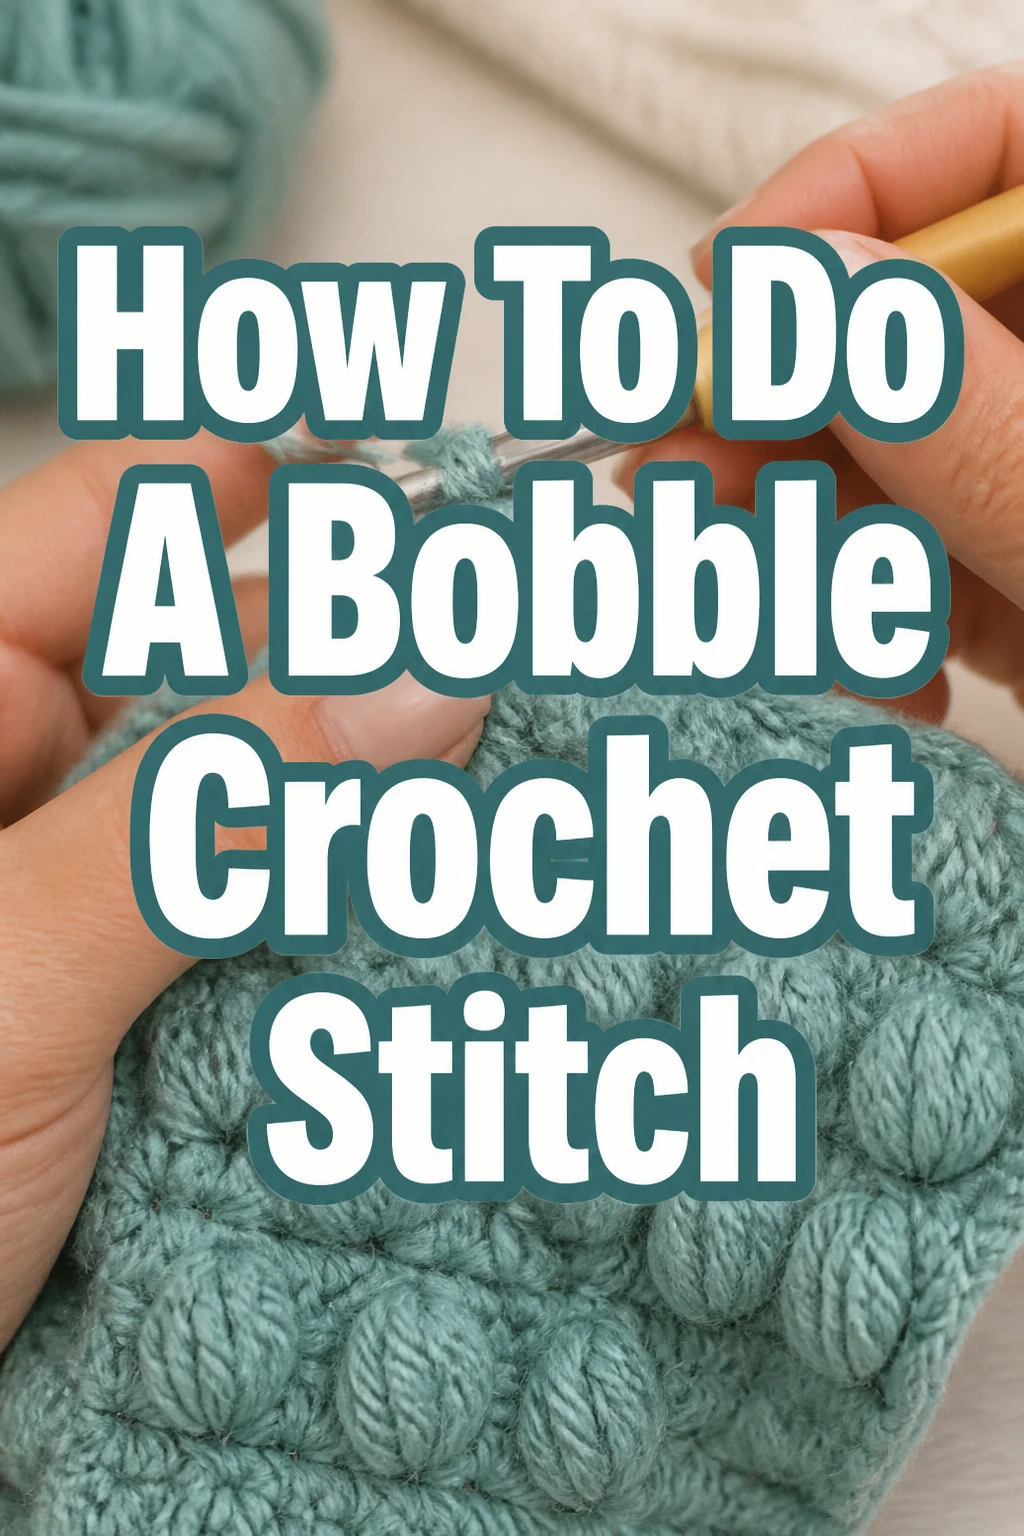
How To Do A Bobble Crochet Stitch
Learning new crochet stitches always feels like a small victory.
The bobble stitch, with its delightful texture, is a favorite for adding dimension to projects.
I’ve used this stitch in countless blankets and scarves, and I’m excited to share my easy method with you.
Quick Overview
The bobble stitch is a charming technique that creates a raised, textured “bump” or “bobble” that pops out from your crochet fabric. It’s perfect for adding visual interest and tactile appeal to a wide range of projects. Mastering this stitch opens up new possibilities for your creative endeavors.
- Time needed: 10-15 minutes (to learn and practice the basic stitch)
- Difficulty: Intermediate
- What you’ll need: Yarn, crochet hook, scissors, yarn needle
Step-by-Step Instructions
Step 1: Gather Your Materials
Before you begin, ensure you have all your necessary tools. Select a yarn and a crochet hook that are appropriate for its weight. The yarn label usually suggests a hook size.
You will also need a pair of scissors for cutting yarn and a yarn needle for weaving in ends. For practice, it’s helpful to start with a small swatch of single crochet or double crochet.
Step 2: Prepare Your Work
You’ll typically work the bobble stitch into an existing row of crochet. Work your current row of stitches until you reach the specific point where your pattern indicates a bobble should be placed. If you’re just practicing, simply work a few regular stitches, then choose a stitch from the previous row to create your bobble in.
Step 3: Yarn Over and Insert Hook
To begin the first incomplete double crochet of your bobble, first yarn over your hook. This means wrapping the yarn from back to front over your hook.
Next, insert your hook into the designated stitch where you want the bobble to form. This is the foundation for your bobble.
Step 4: Pull Up a Loop and Yarn Over
With your hook inserted into the stitch, yarn over your hook again. Now, pull up a loop through the stitch you just inserted your hook into.
You should now have three loops on your hook. This step brings the working yarn through the stitch, preparing for the next part of the double crochet.
Step 5: Complete First Half of Double Crochet
Once you have three loops on your hook, yarn over one more time. Then, pull through the first two loops on your hook.
You will now have two loops remaining on your hook. This completes the first half of a standard double crochet stitch. Do not complete the stitch entirely; leave the remaining loops on your hook.
Step 6: Repeat for Additional Incomplete Double Crochets
Now, you will repeat the process of creating incomplete double crochets into the same stitch. The number of incomplete double crochets determines the size and fullness of your bobble. A common bobble uses 4 or 5 incomplete double crochets.
To create another incomplete double crochet: Yarn over your hook. Insert your hook into the same designated stitch. Yarn over again. Pull up a loop through the stitch. You will now have four loops on your hook.
Yarn over one more time. Pull through the first two loops on your hook. You will now have three loops on your hook.
Repeat this sequence (Yarn over, insert into same stitch, yarn over, pull up a loop, yarn over, pull through two loops) until you have the desired number of incomplete double crochets. If you are making a 5-incomplete-double-crochet bobble, you will have a total of six loops on your hook (the initial loop plus one loop from each of the five incomplete double crochets).
Pro Tip: For a very full, pronounced bobble, use 5 incomplete double crochets. For a slightly flatter or smaller bobble, 3 or 4 incomplete double crochets might be preferred. Consistency in the number of incomplete stitches is key for uniform bobbles throughout your project.
Step 7: Finish the Bobble Stitch
Once you have completed all your incomplete double crochets and have all the necessary loops on your hook (e.g., six loops for a 5-dc bobble), it’s time to close the bobble.
Yarn over your hook one last time. Then, carefully pull through all the loops currently on your hook in one smooth motion. This final pull-through gathers all the incomplete stitches together, forming the distinct bobble shape.
Step 8: Secure the Bobble
After pulling through all loops, it is often recommended to chain 1 to secure the bobble stitch. This chain stitch helps to lock the bobble in place and can also encourage it to pop out more prominently on the front side of your work.
Immediately after the chain 1, work a regular stitch (such as a single crochet or double crochet, as indicated by your pattern) into the very next stitch of your row. This subsequent stitch acts as an anchor, pushing the bobble forward and defining its shape.
Pro Tip: The side of your fabric that is facing you when you work the final yarn over and pull through will be the back of the bobble. If you want the bobble to pop out on the “right side” (or front) of your work, you will often need to work the bobble stitch itself on the “wrong side” of your fabric. This is especially true when working in flat rows. The chain 1 and subsequent stitch help to push the bobble forward regardless.
Step 9: Continue Your Project
With your bobble stitch successfully created and secured, you can now continue crocheting according to your pattern. Pay attention to the spacing of your bobbles to maintain a consistent and visually appealing design.
Remember that practice is essential for perfecting any new stitch. Don’t hesitate to unravel your work and try again if your first few bobbles aren’t quite what you envisioned. Each attempt builds your skill and confidence.
Common Mistakes to Avoid
Forgetting to Yarn Over Before First Insert
A common oversight is to insert the hook into the stitch without first yarning over for the initial incomplete double crochet. This results in one fewer loop on your hook when you go to pull through, leading to a smaller, less defined bobble than intended. Always remember that each incomplete double crochet begins with a yarn over before inserting the hook.
Not Inserting Hook into the Same Stitch
The bobble stitch gets its distinct bump by clustering multiple stitches into a single point. If you accidentally insert your hook into different stitches for each incomplete double crochet, the stitches will spread out. This prevents the bobble from forming a neat, raised texture, instead creating a flat or uneven cluster of stitches. Always ensure all components of your bobble are worked into the exact same stitch.
Pulling Through All Loops Too Tightly or Loosely
Tension is crucial in crochet, and the bobble stitch is no exception. If you pull through all the loops too tightly at the end, the bobble can pucker the fabric around it, making it difficult to work into surrounding stitches in subsequent rows. Conversely, pulling through too loosely can make the bobble appear floppy and undefined. Aim for consistent, medium tension that allows the bobble to stand out firmly yet not distort the fabric.
Forgetting the Securing Chain or Next Stitch
After completing the final pull-through of the bobble, it’s easy to forget the steps that secure it. Without the optional chain 1 (if your pattern calls for it) or, more importantly, without working a regular stitch into the next stitch of the row, the bobble can unravel or lose its shape. The subsequent stitch acts as an anchor, pushing the bobble forward and locking it into place.
Troubleshooting
My Bobbles Are Not Popping Out
If your bobbles are lying flat or sinking into your fabric, there are a few things to check. First, ensure you are working a regular stitch into the next stitch of the row immediately after completing the bobble and its optional chain 1. This subsequent stitch is critical for pushing the bobble forward. Secondly, consider whether your pattern expects the bobble to be worked from the “wrong side” of your fabric to pop out on the “right side.” The final pull-through of a bobble naturally pushes the bump to the opposite side of your work.
My Bobbles Look Uneven or Messy
Uneven bobbles are often a sign of inconsistent tension or an inconsistent number of incomplete stitches. Make sure you are using the exact same number of incomplete double crochets for each bobble (e.g., always 5 incomplete DCs, not sometimes 4 and sometimes 5). Also, try to maintain an even tension as you work each incomplete double crochet and when you pull through all the loops. Practice helps immensely in achieving uniform bobbles.
I Have Too Many or Too Few Loops on My Hook
Counting your loops is vital when making bobbles. If you have too few loops before the final pull-through, you likely missed an incomplete double crochet. Carefully re-read the pattern and ensure you’re performing all the steps for each incomplete DC. If you have too many loops, you might have accidentally yarned over an extra time or picked up an extra strand of yarn. Unravel, recount, and restart the current bobble to correct the issue. Remember, for an X-incomplete-DC bobble, you’ll have X+1 loops on your hook before the final pull-through.
Key Takeaways
- The bobble stitch is a fantastic way to add beautiful, raised texture to your crochet projects.
- It’s constructed by working multiple incomplete double crochets into a single stitch, then pulling through all loops at once.
- Maintaining consistent tension throughout each incomplete double crochet and the final pull-through is crucial for uniform bobbles.
- Always ensure you work all incomplete stitches into the same designated stitch to form a distinct bump.
- Securing the bobble with an optional chain 1 and a regular stitch in the next space helps it pop out and stay in shape.
- Practice is the most effective way to master the bobble stitch and confidently incorporate it into your designs.
Frequently Asked Questions
What’s the difference between a bobble, a puff, and a popcorn stitch?
While all three stitches create texture, their construction differs. A bobble stitch involves working several incomplete double crochets into one stitch, then pulling through all loops simultaneously. A popcorn stitch is a cluster of complete stitches (often double crochets) worked into one space, then joined with a slip stitch into the top of the first stitch of the cluster, pulling the cluster together. A puff stitch typically uses multiple incomplete half-double crochets or double crochets, often with specific yarn-overs and pulls, designed to create a softer, rounder puff that sits more evenly on the fabric surface.
Can I make a bobble stitch with other stitches besides double crochet?
Absolutely. While double crochet is the most common stitch used for bobbles due to its height and fullness, you can certainly experiment with others. Using incomplete half-double crochets will create a smaller, flatter bobble, while incomplete treble crochets will result in a much larger and more pronounced bobble. The core principle remains the same: work multiple incomplete versions of your chosen stitch into a single location, then pull through all remaining loops to close.
How do I make my bobbles pop out on the “right” side?
The bobble naturally pushes itself to the side of the fabric opposite the one you are facing when you make the final pull-through. Therefore, if you are working in rows and want the bobbles to appear on the “right side” of your fabric, you should work the bobble stitch itself on the “wrong side” row. The chain 1 after the bobble, followed by a regular stitch in the next space, also helps to push the bobble forward and define its shape, regardless of which side you are working on.
What kind of projects are best for bobble stitches?
Bobble stitches are incredibly versatile and add wonderful texture to many projects. They are fantastic for creating cozy blankets, warm scarves, and stylish hats. Beyond traditional items, bobbles can be used to form adorable animal features like eyes or noses on amigurumi, or even to spell out letters or create intricate patterns in your fabric. Their raised texture makes them a fun and engaging element in almost any crochet piece.
Our Top Recommended Finds
- Acrylic Yarn (Worsted Weight): This is an excellent choice for beginners due to its affordability, vast color selection, and ease of care. It also provides good stitch definition, making it easier to see your bobbles.
- Ergonomic Crochet Hook Set: Investing in a set of hooks with comfortable, ergonomic handles can significantly reduce hand strain during long crafting sessions. These sets often include various sizes, ensuring you always have the right hook for your yarn.
- Stitch Markers: These small, handy tools are invaluable for marking the exact location where a bobble should be placed, helping you maintain pattern consistency, especially in larger or more complex projects.
Embrace the Texture: Your Next Crochet Adventure Awaits
The bobble stitch is a rewarding technique that adds wonderful dimension and tactile appeal to your crochet work. With a little practice, you’ll find yourself incorporating these playful bumps into many creations.
Now that you’ve mastered the bobble, consider exploring other textured stitches like the puff or popcorn, or even trying a project that combines different textures for a truly unique piece. Grab your hook and yarn, and start adding those delightful bobbles to your next project today!