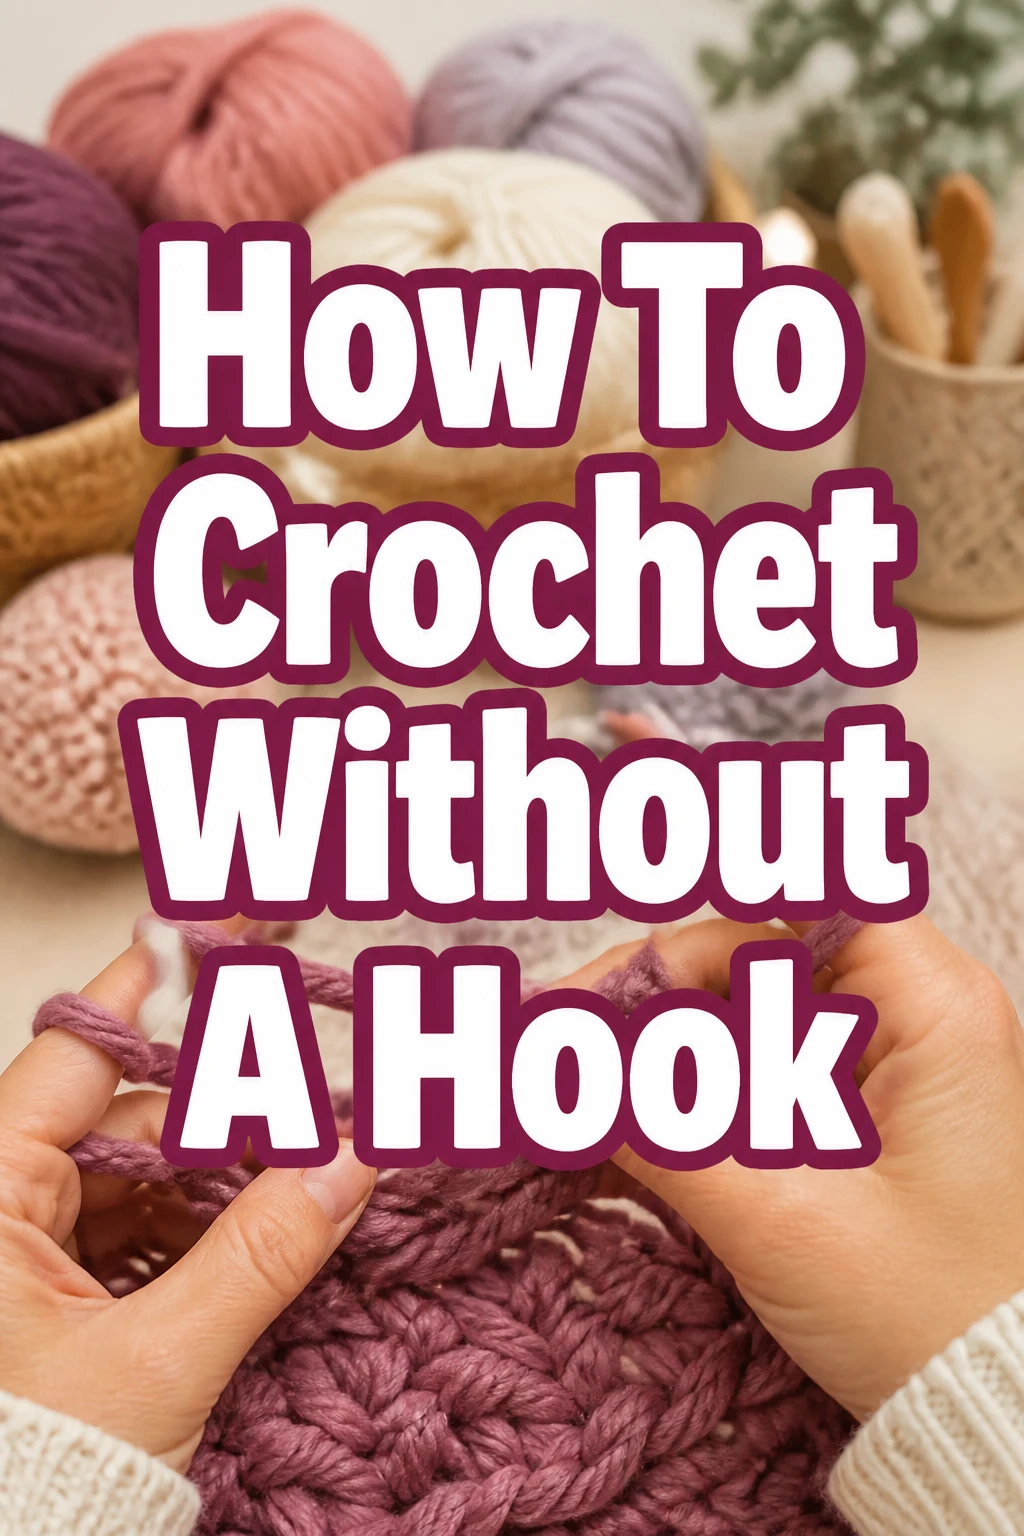
How To Crochet Without A Hook
I remember sitting on a porch one summer afternoon with a beautiful skein of wool but no tools in sight.
Instead of giving up, I used my hands to pull loops through loops, discovering the rhythmic joy of finger crochet.
This guide comes from years of experimenting with different yarn weights and hand techniques to create cozy, handmade items without a single piece of plastic or metal.
Quick Overview
In this guide, you will learn how to transform a simple ball of yarn into a finished fabric using nothing but your own hands. This method is perfect for making chunky blankets, thick scarves, or decorative pillows.
- Time needed: 1 to 3 hours depending on project size
- Difficulty: Beginner
- What you’ll need: Bulky or jumbo yarn, scissors, and your fingers
Step-by-Step Instructions
Step 1: Select the Right Yarn
Choose a yarn that is thick enough to handle easily with your fingers. Look for labels that say “Chunky,” “Bulky,” or “Jumbo” to ensure the strands are substantial.
Thin yarn is difficult to manage without a hook and often results in a tangled mess. Chenille or wool blends work best because they have enough grip to hold their shape while you work.
Pick a color that makes it easy to see your stitches. Darker colors like navy or black can make it hard to find the loops when you are just starting out.
Pro Tip: Start with a high-quality acrylic or wool blend that has a bit of stretch, as this makes pulling loops through much easier on your joints.
Step 2: Create a Slip Knot
Start by pulling about six inches of yarn from the ball to create a tail. This tail will be woven in later to secure your work.
Make a loop with the yarn by crossing the strand from the ball over the tail end. It should look like a small “P” or a circle with a tail crossing over the top.
Reach your thumb and index finger through the loop and grab the yarn attached to the ball. Pull it through the circle to create a new loop that can slide up and down.
Insert your fingers into this new loop and pull the yarn ends to tighten it. It should be snug but loose enough for you to easily slide two fingers in and out.
Step 3: Form the Foundation Chain
Hold the slip knot in one hand and the working yarn in the other. The working yarn is the part still attached to the ball.
Reach through the slip knot loop with your thumb and index finger. Grab the working yarn and pull a small loop through the existing one.
This creates your first chain stitch. Repeat this motion by reaching through the new loop and pulling the working yarn through again.
Continue this process until your chain is as wide as you want your project to be. Keep the loops consistent in size so the edge of your work stays straight.
Pro Tip: Use the width of your two fingers as a guide for every loop to ensure your tension remains uniform throughout the entire chain.
Step 4: Start the First Row
Lay your chain flat on a table or your lap so you can see the “V” shapes of each stitch. You will now work back across the chain you just made.
Skip the first chain loop closest to your fingers. Insert your index finger into the center of the second chain stitch from the end.
Grab the working yarn and pull it through that chain stitch. You should now have two loops sitting on your finger or resting near your knuckles.
Grab the working yarn once more and pull it through both of those loops at the same time. This completes your first single crochet stitch without a hook.
Step 5: Complete the Row
Move to the next chain stitch in your foundation row. Insert your finger into the hole and pull up a loop of working yarn.
With two loops now present, pull the working yarn through both to finish the stitch. Repeat this all the way to the end of the chain.
Count your stitches as you go to make sure you have the same number you started with. It is very easy to accidentally skip a stitch when you are using your hands.
Once you reach the last chain, you have finished your first full row of fabric. The piece should look like a thick, braided cord.
Step 6: Turn the Work
To start the next row, you need to add a “turning chain” to give the row the correct height. Pull one loop of working yarn through the loop currently on your finger.
Flip your entire piece of fabric over so you are ready to work back in the opposite direction. This keeps the yarn on the correct side for your hands.
Look for the small gaps at the top of the previous row. You will insert your finger under both strands of the “V” shape at the top of the stitch.
Pull the working yarn through the stitch to create two loops, then pull the yarn through both loops to finish. Continue this across the entire row.
Pro Tip: Always make sure you are going under both bars of the “V” at the top of the stitch to prevent the fabric from becoming too thin or stretchy.
Step 7: Fasten Off the Project
When your project reaches the desired length, stop at the end of a row. Cut the working yarn, leaving a tail of about eight to ten inches.
Pull the entire tail through the final loop on your finger. Pull it tight to create a knot that secures the edge of the fabric.
Take the remaining tail and weave it back and forth through the nearby stitches using your fingers. This hides the end and prevents the project from unraveling.
Do the same with the starting tail from your original slip knot. Trim any excess yarn close to the fabric, being careful not to cut the actual stitches.
Common Mistakes to Avoid
Pulling the Loops Too Tight
Many beginners pull the yarn very tight against their fingers out of habit. This makes it almost impossible to pull the next loop through in the following row.
If your stitches are too tight, your fingers will get tired quickly and the fabric will feel stiff rather than soft. Keep the loops loose enough that they can slide easily over your knuckles.
Missing the Last Stitch of a Row
The very last stitch of a row often looks smaller or slanted compared to the others. It is very common to overlook this stitch and turn the work too early.
If you keep missing the last stitch, your project will start to look like a triangle instead of a rectangle. Always count your stitches at the end of every row to ensure the number stays the same.
Using the Wrong Yarn Weight
Trying to crochet with thin, worsted-weight yarn using only your fingers is frustrating. The loops are too small to grab easily, and the finished product will have large, unattractive holes.
Stick to yarn that is specifically designed for arm or finger knitting and crochet. These yarns are thick enough to fill the space created by the width of your fingers.
Troubleshooting
The Edges Are Curling
If the sides of your scarf or blanket are curling inward, your tension is likely uneven. This usually happens when the foundation chain is much tighter than the rest of the rows.
Try starting over and making the initial chain very loose. You can also try adding an extra turning chain at the end of each row to give the edges more room to lay flat.
There Are Large Holes in the Fabric
Large gaps usually mean the loops you are pulling through are too big for the yarn you chose. Your fingers might be moving too far away from the work as you pull the yarn.
Try to keep the loops smaller and more consistent. If the holes persist, you may need to hold two strands of yarn together to create a thicker “super-strand” that fills the gaps.
The Yarn Is Splitting
Some yarns are made of many tiny threads that are not twisted tightly together. Your fingers can easily poke through the middle of the strand instead of going around it.
Slow down your movements and ensure you are grabbing the entire thickness of the yarn. If the yarn continues to split, try a different brand that has a more cohesive, felted, or tubular texture.
Key Takeaways
- Use jumbo or bulky yarn to make the process easier on your hands and fingers.
- Maintain consistent loop sizes by using your fingers as a measuring tool for every stitch.
- Count your stitches at the end of every row to prevent your project from shrinking or growing.
- Always add a turning chain before starting a new row to maintain the height of your stitches.
- Keep your tension relaxed to ensure the finished fabric is soft, draped, and comfortable.
- Weave in your ends thoroughly to prevent the project from coming apart during use or washing.
Frequently Asked Questions
Can I make a full-sized blanket without a hook?
Yes, you can absolutely make a full-sized blanket using this method. Most people prefer “arm crochet” for very large blankets, but finger crochet works well for lap-sized throws or baby blankets.
You will need several large skeins of jumbo yarn to complete a full blanket. Expect to use between six and ten pounds of yarn for a standard throw.
Is finger crochet faster than using a hook?
For most people, finger crochet is significantly faster because the stitches are much larger. You can often finish a chunky scarf in less than thirty minutes once you understand the rhythm.
Because you are working with bulky materials, each stitch covers a lot of surface area. This leads to a very quick sense of accomplishment compared to traditional crochet.
Can I do complex stitches like the waffle stitch or cables?
While basic stitches like single and double crochet are easy, complex textures are much harder to achieve with just your fingers. The lack of a hook makes it difficult to manipulate multiple loops at once.
It is best to stick to simple stitches that showcase the texture of the yarn itself. If you want a more intricate look, try alternating between different colors of yarn instead of changing stitches.
What is the best project for a first-timer?
A simple infinity scarf is the perfect starting project for someone learning to crochet without a hook. It requires only a few rows of basic stitches and allows you to practice your tension on a small scale.
Once you finish the length, you can simply sew the two ends together using the yarn tail. This creates a functional item that you can wear immediately.
Our Top Recommended Finds
- Jumbo Chenille Yarn: This type of yarn is incredibly soft and thick, making it the ideal choice for finger-crocheted blankets. It does not shed as much as roving wool and is usually machine washable.
- Large Eye Plastic Needles: While you can weave in ends with your fingers, a large needle makes the process much faster and neater. These are inexpensive and work perfectly with bulky yarn strands.
- Locking Stitch Markers: These are helpful for marking the beginning and end of your rows. Since finger crochet stitches are large, these markers help you stay organized and prevent dropped stitches.
Start Your First Hookless Project Today
Now that you understand the mechanics of finger crochet, you are ready to create something beautiful. This skill is incredibly useful because it allows you to craft anywhere without needing a full kit of tools.
Grab a ball of chunky yarn and try making a simple scarf this evening. You might find that the tactile connection to the yarn makes the process even more relaxing than traditional methods.
Once you master the basic single crochet, you can move on to making textured pillows or even large floor mats. The possibilities are only limited by the amount of yarn you have on hand.