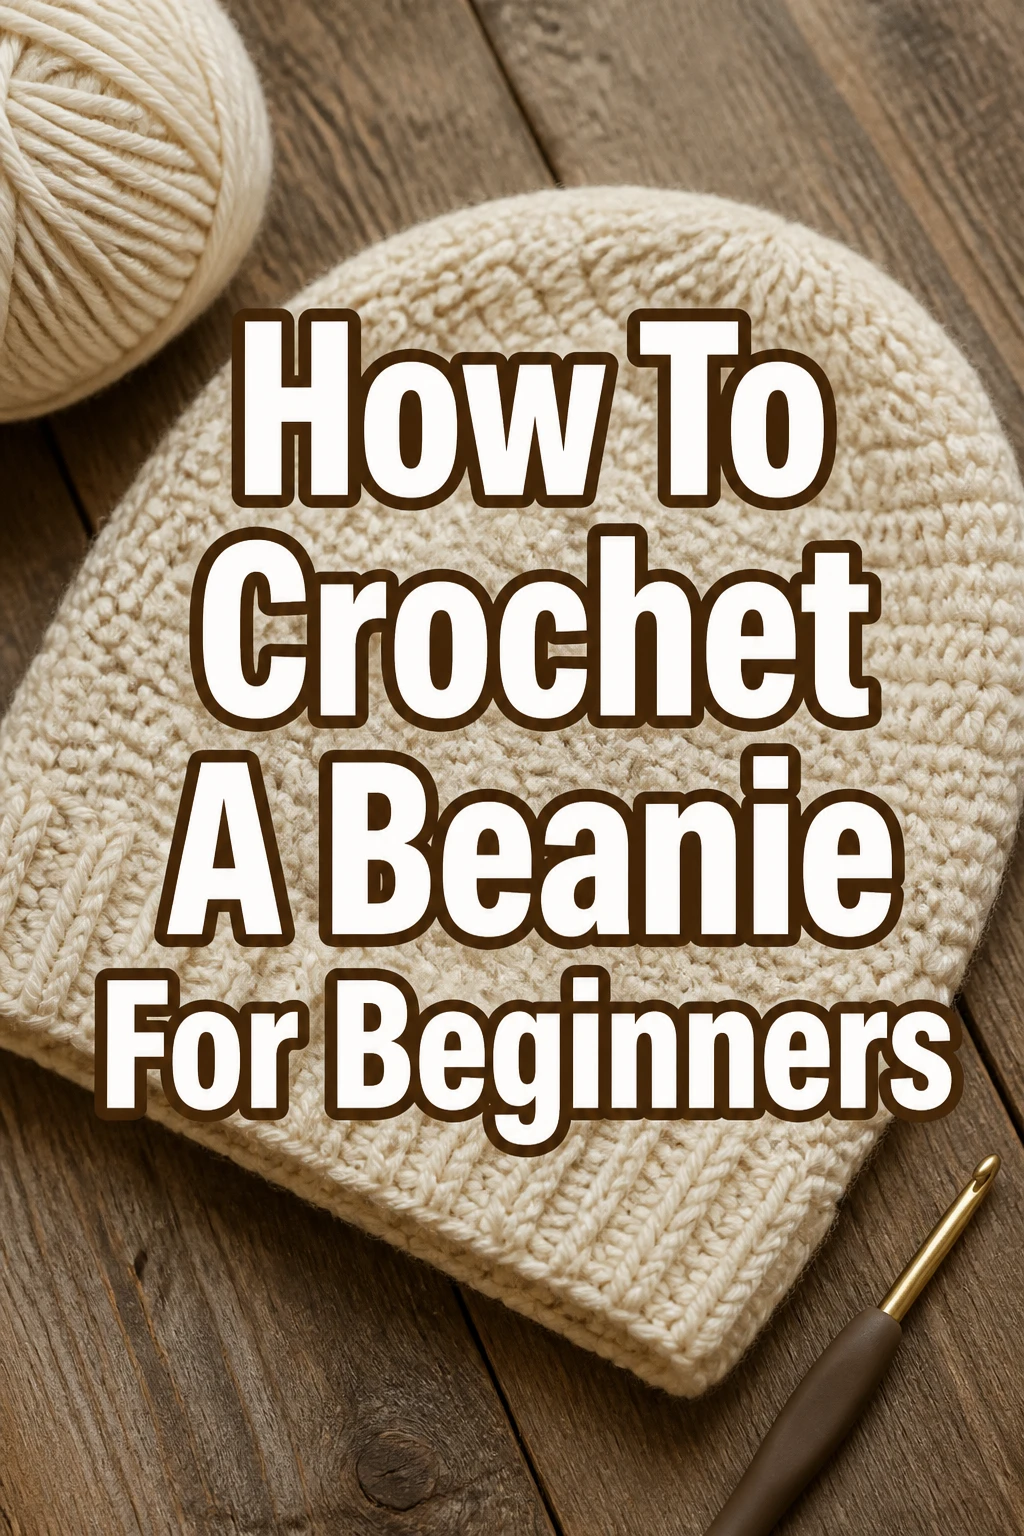
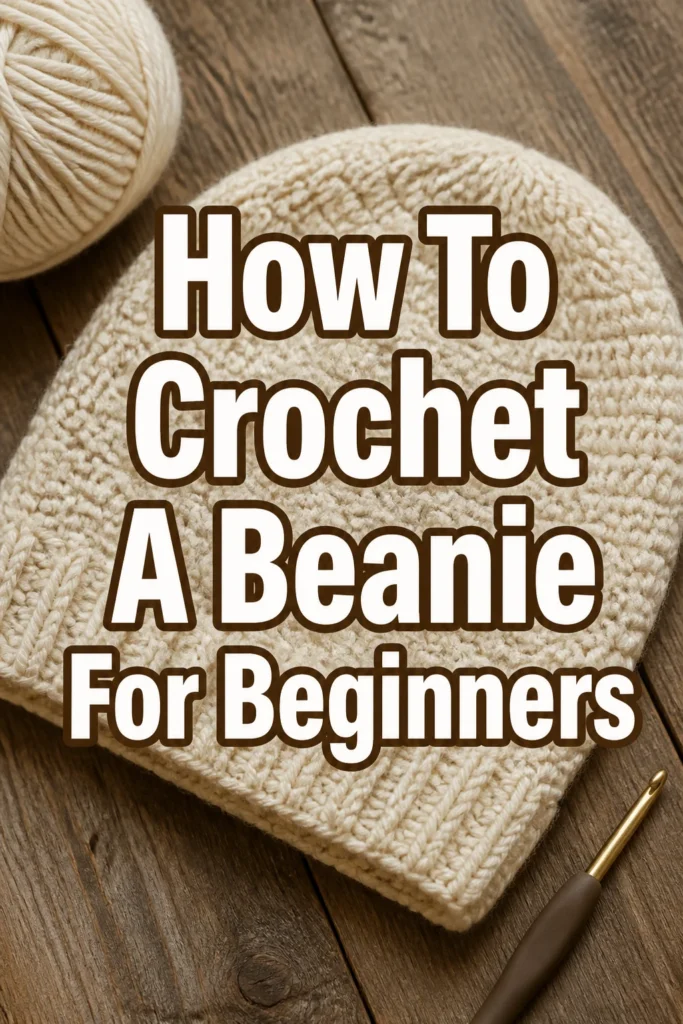
How To Crochet A Beanie For Beginners
Learning to crochet a beanie can feel like a big step when you’re just starting out.
I remember the joy and sense of accomplishment from finishing my very first wearable project.
This guide will walk you through each stitch and technique, making it simple and fun to create your own cozy hat.
Quick Overview
You’re about to embark on a rewarding journey, creating a practical and stylish beanie from scratch.
This project is designed specifically for those new to crochet, building confidence with every round.
- Time needed: 4-8 hours (can be spread over a few days)
- Difficulty: Beginner
- What you’ll need: Yarn, crochet hook, scissors, tapestry needle, stitch marker
Step-by-Step Instructions
Step 1: Gather Your Supplies and Understand the Basics
Before you begin, make sure you have all the necessary tools at hand.
Having everything ready prevents interruptions and keeps your flow going.
- Choose your yarn: For beginners, a worsted weight (medium 4) acrylic yarn is ideal. It’s affordable, easy to work with, and forgiving of mistakes.
- Select your hook: The yarn label usually recommends a hook size. For worsted weight, a 5.0 mm (H) or 5.5 mm (I) hook is common.
- Grab essential notions: You will need a pair of sharp scissors to cut your yarn and a tapestry needle (also called a yarn needle) to weave in ends. A stitch marker is also incredibly helpful for keeping track of your rounds.
Pro Tip: Always check the yarn label for the recommended hook size and fiber content. This information guides your project choices.
Step 2: Master the Slip Knot and Chain Stitch
Every crochet project starts with a slip knot and a series of chain stitches.
These are the foundational skills you’ll use constantly.
- Create a slip knot: Hold the yarn tail in your left hand. Loop the yarn over your fingers, crossing the working yarn (yarn coming from the ball) over the tail. Insert your hook under the first strand and pull the working yarn through, then tighten the loop on your hook.
- Chain your first stitch: Yarn over (wrap the yarn from back to front over your hook). Pull the hooked yarn through the loop on your hook. This completes one chain stitch.
- Make more chains: Repeat the “yarn over, pull through” motion to create a series of chain stitches. For this beanie, you will start with a small number of chains, usually two or three, to form the initial ring.
Step 3: Create the Magic Ring (or Chain 2 Alternative)
The magic ring (also known as a magic circle or adjustable ring) creates a tight, neat center for your beanie.
If it feels too tricky, a chain 2 alternative works perfectly well for beginners.
- Magic Ring Method: Lay the yarn tail across your palm. Wrap the working yarn around your index and middle fingers once, forming a loop. Insert your hook into the loop, yarn over, and pull up a loop. Yarn over again and pull through to secure the ring with a chain stitch. Now, you can work your first round of stitches into this adjustable loop.
- Chain 2 Alternative: Chain two stitches. Insert your hook into the very first chain stitch you made (the one furthest from your hook). Work all of your first round stitches into this single chain. This creates a small hole in the center, which is perfectly fine for a beginner beanie.
Pro Tip: Practice the magic ring a few times before starting your project. It can be a little fiddly at first but becomes second nature with practice.
Step 4: Build the Crown with Half Double Crochet (HDC) Increases
The crown of your beanie is where you increase stitches to create a flat circle that will eventually curve into the top of the hat.
We’ll use the Half Double Crochet (HDC) stitch, which is fast and creates a lovely texture.
- Understand HDC: Yarn over, insert hook into the stitch, yarn over, pull up a loop (you now have three loops on your hook). Yarn over, pull through all three loops. That’s one HDC.
- Round 1 (into your ring): Chain 2 (this counts as your first HDC). Work 9-11 more HDC stitches into your magic ring or chain 2 space. Join with a slip stitch to the top of your starting chain 2. You should have 10-12 HDC stitches in total. Place a stitch marker in the first stitch of each round if you’re working in the round without joining.
- Round 2: Chain 2 (counts as first HDC). Work 2 HDC into each stitch around. Join with a slip stitch. You should now have 20-24 HDC stitches.
- Round 3: Chain 2. Work 1 HDC in the next stitch, 2 HDC in the following stitch. Repeat from to around. Join with a slip stitch. You’ll have 30-36 HDC stitches.
- Continue increasing: For subsequent rounds, the pattern is to increase by the same number of stitches each round. For example, Round 4 would be 1 HDC in each of the next 2 stitches, 2 HDC in the following stitch. Round 5 would be 1 HDC in each of the next 3 stitches, 2 HDC in the following stitch, and so on. Continue increasing until the diameter of your circle (when laid flat) reaches approximately 6-7 inches for a child’s hat, 7-8 inches for a teen/small adult, or 8-9 inches for a large adult.
Step 5: Form the Body with Straight Rounds
Once your crown is the correct diameter, you’ll stop increasing and work straight rounds to create the body of the beanie.
This is where the hat starts to take shape and gain its height.
- Work even rounds: For each round, chain 2 (counts as your first HDC). Work 1 HDC into each stitch around. Join with a slip stitch to the top of the starting chain 2.
- Maintain stitch count: It is crucial that your stitch count remains the same in these rounds. Do not increase or decrease.
- Measure regularly: Continue working these straight rounds until your beanie reaches the desired length from the crown to the bottom edge. A good length for an adult beanie is typically 8-9 inches before adding any ribbing.
Step 6: Add the Ribbing (Optional but Recommended)
Ribbing gives your beanie a professional finish and helps it stay snug on your head.
It adds elasticity and a polished look.
- Understand Front Post/Back Post stitches: We’ll use Front Post Half Double Crochet (FPHDC) and Back Post Half Double Crochet (BPHDC) to create a ribbed effect.
- FPHDC: Yarn over, insert your hook from front to back around the post of the stitch from the previous round, then yarn over, pull up a loop (3 loops on hook), yarn over, pull through all 3 loops.
- BPHDC: Yarn over, insert your hook from back to front around the post of the stitch from the previous round, then yarn over, pull up a loop (3 loops on hook), yarn over, pull through all 3 loops.
- Ribbing Round 1: Chain 2 (does not count as a stitch). Work 1 FPHDC around the next HDC post, then 1 BPHDC around the following HDC post. Repeat from to around. Join with a slip stitch to the first FPHDC.
- Continue ribbing: Repeat this ribbing round for 1-3 more rounds, depending on how deep you want your brim to be. Two rounds usually suffice for a classic look.
Step 7: Finish Off and Weave in Ends
You’re almost done! The final steps involve securing your work and tidying up.
Proper finishing ensures your beanie lasts and looks great.
- Fasten off: Once your last ribbing round is complete, cut your yarn, leaving a tail about 6-8 inches long. Yarn over one last time and pull the tail completely through the loop on your hook, then pull tight to secure.
- Weave in ends: Thread the yarn tail onto your tapestry needle. Carefully weave the tail through several stitches on the inside of your beanie, changing direction once or twice to secure it. Trim any excess yarn close to the fabric.
- Check for the starting tail: Don’t forget the tail from your magic ring or chain 2 alternative. If you used a magic ring, pull it tight to close any remaining hole, then weave it in securely.
Common Mistakes to Avoid
Inconsistent Tension
One of the most common challenges for beginners is maintaining even tension in their stitches.
If your stitches are too tight, your fabric will be stiff and difficult to work into; if they are too loose, your beanie will be floppy and gappy.
Practice makes perfect, so try to relax your grip and aim for consistent stitch size.
Miscounting Stitches
Losing track of your stitch count can lead to a wonky, uneven beanie.
Always count your stitches at the end of each round, especially during the increase rounds for the crown.
A stitch marker placed in the first stitch of each round can be a lifesaver.
Choosing the Wrong Yarn or Hook
Using a yarn weight that doesn’t match your hook size, or vice versa, can significantly impact the final look and feel of your beanie.
Too small a hook for thick yarn creates dense fabric, while too large a hook for thin yarn makes loose, open fabric.
Refer to the yarn label recommendations and always do a small swatch if you’re unsure.
Forgetting to Join Rounds Correctly
When working in joined rounds, it’s crucial to slip stitch into the correct stitch to close the round neatly.
Failing to do so can create a visible seam or make your rounds spiral upwards unevenly.
Always join to the top of the starting chain (or the first actual stitch if the chain doesn’t count as a stitch).
Troubleshooting
Beanie is Too Small or Too Tight
If your beanie feels too small, it’s likely due to tight tension or not enough increase rounds in the crown.
Try using a larger crochet hook, or adding an extra increase round to the crown to achieve a wider diameter.
Relax your grip on the yarn and hook to create looser, more flexible stitches.
Beanie is Too Large or Too Loose
Conversely, if your beanie is too big, your tension might be too loose, or you might have too many increase rounds.
Switch to a smaller hook size to tighten your stitches, or reduce the number of increase rounds in the crown section.
Ensure you are accurately counting your stitches to prevent accidental increases.
Beanie Has a Pointy Top or a Wavy Edge
A pointy top usually means you haven’t increased enough in the initial rounds, making the crown too steep.
A wavy or ruffled edge suggests you’ve increased too many stitches too quickly, causing the fabric to flare out.
Review your increase pattern carefully; ensure your increases are evenly spaced and that you have the correct number of stitches for each round’s diameter.
Key Takeaways
- Start with a simple worsted weight yarn and appropriate hook for ease of learning.
- Master the slip knot and chain stitch as your foundational skills.
- Practice the magic ring for a neat center, or use the chain 2 alternative.
- Increase stitches evenly in the crown to create a flat, circular top.
- Work straight rounds to build the height of your beanie without increasing.
- Add ribbing using post stitches for a professional finish and better fit.
- Always weave in your yarn ends securely to prevent unraveling.
Frequently Asked Questions
What is the best yarn for a beginner beanie?
Acrylic worsted weight (medium 4) yarn is highly recommended for beginners.
It’s affordable, widely available, easy to work with, and doesn’t split easily.
It also comes in a vast array of colors to inspire your first project.
Can I use a different stitch for the beanie?
Yes, absolutely! While HDC is great for speed and texture, you can use single crochet (SC) for a denser fabric or double crochet (DC) for a looser, quicker project.
Just remember to adjust your starting chain and increase pattern accordingly, as different stitches have different heights.
How do I make the beanie bigger or smaller?
To make it bigger, continue your increase rounds until the crown diameter is larger before working straight rounds.
To make it smaller, stop your increase rounds sooner, at a smaller crown diameter.
You can also go up or down a hook size to slightly alter the overall size.
How do I wash my crocheted beanie?
Always check your yarn label for specific care instructions.
For most acrylic beanies, machine wash on a gentle cycle with cold water and tumble dry on low heat.
Hand washing and air drying flat will always be the gentlest option for any crocheted item.
Our Top Recommended Finds
- Ergonomic Crochet Hook Set: A comfortable handle makes a huge difference, especially for beginners. Look for sets with soft grips to reduce hand fatigue.
- Soft Acrylic Worsted Weight Yarn Pack: Buying a multi-skein pack in various colors allows you to experiment without a large investment and ensures you have enough yarn for a full project.
- Locking Stitch Markers: These small tools are invaluable for keeping track of your first stitch in a round or marking specific points in your pattern.
Your Creative Journey Begins Now
You now have all the knowledge and steps to crochet your very first beanie.
This project is more than just learning stitches; it’s about building confidence and creating something tangible with your own hands.
Don’t be afraid to experiment with colors and even try a different stitch on your next hat.
Pick up your hook and yarn today, and start crafting your unique, handmade beanie!