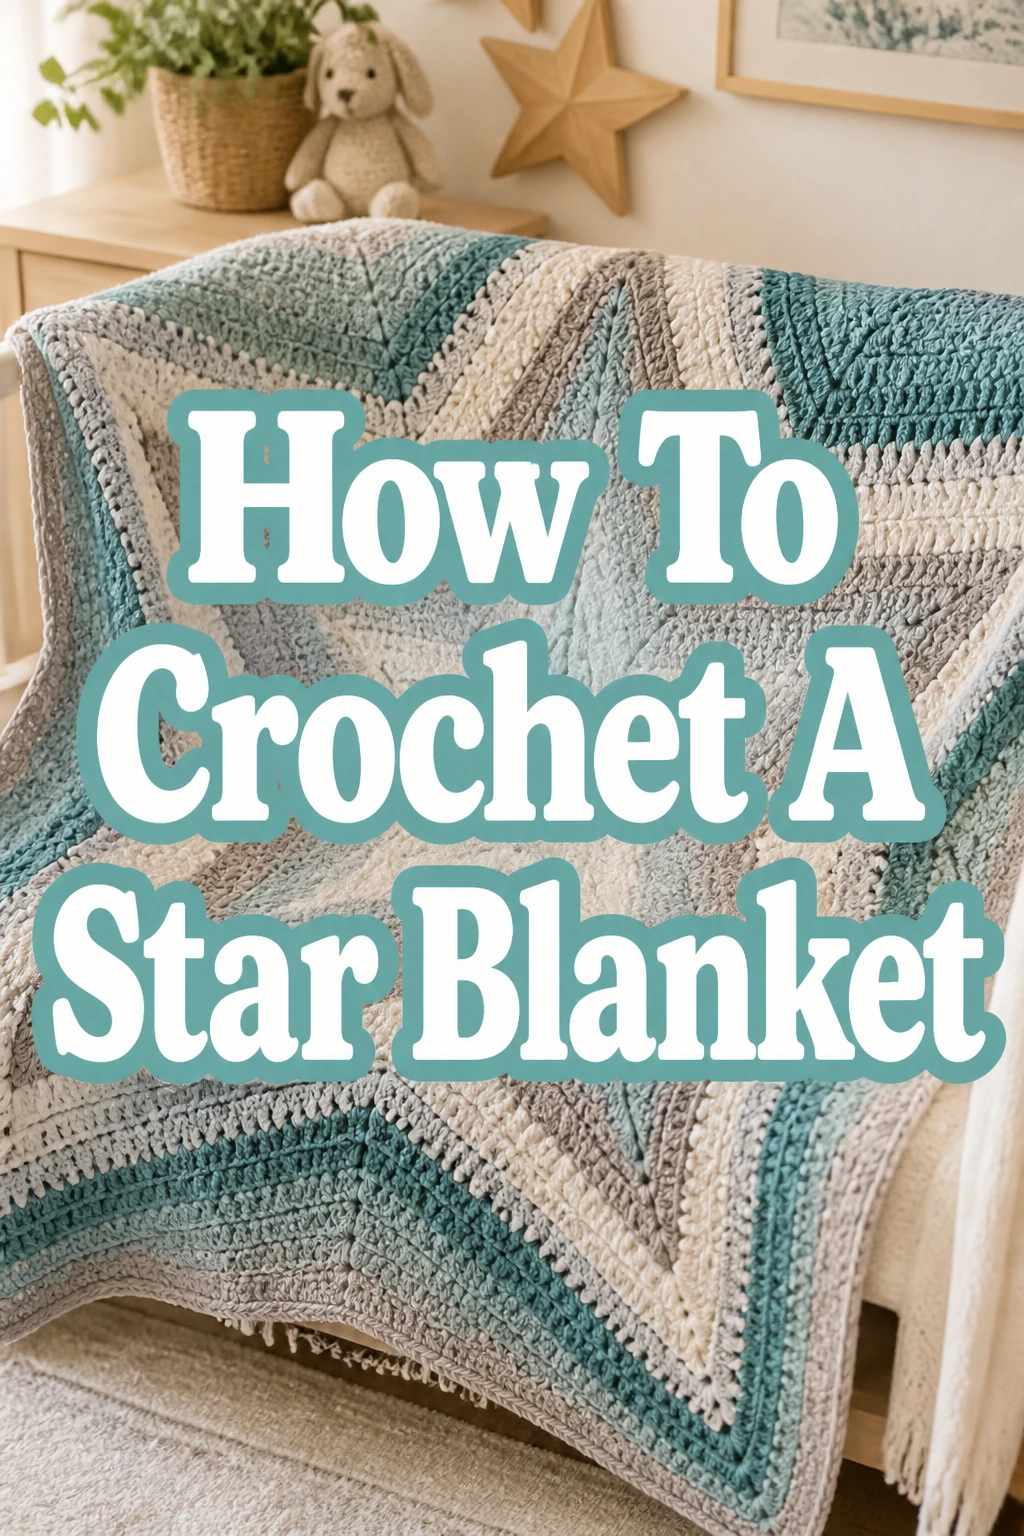
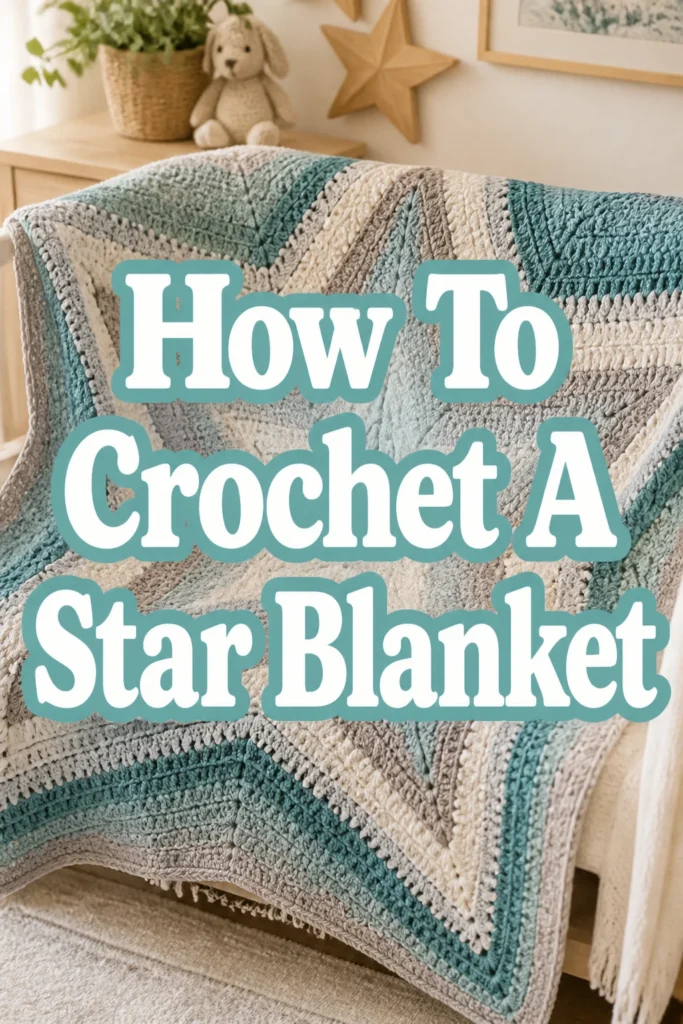
How To Crochet A Star Blanket
Crocheting a star blanket feels like magic, watching the distinctive points take shape.
I still remember the joy of finishing my first one, seeing the beautiful pattern emerge with each round.
This guide shares practical tips and detailed steps to help you create your own stunning, starry masterpiece with confidence.
Quick Overview
You are about to embark on a rewarding journey to crochet a beautiful, unique star-shaped blanket.
This project results in a cozy, eye-catching piece perfect for snuggling or gifting.
- Time needed: 30-60 hours (depending on size and speed)
- Difficulty: Intermediate
- What you’ll need: Yarn, crochet hook, scissors, yarn needle, stitch markers
Step-by-Step Instructions
Step 1: Gather Your Materials
Before you begin, assemble all the necessary tools and supplies.
Choosing the right yarn and hook will significantly impact your blanket’s final look and feel.
- Select your yarn. Medium worsted weight (category 4) is a popular choice for blankets. Consider acrylic for durability and washability, or a wool blend for warmth.
- Choose a crochet hook that matches your selected yarn’s recommended size. A common hook size for worsted weight yarn is 5.0mm (H) or 5.5mm (I).
- Gather essential notions like a pair of sharp scissors, a blunt-tipped yarn needle for weaving in ends, and several locking stitch markers.
Pro Tip: Always check your yarn label for the suggested hook size. It’s a great starting point for achieving the right fabric density.
Step 2: Master the Magic Ring
The magic ring, or magic circle, creates a tight, neat center for your star blanket.
This technique prevents a gaping hole at the start, ensuring a professional finish.
- Create a magic ring. Hold the yarn tail in your palm, wrap the working yarn around your fingers to form a loop, and insert your hook into the loop.
- Chain 2 or 3 (depending on your pattern’s starting stitch) to count as your first stitch. Work your first round of stitches directly into this ring.
- Pull the yarn tail firmly after completing the first round. This action cinches the center closed, forming a neat, compact circle.
Step 3: Establish the Star Points
The first round or two after the magic ring sets the foundation for your star’s distinct points.
Careful counting and stitch placement are crucial at this stage to ensure even points.
- Work your initial stitches into the magic ring, following your chosen star blanket pattern. Most patterns start with groups of stitches separated by chains to form the point bases.
- Use stitch markers to clearly mark the chain spaces or specific stitches that will become the “points” of your star. This helps you keep track of where to increase in subsequent rounds.
- Count your stitches meticulously after each round. An accurate stitch count prevents distortion and ensures your star grows evenly.
Pro Tip: Many star blanket patterns use a multiple of 6 for their initial stitch count (e.g., 6 points with 3 stitches per point, separated by a chain). Confirm your pattern’s specific starting sequence.
Step 4: Build the First Few Rounds
Once your star’s foundation is set, you’ll begin to build up the initial rounds, making the points more defined.
This involves consistent increases at specific locations around your work.
- Chain up at the beginning of each new round, as directed by your pattern. This typically involves a chain 2 or 3 to reach the height of your next stitch.
- Work stitches into the chain spaces established in the previous round, and into the top of the stitches. Increases are usually made within the chain spaces at each point.
- Follow the pattern’s repeat for each star point. A common increase involves working multiple stitches (e.g., 2 double crochet, chain 2, 2 double crochet) into the point’s chain space.
Step 5: Continue Expanding Your Star
As you progress, the star shape will become more prominent with each round you complete.
Consistency in your increases and stitch count is key to maintaining the star’s integrity.
- Maintain a consistent increase pattern. Typically, you will continue to work increases into the chain spaces at each star point, and sometimes along the “sides” between points.
- Monitor your stitch count per point after every few rounds. This helps catch any errors early on, preventing major issues later.
- Introduce new colors if you wish. To change colors, join the new yarn color on the last yarn over of the final stitch of the previous round.
Pro Tip: When changing colors, knot the old and new yarns securely, but not too tightly. Leave a few inches of tail from both colors to weave in later.
Step 6: Size Up Your Blanket
You will continue to repeat the established increase pattern until your star blanket reaches your desired size.
This is where your blanket truly takes shape, from a small mat to a large throw.
- Repeat the increase rounds, following your pattern’s instructions for expanding the star. Each round adds more fabric and defines the points further.
- Check the size periodically by laying your work flat. This helps you visualize the finished dimensions and decide when to stop.
- Adjust your hook tension if you notice your fabric becoming too loose or too stiff. Consistent tension is important for an even drape.
Step 7: Finish the Edging
Adding a neat border or edging can give your star blanket a polished, complete look.
This step can also help to even out any slight irregularities in the outer edge.
- Work a simple round of single crochet (SC) around the entire edge of your star blanket. This provides a clean, stable finish.
- Consider a more decorative border if you prefer. Shell stitches, picot stitches, or a reverse single crochet can add a beautiful flourish.
- Ensure your final round of edging is evenly spaced. Make sure to work enough stitches to keep the edge flat, without rippling or pulling in.
Step 8: Weave in Ends and Block
These final finishing touches are crucial for a professional-looking and long-lasting star blanket.
Don’t skip these steps; they make a significant difference.
- Weave in all loose yarn ends using your yarn needle. Thread each tail through several stitches in the same color, changing direction a few times to secure it.
- Block your finished blanket. Blocking helps to even out stitches, relax the fabric, and enhance the star’s shape.
- Choose your blocking method based on your yarn fiber. Acrylics can be steam blocked, while wools respond well to wet blocking. Pin your blanket into its desired star shape before blocking.
Common Mistakes to Avoid
Uneven Tension
Inconsistent tension is a frequent issue that can lead to a wobbly or uneven fabric.
Some areas might be too tight, causing puckering, while others are too loose, creating gaps.
To avoid this, practice holding your yarn and hook consistently. Take breaks if your hands feel tired, and consciously try to maintain an even grip throughout your project.
Incorrect Stitch Count
Missing or adding stitches, especially at the star points, will distort your blanket’s shape.
This can lead to lopsided points or an overall misshapen star.
Always count your stitches after every round, or at least every few rounds. Use stitch markers to clearly identify the start of a round and each star point to help maintain accuracy.
Forgetting to Weave in Ends
Leaving loose ends until the very end of your project can be overwhelming and lead to a messy finish.
Unsecured ends can also unravel over time, compromising the blanket’s durability.
Weave in your ends as you go, especially when changing colors. This spreads out the task and ensures a tidy finish from the start.
Ignoring Gauge
Not checking your gauge can result in a blanket that is significantly larger or smaller than intended.
It can also impact the amount of yarn you need, potentially leaving you short or with too much excess.
Always crochet a small swatch (gauge swatch) before starting your blanket. Measure your swatch and adjust your hook size if necessary to match the pattern’s recommended gauge.
Troubleshooting
My Star is Curling/Waving
If your star blanket is curling upwards, you likely don’t have enough increases in your rounds.
If it’s waving or rippling, you might be adding too many increases, causing the fabric to expand too quickly.
Review your pattern carefully to ensure you are placing increases in the correct spots and with the right frequency. Adjust your increase count per point if needed to achieve a flat fabric.
My Center Hole is Gaping
A loose or gapping hole in the center of your star blanket is usually due to the magic ring not being pulled tight enough.
It can also happen if your initial stitches into the ring are too loose.
Ensure you pull the tail of your magic ring very firmly to close the hole completely. You might also try using a slightly smaller hook for just the first round to create a tighter center.
My Points Are Not Sharp Enough
If your star points appear rounded or less defined, it often means the increases at the point are not concentrated enough.
The stitches might be too spread out, or the chain space at the point might be too small.
Double-check your pattern for the specific stitch combination used at each point (e.g., [2 DC, Ch 2, 2 DC] in the same chain space). Ensure your chain space at the point is large enough to create a distinct corner.
Key Takeaways
- Accurate stitch counting is vital for maintaining the star’s symmetrical shape.
- Consistent tension throughout your crocheting ensures an even and attractive fabric.
- The magic ring is essential for a tight, professional-looking center without a hole.
- Weaving in yarn ends as you go simplifies the finishing process and prevents unravelling.
- Blocking your finished blanket enhances its shape, drape, and overall polished appearance.
- Take your time, enjoy the process, and don’t be afraid to unravel and re-do if needed.
Frequently Asked Questions
Can I use any yarn weight?
Yes, you can adapt a star blanket pattern to almost any yarn weight. Just remember to use a corresponding crochet hook size for your chosen yarn. Thicker yarns will create a larger, heavier blanket faster, while thinner yarns will result in a smaller, more delicate piece.
How do I make my blanket bigger or smaller?
To make your star blanket larger, simply continue repeating the increase rounds until it reaches your desired size. To make it smaller, stop crocheting after fewer rounds. The beauty of a star blanket pattern is its scalability.
How many colors should I use?
The number of colors is entirely up to your personal preference! A single solid color can create a classic, elegant look. Two contrasting colors can highlight the star shape. Using multiple colors or a self-striping yarn can produce a vibrant, playful effect. Experiment and have fun!
Is this suitable for beginners?
While some confident beginners might tackle a star blanket, it’s generally considered an intermediate project. The shaping and stitch counting required can be a bit challenging for absolute novices. However, with patience and attention to detail, a determined beginner can certainly succeed.
Our Top Recommended Finds
- Ergonomic Crochet Hook Set: These hooks feature comfortable handles, reducing hand fatigue during long crocheting sessions.
- High-Quality Acrylic Yarn: Durable, soft, and machine washable, acrylic yarn is perfect for blankets that need to stand up to everyday use.
- Locking Stitch Markers: These invaluable tools clip securely into your stitches, helping you keep track of rounds, points, and important stitch placements.
Your Starry Creation Awaits
You now have all the practical steps and insights needed to crochet your very own star blanket.
Imagine the warmth and beauty it will bring to your home or the joy it will provide as a thoughtful handmade gift.
Don’t wait; gather your materials and begin your starry crochet adventure today. Once you master this, consider exploring other shaped blankets or intricate stitch patterns for your next project.