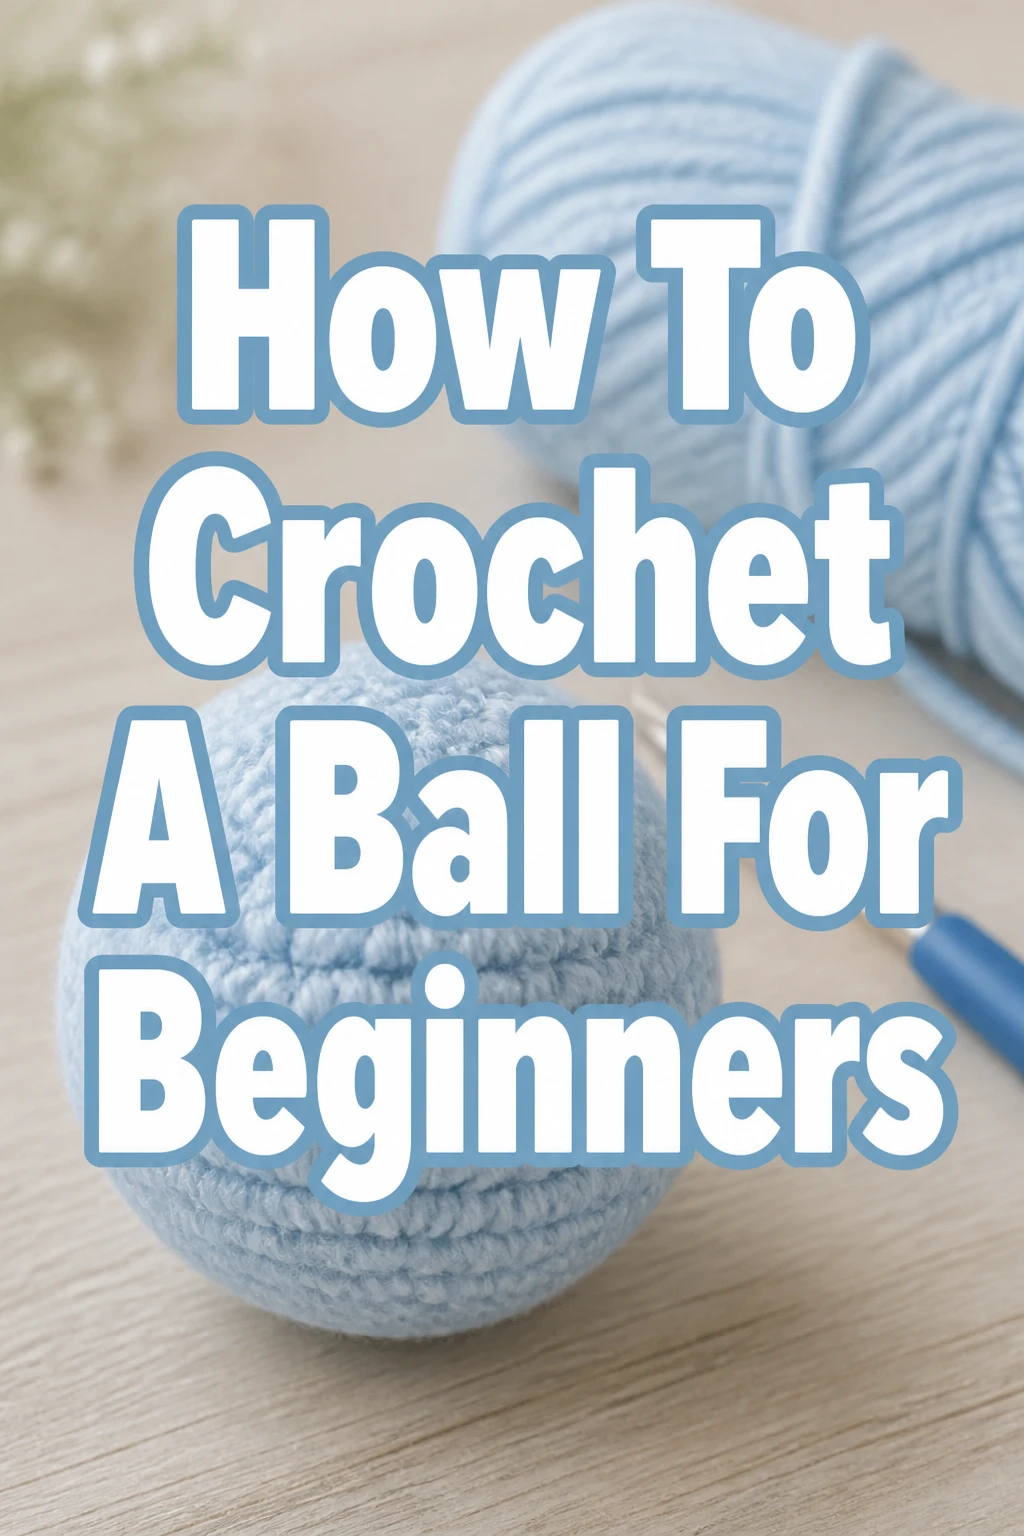
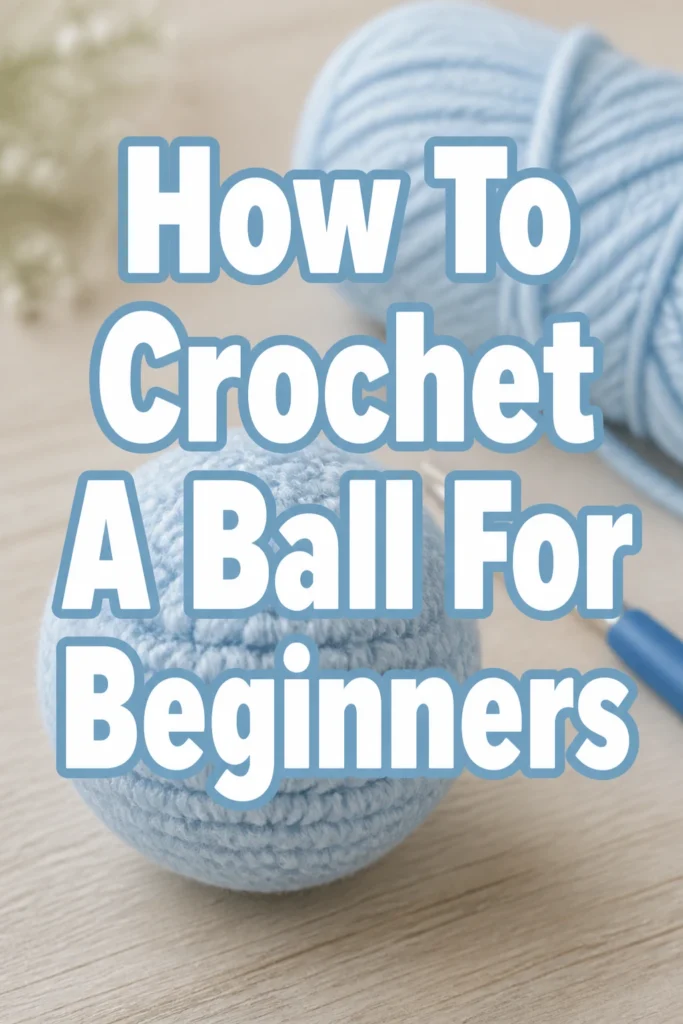
How To Crochet A Ball For Beginners
Learning to crochet a ball feels incredibly rewarding. It’s a foundational skill that opens up a world of creative projects, from adorable amigurumi to practical household items. I remember the satisfaction of finishing my very first perfectly round shape, realizing just how many possibilities it unlocked.
This guide will walk you through each step, making sure you understand the basics to create your own lovely crochet ball.
Quick Overview
You’re about to create a classic, soft crochet ball, perfect for practice or as a building block for larger projects. We will cover starting with a magic ring, increasing stitches to shape the bottom, working straight sides, and then decreasing to form the top.
- Time needed: 1-2 hours for your first ball
- Difficulty: Beginner
- What you’ll need: Yarn, crochet hook, stuffing, scissors, yarn needle
Step-by-Step Instructions
Let’s get started on your crochet ball adventure. Follow these instructions carefully, and you’ll have a charming handmade item in no time.
Step 1: Gather Your Supplies
Having everything ready before you begin makes the process smoother. Collect your chosen yarn, the correct hook size, stuffing, scissors, and a yarn needle.
Choose a light-colored, smooth yarn for your first project, as it makes stitches easier to see. A medium weight (worsted weight) yarn and a corresponding hook (usually 4.0mm to 5.5mm) are ideal for beginners.
Step 2: Start with a Magic Ring
The magic ring, also known as a magic circle or adjustable ring, creates a tight, closed center for your ball. This prevents a hole from forming at the top or bottom of your project.
To create a magic ring, wrap the yarn around your fingers to form a loop. Insert your hook into the loop, yarn over, and pull up a loop. Yarn over again and pull through the loop on your hook to make a chain 1.
Pro Tip: Practice the magic ring a few times before starting your project. A solid foundation makes all the difference for a neat finish.
Step 3: Work Your First Round (R1)
Now that your magic ring is established, it’s time to add your first stitches. These stitches will form the very center of your ball.
Single crochet stitches into the magic ring. For a typical small ball, six single crochet stitches (sc) are a good starting point. After making your stitches, pull the yarn tail tightly to close the ring, creating a neat, closed center.
Step 4: Begin Increasing (R2 and beyond)
To make your flat circle grow into the curved bottom of a ball, you need to increase your stitches. Increasing means working two stitches into a single stitch from the previous round.
For Round 2 (R2), single crochet twice into each stitch from R1. This will double your stitch count, making your circle expand. You will now have 12 stitches.
For Round 3 (R3), single crochet once in the first stitch, then single crochet twice in the next stitch. Repeat this pattern around the entire round. You will end with 18 stitches.
For Round 4 (R4), single crochet once in the first two stitches, then single crochet twice in the next stitch. Repeat this pattern around the entire round. You will end with 24 stitches.
Continue this increasing pattern until your circle reaches the desired width for your ball. A common pattern is to increase by 6 stitches each round, evenly spaced. For example, R5 would be ‘sc in next 3 st, 2 sc in next st’ repeated.
Pro Tip: Use a stitch marker to mark the first stitch of each round. This helps you keep track of where one round ends and the next begins, which is crucial for even shaping.
Step 5: Create the Straight Sides
Once your ball reaches its widest point through increases, you’ll want to build up its height. This creates the ‘body’ of the ball before you begin to decrease.
To create the straight sides, simply single crochet one stitch into each stitch around the entire round. Do not increase or decrease. You will maintain the same stitch count for several rounds.
Work as many rounds as needed to achieve the desired height for your ball. For a roughly spherical ball, you might work the same number of straight rounds as your increasing rounds.
Step 6: Start Decreasing
Just as you increased to make the ball expand, you’ll now decrease to make it narrow again, forming the top curve. Decreasing means combining two stitches into one.
To make an invisible decrease (sc2tog invisible), insert your hook into the front loop of the first stitch, then immediately insert it into the front loop of the next stitch. Yarn over and pull through both front loops (two loops on hook). Yarn over and pull through both loops on your hook. This creates a neat, less noticeable decrease.
Start decreasing using a similar pattern to your increases, but in reverse. For example, if your last increase round was ‘sc in next 3 st, 2 sc in next st’, your first decrease round would be ‘sc in next 3 st, sc2tog invisible’.
Continue decreasing by 6 stitches each round, evenly spaced, until only a small opening remains.
Step 7: Stuff Your Ball
Before you fully close your ball, it’s time to add the stuffing. This gives your ball its plump, squishy shape.
Insert your fiberfill or stuffing material into the ball through the remaining opening. Make sure to stuff it firmly and evenly to avoid lumps or flat spots. Use the back of your crochet hook or a chopstick to push stuffing into tight spots.
Don’t overstuff to the point where the stitches pull apart, but ensure it’s firm enough to hold its shape.
Step 8: Close the Ball
With your ball stuffed, it’s time to finish the decreasing rounds and close the small hole. This creates a neat, invisible finish.
Continue your decreasing rounds until you have only a few stitches left (e.g., 6 stitches). Cut your yarn, leaving a tail about 6-8 inches long. Thread this tail onto your yarn needle.
Weave the needle through the front loop of each remaining stitch. Pull the yarn tail tightly, and the opening will cinch shut. Secure the yarn by making a small knot, then weave the tail into the ball to hide it.
Common Mistakes to Avoid
Even experienced crocheters make small errors sometimes. Being aware of these common pitfalls can help you create a perfect ball on your first try.
Inconsistent Tension
Crocheting with uneven tension is a frequent issue for beginners. If your stitches are sometimes tight and sometimes loose, your ball can end up looking lopsided or bumpy. Practice keeping a consistent grip on your yarn and hook to maintain even stitch size throughout your project.
Forgetting Stitch Count
Losing track of your stitch count is a quick way to derail your project. If you miss increases or decreases, your ball won’t form a smooth, round shape. Always use a stitch marker for the first stitch of each round and recount your stitches periodically, especially after increase or decrease rounds.
Improper Stuffing
How you stuff your ball significantly impacts its final appearance. Understuffing leaves your ball flimsy and shapeless, while overstuffing can stretch your stitches, making the stuffing visible or even creating holes. Stuff gradually and evenly, gently pushing the fiberfill into all areas until the ball feels firm but still soft.
Leaving a Hole in the Magic Ring
The purpose of the magic ring is to create a closed center. If you don’t pull the tail tight enough after your first round, you might end up with a small hole in the middle of your ball. Ensure you pull that starting tail firmly to cinch the ring completely shut before continuing to the next rounds.
Troubleshooting
Sometimes things don’t go exactly as planned. Here are solutions to a few common issues you might encounter while crocheting your ball.
My Ball Looks Lopsided
If your ball isn’t perfectly round, it’s often due to inconsistent tension or unevenly placed increases/decreases. Try to relax your grip and ensure your increases and decreases are distributed exactly as the pattern suggests. If it’s only slightly off, sometimes a good stuffing can help smooth out minor imperfections.
There’s a Hole in the Middle
This usually points back to the magic ring. If the initial yarn tail wasn’t pulled tight enough, or if it came loose, a gap can form. Make sure to pull the tail very firmly after completing your first round of single crochets. You can also weave the tail through the center stitches again with a yarn needle for extra security before continuing.
My Stitches Look Messy
Messy stitches can be caused by splitting the yarn, inserting your hook incorrectly, or inconsistent tension. Focus on inserting your hook cleanly under both loops of the previous stitch. If you’re splitting the yarn frequently, your hook might be too dull, or your yarn might be prone to splitting. Practice slowing down and making each stitch deliberately.
Key Takeaways
Creating a crochet ball relies on a few core techniques and practices. Mastering these will serve you well in many future projects.
- The magic ring is essential for a seamless, closed center.
- Increases expand your work, while decreases narrow it to create shape.
- Consistent tension ensures a smooth, even fabric.
- Using a stitch marker helps maintain an accurate stitch count.
- Stuff your ball firmly and evenly before fully closing the opening.
- Practice makes perfect; don’t be afraid to start over if needed.
Frequently Asked Questions
New crocheters often have similar questions when starting a project like a ball. Here are some common inquiries.
What type of yarn is best for crocheting a ball?
For beginners, a smooth, medium-weight (worsted weight) acrylic or cotton yarn is ideal. Acrylic is affordable and comes in many colors, while cotton offers a nice stitch definition. Avoid fuzzy or dark yarns for your first attempt, as they can obscure stitches.
What hook size should I use?
The best hook size depends on your yarn. Check the yarn label for a recommended hook size, usually a range like 4.0mm to 5.5mm (G to I hook). A slightly smaller hook than recommended can create tighter stitches, which is often preferred for amigurumi to prevent stuffing from showing through.
Can I make the ball bigger or smaller?
Absolutely! To make a bigger ball, simply continue the increase rounds (e.g., ‘sc in next 4 st, 2 sc in next st’ then ‘sc in next 5 st, 2 sc in next st’) until it reaches your desired width. Then work more straight rounds and more decrease rounds. To make it smaller, do fewer increase and straight rounds. Just keep your increases and decreases symmetrical.
What can I use a crochet ball for?
Crochet balls are incredibly versatile! They can be used as cat toys, baby rattles (with a safety insert), juggling balls, decorative fillers for bowls, ornaments, or as the head or body of amigurumi animals. The possibilities are endless once you master the basic shape.
Our Top Recommended Finds
Having the right tools can make your crocheting experience much more enjoyable and efficient. Consider these helpful items for your crafting arsenal.
- Ergonomic Crochet Hooks: These hooks feature comfortable handles that reduce hand fatigue, allowing you to crochet for longer periods without discomfort. They are a worthwhile investment for any regular crafter.
- Locking Stitch Markers: Essential for keeping track of your rounds, especially when working in a spiral. These markers clip securely into your stitches, ensuring you never lose your place.
- Yarn Needle Set: A set of blunt-tipped yarn needles in various sizes is perfect for weaving in ends and closing up your finished crochet projects neatly and securely.
Your Next Creative Adventure Awaits!
You’ve now learned how to crochet a basic ball, a fundamental shape in the world of fiber arts. This skill is a stepping stone to so many exciting projects. From here, you can explore amigurumi patterns, which often use balls as their building blocks, or experiment with different yarn weights and colors to create unique decorative items.
Don’t hesitate to start another ball, perhaps trying a different yarn or hook size. Each practice piece strengthens your technique and confidence. Grab your hook and yarn today and continue your creative journey!