14 Beginning Crochet Tutorial Step By Step
Ever stare at those cute crochet projects online, thinking “Ugh, I could never”?
Yeah, we’ve all been there, feeling like our hands are just for scrolling.
Guess what? You totally can hook up some magic, even if your craft skills currently peak at opening a bag of chips.
1. Slip Knot and Chain Stitch
- Best For: Absolute beginners, getting yarn onto your hook.
- Vibe: Essential, foundational.
- Why it works: These are the very first steps to get yarn onto your hook.
You literally cannot crochet without mastering the slip knot. It’s the starting point for every single project, no matter how complex.
Then, practice your chain stitch until it looks somewhat even. Think of it as building your yarn superhighway.
Pro Tip: Don’t pull your slip knot too tight. You need a little wiggle room for your hook to move freely.
2. Single Crochet Stitch
- Best For: Getting comfortable with basic fabric creation.
- Vibe: Simple, repetitive, satisfying.
- Why it works: It creates a dense, sturdy fabric and is easy to learn.
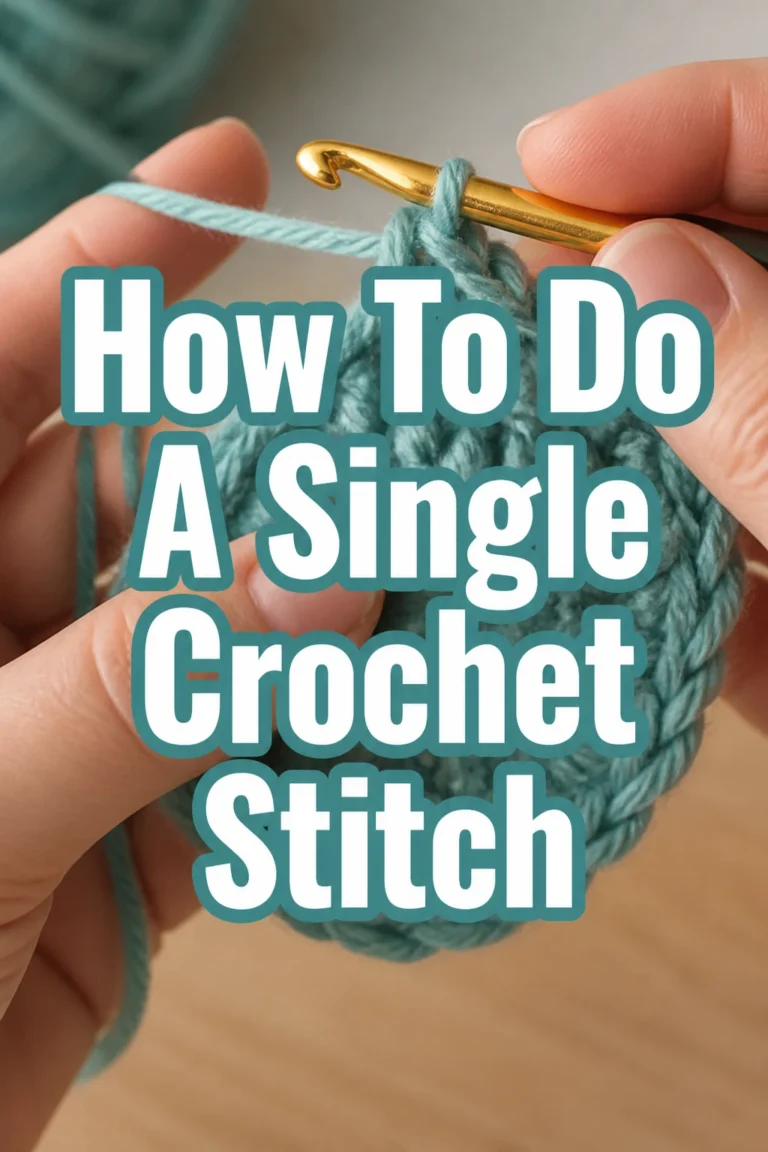
The single crochet is your new best friend. It’s a short, squat stitch that makes a firm fabric.
You will use this one constantly, so get cozy with it. Grab some worsted weight acrylic yarn in a light color like cream or pale blue.
Pro Tip: Count your stitches at the end of every row. Seriously, just do it.
3. Double Crochet Stitch
- Best For: Faster projects, lacier fabric.
- Vibe: Relaxed, flowing.
- Why it works: It’s taller than single crochet, making your projects grow quicker.
Ready for a glow-up? The double crochet adds height and speed to your work.
It’s only one extra step from a single crochet but makes a noticeably different fabric. Try it with a 5.0 mm hook.
Pro Tip: Your tension will loosen with taller stitches, so don’t be afraid to adjust your grip.
4. Learning to Read a Pattern
- Best For: Moving beyond basic swatches.
- Vibe: Empowering, like learning a secret code.
- Why it works: Patterns guide you through complex projects step by step.
Patterns look like gibberish at first, full of abbreviations like “ch” and “sc” and “dc.”
Grab a simple pattern for a dishcloth. Look up what “ch 3, turn” means. You will get there.
Pro Tip: Keep an abbreviation chart handy. Print it out or save it to your phone for quick reference.
5. Choosing Your First Yarn
- Best For: Setting yourself up for success.
- Vibe: Practical, smart shopper.
- Why it works: The right yarn makes learning easier and more enjoyable.
Seriously, don’t start with black yarn. Or fuzzy yarn. Or super thin yarn. Just don’t.
Opt for a smooth, light-colored worsted weight acrylic yarn. It costs about $4-7 per skein and is forgiving.
Pro Tip: Avoid novelty yarns until you are super confident. You literally cannot see your stitches.
6. Selecting the Right Hook
- Best For: Comfortable crocheting.
- Vibe: Ergonomic, personal fit.
- Why it works: The hook size impacts your stitch size and overall fabric.
Most patterns will suggest a hook size, like a 5.0 mm (H) hook for worsted weight yarn.
Start with an aluminum hook; they are inexpensive, around $3-5 each. Later, you can splurge on ergonomic handles.
Pro Tip: If your stitches are too tight, go up a hook size. If they are too loose, go down.
7. Making a Gauge Swatch
- Best For: Achieving correct project size.
- Vibe: Meticulous, professional.
- Why it works: A swatch tells you if your tension matches the pattern’s, preventing a too-big or too-small project.
Nobody likes making a gauge swatch, but it is super important. Crochet a small square, usually 4×4 inches, using the pattern’s recommended hook and yarn.
Then measure it. This saves you from making a baby blanket that fits a doll. Nobody wants that.
Pro Tip: Block your swatch before measuring for the most accurate results, especially for garments.
8. Learning to Join Yarn
- Best For: Continuing projects, changing colors.
- Vibe: Resourceful, tidy.
- Why it works: You will run out of yarn or want to switch colors.
Running out of yarn mid-row is annoying. Learn a simple method to join a new skein.
You can just tie a knot and crochet over the tails, or use a “magic knot” for a super clean join. It’s like magic, but with yarn.
Pro Tip: Always leave a generous tail (about 6 inches) on both ends for weaving in later.
9. Weaving in Ends
- Best For: Professional-looking finished projects.
- Vibe: Patient, detail-oriented.
- Why it works: Loose ends unravel and look messy.
This is the part everyone hates, but it makes your project look finished and prevents it from falling apart.
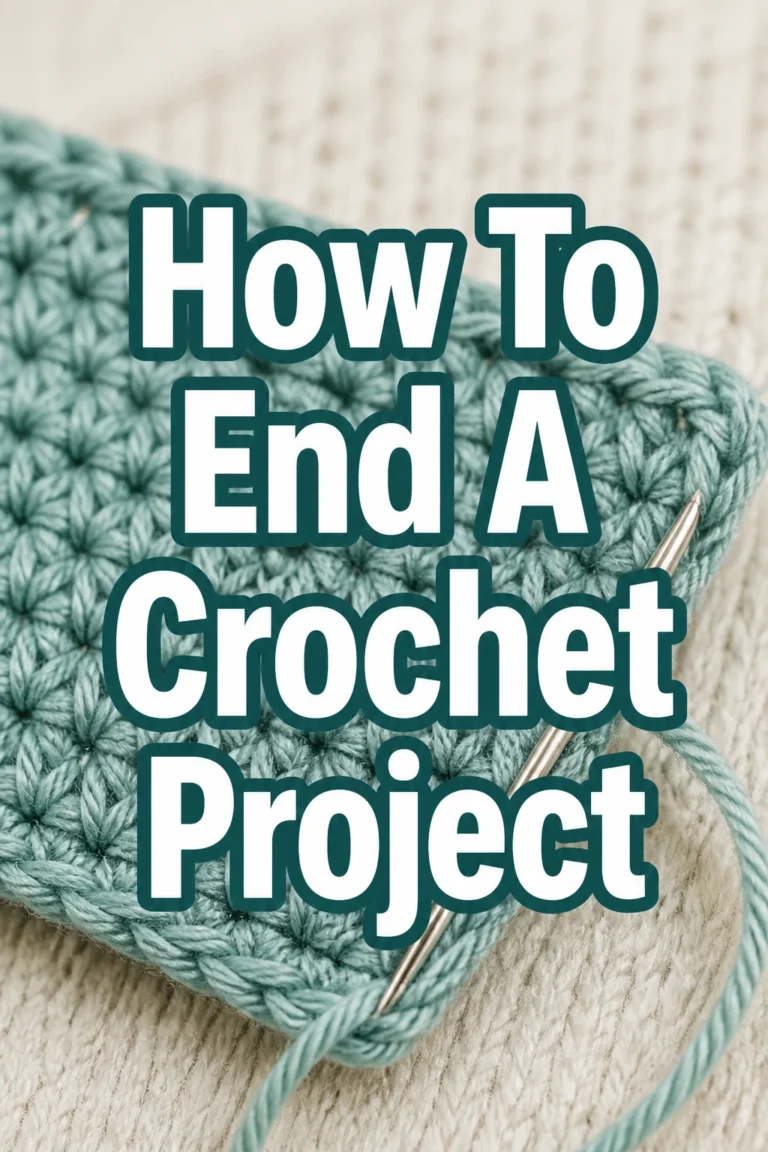
Use a tapestry needle to weave tails through your stitches. Don’t just snip them short. That’s a rookie mistake.
Pro Tip: Weave ends in different directions to secure them better, especially in high-stress areas.
10. Fixing Mistakes
- Best For: Problem-solving, resilience.
- Vibe: Forgiving, learning from errors.
- Why it works: Everyone makes mistakes; knowing how to fix them is key.
You will drop stitches. You will add stitches. You will realize you messed up three rows back.
It’s called “frogging” when you unravel your work. Just do it. It’s part of the process. Embrace the frog.
Pro Tip: Use a stitch marker to secure your loop when you step away from your work, especially if you have pets.
11. Crocheting in the Round
- Best For: Hats, coasters, amigurumi.
- Vibe: Whimsical, versatile.
- Why it works: Opens up a whole new world of projects beyond flat pieces.
Once you’ve mastered flat rows, try crocheting in the round. This is how you make cute little stuffed animals, aka amigurumi, and hats.
Start with a “magic ring” or “magic circle.” It sounds intimidating, but it’s just a fancy way to start a circle.
Pro Tip: Place a stitch marker in the first stitch of each round to keep track of where your round begins.
12. Basic Shapes Square and Circle
- Best For: Understanding construction.
- Vibe: Fundamental, building blocks.
- Why it works: Mastering these allows you to combine them into more complex designs.
Start with a simple square dishcloth, then move to a round coaster. These basic shapes teach you how to increase and decrease stitches.
A granny square is a perfect next step for squares. Everyone loves a good granny square.
Pro Tip: Watch video tutorials for visual learners. Sometimes seeing it clicked is better than reading.
13. Blocking Your Projects
- Best For: Polishing, shaping, evening out stitches.
- Vibe: Sophisticated, professional.
- Why it works: Blocking evens out your stitches and gives your finished project a professional look.
Blocking is basically giving your crochet a spa day. You wet it, shape it, and let it dry.
It makes a huge difference, especially for wearables or lace patterns. You can use blocking mats and rust-proof pins.
Pro Tip: Always check your yarn label for blocking instructions. Some yarns respond better to wet blocking, others to steam.
14. Your First Project A Simple Scarf
- Best For: Building confidence, tangible reward.
- Vibe: Accomplished, cozy.
- Why it works: A scarf is a long rectangle; you just repeat rows.
Pick a simple stitch, like single crochet or double crochet, and make a scarf. It’s just a long rectangle, really.
Don’t worry if it’s not perfect. It’s your first handmade cozy creation, and that’s all that matters.
Pro Tip: Choose a yarn color you absolutely adore. You’ll be spending a lot of time with it.
Our Top Recommended Finds
- A set of ergonomic crochet hooks. They save your hands from cramping during those marathon Netflix-and-crochet sessions.
- A large pack of stitch markers. You will lose them, you will need more, trust us.
- A sturdy yarn bowl. It keeps your yarn from rolling away and getting attacked by curious pets.
Which of these will you try first?
Honestly, diving into crochet is like unlocking a superpower. It might feel clunky at first, but soon you will be whipping up gifts and home decor like a fiber wizard.
We can’t wait to see what you make.
So, which of these beginner steps are you going to tackle this weekend? Tell us in the comments. We are rooting for you.