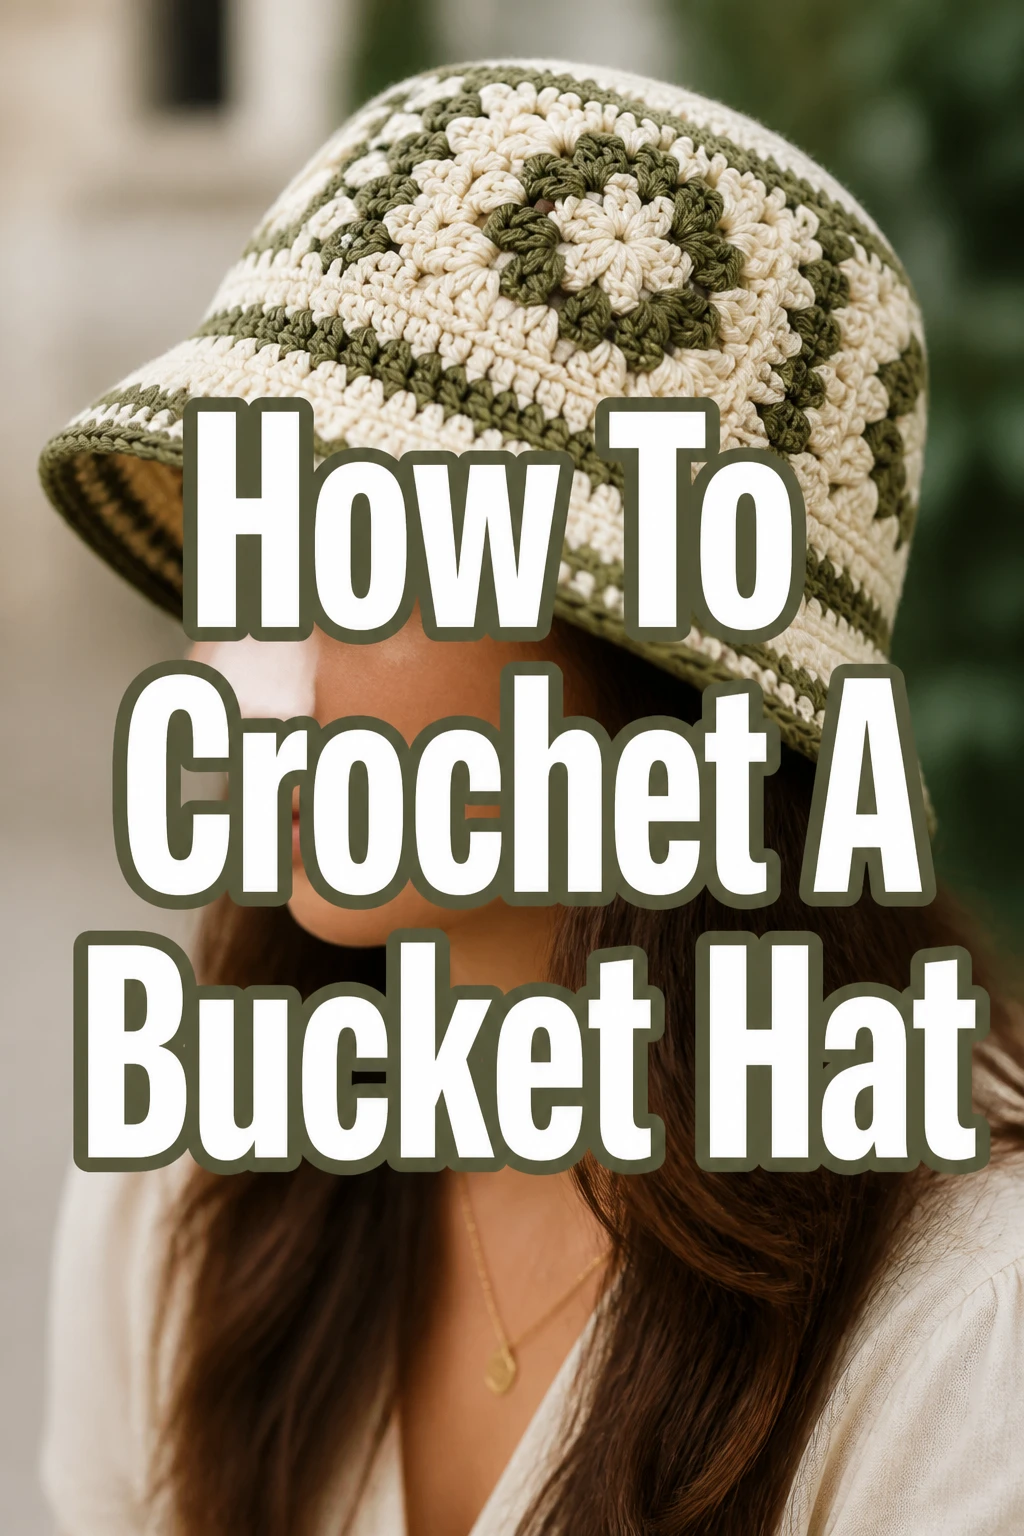
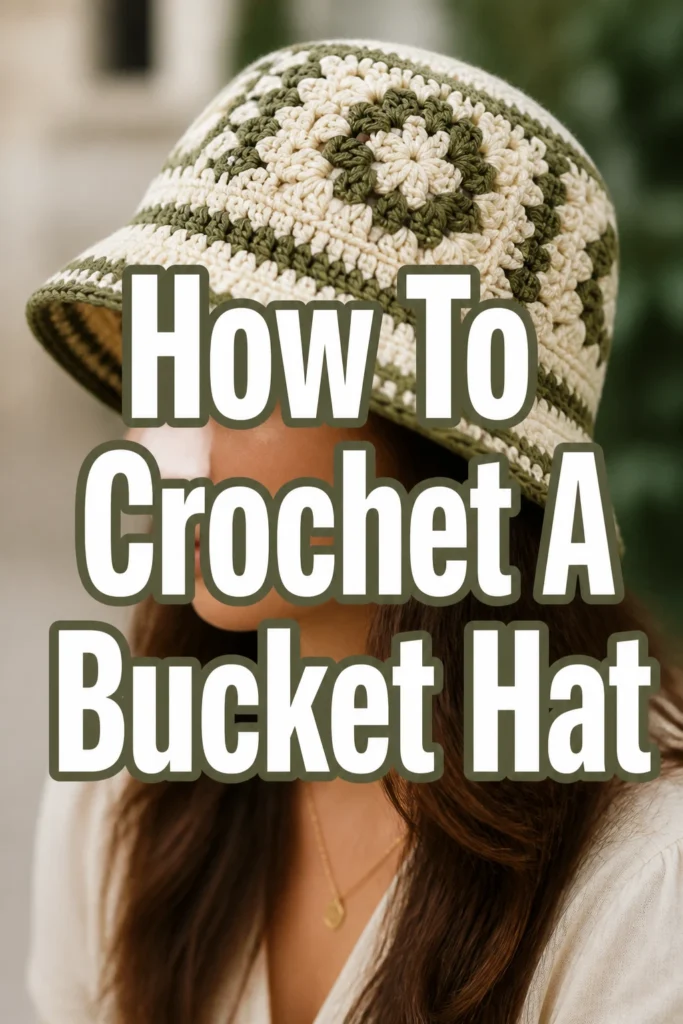
How To Crochet A Bucket Hat
Crocheting your own bucket hat is a deeply satisfying project, perfect for adding a personal touch to your wardrobe.
I remember the first bucket hat I made; it felt amazing to wear something I created with my own hands.
This guide will walk you through every stitch, helping you create a stylish and functional hat you’ll love.
Quick Overview
This project will guide you through creating a classic, comfortable bucket hat using fundamental crochet stitches. You’ll learn how to shape the crown, create the body, and form a sturdy brim.
- Time needed: 4-8 hours (depending on experience)
- Difficulty: Beginner to Intermediate
- What you’ll need: Yarn, crochet hook, stitch marker, scissors, yarn needle
Step-by-Step Instructions
Step 1: Gather Your Materials
Before you begin, ensure you have all the necessary supplies readily available. This prevents interruptions once you start crocheting.
Choose your yarn. A medium-weight (worsted weight, size 4) cotton or cotton blend yarn is ideal for a bucket hat. It offers good structure and breathability.
Select a crochet hook that matches your yarn’s recommended size. Typically, a 4.0mm to 5.5mm (G/6 to I/9) hook works well for worsted weight yarn, but check your yarn label.
Grab a stitch marker. This small tool is invaluable for keeping track of your rounds, especially when working in a spiral.
Have a pair of sharp scissors and a yarn needle ready for finishing your hat.
Pro Tip: Always check your yarn label for the suggested hook size. You might need to go up or down a size to achieve a fabric that’s neither too stiff nor too loose for your personal tension.
Step 2: Create the Magic Ring (Adjustable Ring)
The magic ring provides a tight, neat center for your hat, preventing a hole at the top. This is the foundation of your hat’s crown.
Form a loop with your yarn, leaving a tail of about 6 inches. The working yarn (attached to the ball) should cross over the tail.
Insert your hook into the center of the loop, from front to back.
Yarn over with the working yarn and pull up a loop.
Chain one to secure the loop on your hook. This chain does not count as a stitch.
Work 6-8 single crochet (sc) stitches into the magic ring. The exact number depends on your desired hat size and pattern, but 6 is a common starting point.
Pull the yarn tail firmly to close the ring, gathering all the stitches tightly together. You now have a neat, closed center.
Step 3: Crochet the Crown (Flat Circle)
The crown of your bucket hat is a flat circle that gradually increases in size. This section determines the top diameter of your hat.
Place a stitch marker in the first stitch of each round. This is crucial when working in continuous rounds.
Round 1: Work 2 single crochet stitches into each stitch around. You should now have twice the number of stitches you started with (e.g., if you started with 6 sc, you’ll have 12 sc).
Round 2: Work 1 single crochet in the first stitch, then 2 single crochet in the next stitch. Repeat from to around the entire round. This creates 1.5 times the stitches of the previous round.
Round 3: Work 1 single crochet in each of the next 2 stitches, then 2 single crochet in the next stitch. Repeat from to around.
Continue this increasing pattern: In each subsequent round, add one more single crochet between your increase stitches.
For example, Round 4 would be sc in next 3 stitches, 2 sc in next stitch. Round 5 would be sc in next 4 stitches, 2 sc in next stitch, and so on.
Keep crocheting and increasing until your flat circle measures approximately 6.5 to 7.5 inches in diameter for an adult hat. This measurement is crucial for the hat’s fit around your head.
Pro Tip: To avoid a hexagonal shape, slightly offset your increases in alternating rounds. For example, instead of always increasing in the same ‘spokes’, shift your increase stitch a few stitches over in every other round. This creates a rounder circle.
Step 4: Form the Sides (Hat Body)
Once your crown reaches the desired diameter, you’ll stop increasing to create the straight sides of your hat. This forms the part that sits around your head.
Remove your stitch marker from the last stitch of the crown round.
Work 1 single crochet stitch into each stitch around, without any increases. Place your stitch marker in the first stitch of this new round.
Continue working 1 single crochet in each stitch around for several rounds. The fabric will start to curve downwards, forming the body of the hat.
Measure the depth of the hat as you go. For an adult bucket hat, the sides typically need to be about 3.5 to 4.5 inches deep.
Stop when the hat reaches just above your ears, or your desired depth before the brim begins.
Ensure your stitch count remains consistent throughout these rounds to keep the sides straight and even.
Step 5: Begin the Brim (First Increase)
Now it’s time to create the distinctive brim of the bucket hat. This involves reintroducing increases to make the fabric flare outwards.
Start a new round by working 1 single crochet stitch into the first stitch.
Work 2 single crochet stitches into the next stitch. This is your first increase for the brim.
Continue the pattern: Work 1 single crochet into the next stitch, then 2 single crochet into the following stitch. Repeat from to around the entire round.
This initial increase round will significantly expand the circumference of your hat, laying the foundation for a wide brim.
Place your stitch marker in the first stitch of this brim round to keep track.
Step 6: Expand the Brim (Continued Increases)
To achieve a wider, more pronounced brim, you’ll continue increasing stitches over several rounds, similar to how you made the crown.
Round 1 (Brim): Work 1 single crochet in next stitch, 2 single crochet in next stitch, repeat around (as done in Step 5).
Round 2 (Brim): Work 1 single crochet in each of the next 2 stitches, then 2 single crochet in the next stitch. Repeat from to around.
Round 3 (Brim): Work 1 single crochet in each of the next 3 stitches, then 2 single crochet in the next stitch. Repeat from to around.
Repeat this increasing pattern, adding one more single crochet between your increase stitches in each subsequent round.
Continue until your brim reaches your desired width. A typical bucket hat brim is about 2 to 3 inches wide.
Try the hat on periodically to gauge the brim’s width and decide when to stop increasing.
Pro Tip: For a stiffer brim, consider using a smaller hook size for the brim rounds, or incorporating a stiffening agent later. Alternatively, you can work a round of slip stitches or reverse single crochet at the very edge to add rigidity.
Step 7: Finish the Hat
Once your brim is the perfect size, it’s time to secure your work and make your hat wearable.
Work one final round of single crochet without any increases. This helps to create a clean, even edge for the brim.
Slip stitch into the first stitch of the round to join and finish your continuous spiral.
Cut your yarn, leaving a tail of about 6-8 inches.
Yarn over and pull the tail completely through the loop on your hook to fasten off.
Weave in all loose ends using your yarn needle. Thread the tail through the needle and carefully work it through several stitches on the inside of your hat to hide it securely.
Trim any excess yarn close to the fabric, being careful not to cut the stitches themselves.
Block your hat if desired. This helps to shape the brim and even out your stitches. Gently wet the hat, shape it, and let it air dry.
Common Mistakes to Avoid
Inconsistent Tension
Crocheting with uneven tension can lead to a hat that looks lumpy, uneven, or doesn’t hold its shape well. Some stitches might be too tight, others too loose.
Practice maintaining a consistent grip on your yarn and hook. If you notice your stitches changing size, take a break or consciously try to relax your hands. Consistency comes with practice.
Incorrect Crown Diameter
Making the crown too large or too small will result in a hat that either flops around on your head or is too tight to wear comfortably. The crown size directly impacts the head circumference.
Always measure your flat circle as you go. For an adult, aim for 6.5-7.5 inches in diameter before starting the sides. If making for a child, adjust accordingly and measure their head.
Too Many or Too Few Increases for the Brim
An overly aggressive increase pattern will make the brim wavy or ruffled, while too few increases will make it curl upwards. Both prevent the classic bucket hat shape.
Follow the increasing pattern carefully, typically adding one extra single crochet between increases in each successive brim round. Try the hat on as you go to assess the brim’s shape and adjust if needed.
Forgetting the Stitch Marker
When working in continuous rounds, it’s easy to lose track of where a round begins and ends. This can lead to an uneven spiral or incorrect stitch counts.
Always place a stitch marker in the first stitch of every single round. Move it up with each new round. This simple step saves a lot of frustration and frogging.
Troubleshooting
Hat is Too Small/Tight
If your hat feels too snug around your head, it’s likely your crown diameter was too small or your tension is very tight.
To fix this, you may need to frog back to the crown and add an extra increase round or two until the diameter is correct. Alternatively, try using a larger hook size for your next hat.
Hat is Too Big/Loose
A hat that keeps slipping off indicates the crown was made too large, or your tension is too loose.
Consider frogging back and stopping your crown increases one or two rounds earlier. Using a smaller hook size can also help create a denser fabric and slightly smaller stitches.
Brim is Wavy or Ruffled
A wavy brim usually means you’ve added too many increases too quickly, causing the fabric to expand excessively.
Reduce the frequency of your increases. Instead of increasing every stitch, try increasing every 2 or 3 stitches in a round. You might need to frog back to the start of the brim and re-evaluate your increase pattern.
Brim is Curling Upwards
If your brim isn’t lying flat and instead curls up, you haven’t added enough increases to flatten it out.
Add more increases in your brim rounds. For example, if you were increasing every 3 stitches, try increasing every 2 stitches for the next round. You might need to add an extra increase round or two.
Key Takeaways
- Start with a magic ring for a neat, closed crown center.
- Gradually increase stitches to create a flat circular crown of the correct diameter.
- Stop increasing to form the straight sides of the hat body.
- Reintroduce increases to shape the flaring brim.
- Use a stitch marker diligently to keep track of your rounds.
- Measure your hat as you go to ensure a proper fit and desired dimensions.
Frequently Asked Questions
What type of yarn is best for a bucket hat?
Cotton or a cotton blend yarn is highly recommended for bucket hats. It’s breathable, holds its shape well, and creates a sturdy fabric. Acrylic can also work, but may be less breathable.
How do I make a bucket hat for a child?
The process is the same, but you’ll need to adjust the measurements. Start with a smaller crown diameter (e.g., 5-6 inches for a toddler) and a shorter hat body and brim. Always measure the child’s head for accuracy.
Can I use a different stitch?
While single crochet provides excellent structure, you can experiment with half double crochet (hdc) or double crochet (dc) for a different texture. Be aware that these stitches are taller, so you’ll need fewer rounds to achieve the same height, and the fabric will be drapier.
How do I wash my crocheted bucket hat?
Most cotton or acrylic yarns are machine washable on a gentle cycle with cold water. It’s best to lay flat to dry to help maintain its shape. Always check your specific yarn label for care instructions.
Our Top Recommended Finds
- Worsted Weight Cotton Yarn: Durable, breathable, and provides excellent stitch definition for a structured hat.
- Ergonomic Crochet Hook Set: Comfortable grips reduce hand fatigue, making long crocheting sessions more enjoyable.
- Locking Stitch Markers: Essential for keeping track of rounds and preventing your marker from falling out mid-project.
Your Next Creative Journey
You’ve successfully crocheted a stylish bucket hat, a testament to your growing skills and patience.
This project is just the beginning of what you can create with a hook and yarn.
Consider exploring other accessories like beanies, scarves, or even simple bags. Keep practicing, and your crochet abilities will flourish with every new project you undertake.