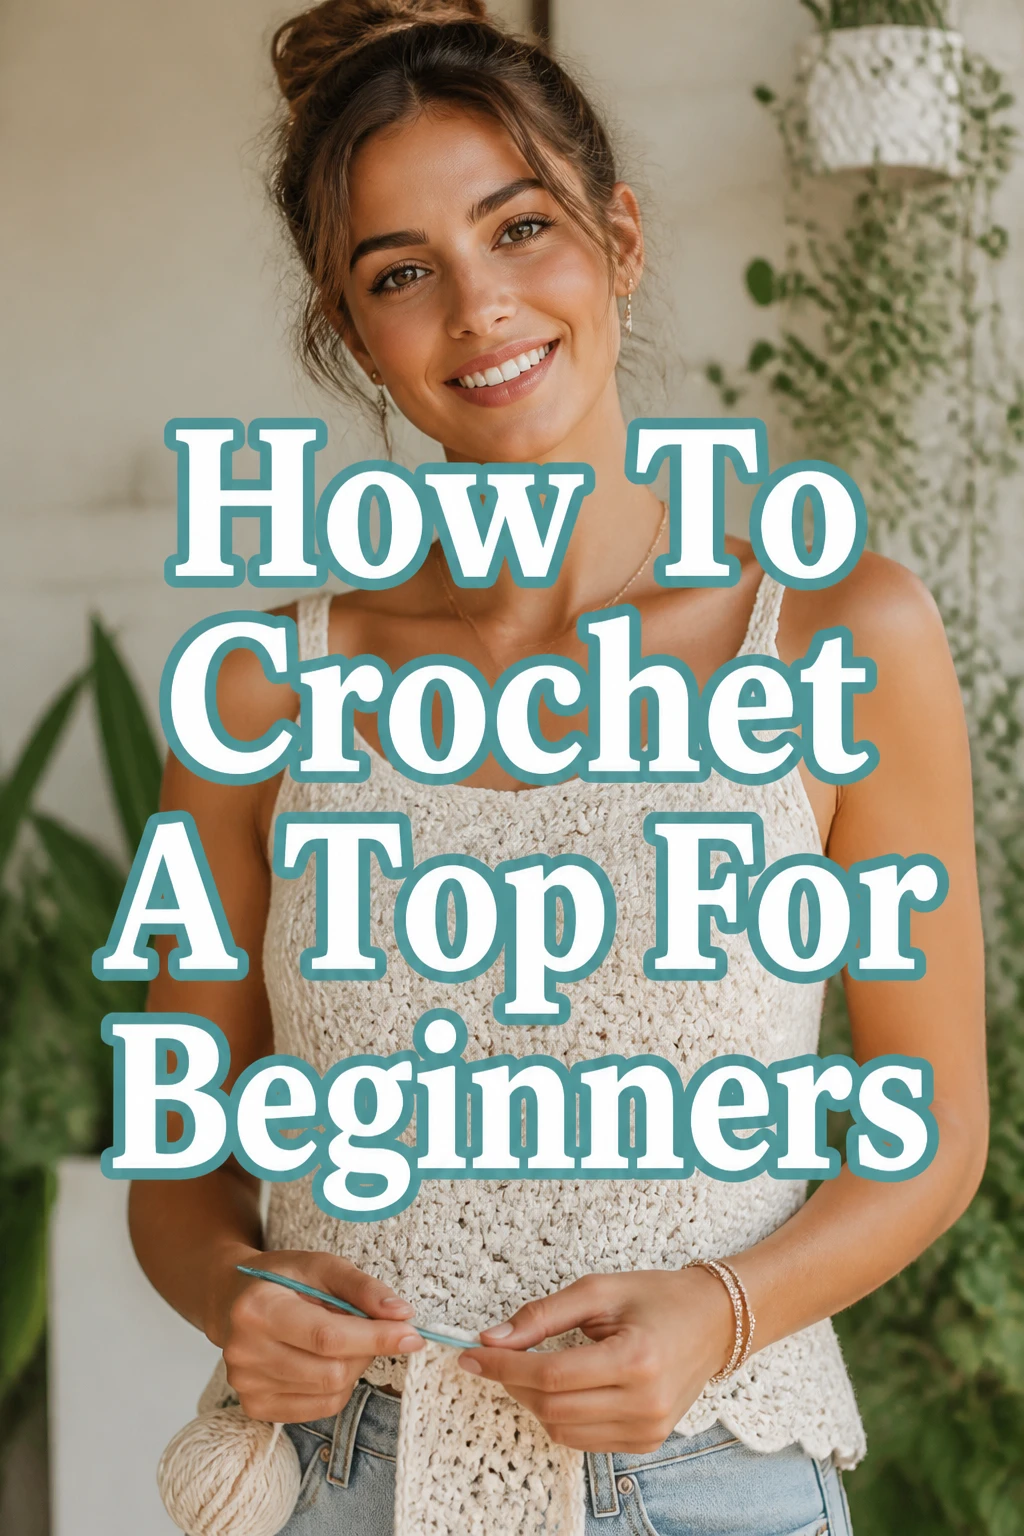
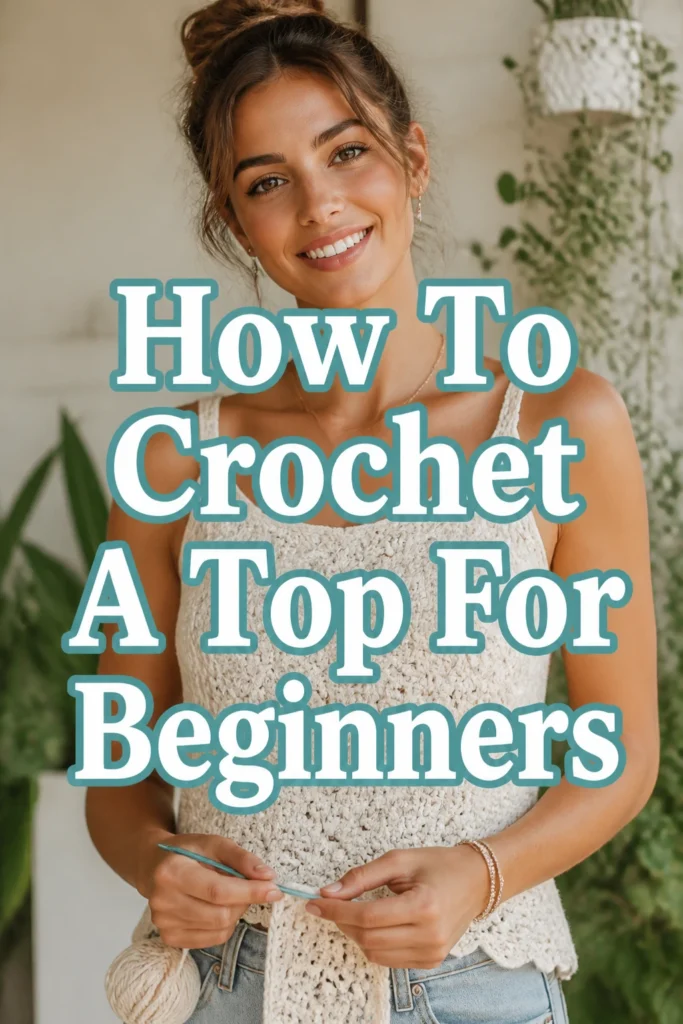
How To Crochet A Top For Beginners
Learning to crochet a wearable item might seem daunting at first.
I remember starting my first top, a simple halter, with a mix of excitement and trepidation.
This guide will walk you through each stitch and decision, making your first crocheted top a rewarding success.
Quick Overview
You’re about to embark on creating a stylish, custom-fit top using fundamental crochet techniques.
This project will teach you how to measure, create panels, and assemble your garment.
- Time needed: 8-15 hours (spread over several days/weeks)
- Difficulty: Beginner
- What you’ll need: Yarn, crochet hook, scissors, tapestry needle, measuring tape.
Step-by-Step Instructions
Step 1: Gather Your Materials and Choose Your Yarn
The right materials make all the difference for a smooth beginner experience.
Selecting suitable yarn and a comfortable hook will set you up for success.
- Select a medium-weight (worsted weight, size 4) yarn. Cotton or an acrylic blend is excellent for beginners, as it’s easy to work with and clearly shows stitch definition.
- Choose a crochet hook size recommended on your yarn label. A common size for worsted weight is H/5.0mm or I/5.5mm.
- Acquire a pair of sharp scissors, a tapestry needle for weaving in ends, and a flexible measuring tape.
Pro Tip: Lighter colored yarns make it easier to see your stitches, which is very helpful when you’re just starting out. Avoid dark or highly textured yarns for your first project.
Step 2: Take Your Measurements
Accurate measurements are key to a well-fitting top.
You’ll create two main panels for this beginner top, so focus on the width and desired length.
- Measure your bust circumference at the fullest part.
- Divide your bust measurement by two. This gives you the approximate width needed for each front and back panel. You’ll subtract a small amount for negative ease, or add for positive ease later.
- Determine your desired length. Measure from your shoulder (or armpit, depending on desired neckline) down to where you want the bottom hem of your top to sit.
- Sketch a simple rectangle for your front and back panels, noting your calculated width and length.
Step 3: Practice Basic Stitches and Make a Swatch
Before starting your top, mastering a few basic stitches and checking your gauge is essential.
This step ensures your finished top will be the correct size.
- Learn the chain stitch (ch) and the half double crochet (hdc) stitch. These two stitches will form the foundation of your top.
- Create a gauge swatch: Chain about 25 stitches.
- Work in hdc stitches for about 20 rows.
- Measure your swatch. Count how many stitches fit into 4 inches and how many rows fit into 4 inches.
- Adjust your hook size if necessary. If your swatch is too big, go down a hook size. If it’s too small, go up a hook size. Re-swatch until your gauge matches your desired measurements.
Pro Tip: Don’t skip the swatch! It’s the most common reason beginner projects don’t fit right. Invest the time now to save frustration later.
Step 4: Crochet Your Front Panel
Now it’s time to start the main body of your top.
You’ll create one rectangular panel first, which will be mirrored for the back.
- Calculate your starting chain: Based on your swatch, determine how many chains you need for your desired panel width (half your bust measurement, potentially subtracting 1-2 inches for a snugger fit).
- Chain the required number of stitches. Make sure your chain is not too tight.
- Work your first row of half double crochet stitches into the chains.
- Continue working in hdc rows, turning your work at the end of each row, until your panel reaches your desired length.
- Fasten off, leaving a long tail (about 12-18 inches) for seaming later.
Step 5: Crochet Your Back Panel
The back panel is typically identical to the front panel for a beginner-friendly design.
This symmetry simplifies the construction process significantly.
- Repeat the exact steps from Step 4.
- Chain the same number of stitches as your front panel.
- Work the same number of hdc rows until it matches the length of your front panel.
- Fasten off, again leaving a long tail for seaming.
Step 6: Join Your Panels
With both panels complete, you’ll now bring your top to life by seaming them together.
This creates the body of your garment.
- Lay your front and back panels flat, right sides facing each other.
- Align the side edges perfectly.
- Thread one of your long yarn tails onto your tapestry needle.
- Seam up one side using a mattress stitch or whip stitch, starting from the bottom hem and stopping at your desired armhole depth. Leave enough space for your armholes.
- Repeat for the other side seam, using the remaining yarn tail or a new piece of yarn.
- Weave in any remaining yarn ends securely into the seams.
Step 7: Create and Attach Straps
Straps give your top its final structure and allow it to be worn comfortably.
You can customize their length for a perfect fit.
- Decide on the width of your straps (e.g., 5-10 hdc stitches wide).
- Chain the number of stitches for your desired strap width.
- Work hdc rows until you have a strap of approximately 10-15 inches long. You can adjust this length later.
- Make a second identical strap.
- Attach one end of a strap to the top corner of the front panel using your tapestry needle and a whip stitch.
- Try on the top (carefully!) and pin the other end of the strap to the back panel, adjusting for comfortable length.
- Securely sew the strap to the back panel.
- Repeat for the second strap.
- Weave in all remaining loose ends neatly.
Pro Tip: For adjustable straps, you could crochet small buttonholes on one end of the strap and sew buttons onto the other panel. This allows for flexibility.
Common Mistakes to Avoid
Ignoring Gauge
Many beginners skip making a gauge swatch, eager to jump into the project. This often leads to a finished top that is either too large or too small, despite following the stitch count from a pattern. Always take the time to swatch and adjust your hook size to match the recommended gauge.
Too Tight or Too Loose Stitches
Consistency in tension is crucial for an even fabric. If your stitches are too tight, the fabric will be stiff and dense. If they are too loose, the fabric will be flimsy and gappy. Practice maintaining an even tension, and remember that it improves with practice.
Not Counting Stitches
It’s easy to accidentally add or skip stitches, especially at the beginning and end of rows. This can lead to a trapezoid-shaped panel instead of a rectangle. Count your stitches at the end of every few rows, or even every row, to ensure your stitch count remains consistent.
Forgetting to Leave Long Tails for Seaming
When fastening off, leaving a short tail means you’ll have to join new yarn to seam your panels, creating more ends to weave in. Always leave a tail of at least 12-18 inches when fastening off a piece that will be seamed.
Troubleshooting
My Edges Are Wobbly
Wobbly or uneven edges often happen when you’re not consistently placing your first and last stitch of each row. Make sure you are always working into the very last stitch of the previous row and chaining correctly for your turning chain (e.g., ch 2 for hdc, then working into the first hdc stitch, not the chain).
My Fabric Is Curling
Curling can be caused by inconsistent tension, especially if your starting chain is much tighter than your subsequent rows. Try using a hook one size larger for your starting chain, or simply practice maintaining a more relaxed tension throughout your work. Blocking (wetting and shaping your finished piece) can also help flatten curling.
My Top Doesn’t Fit Right After Assembly
If your top is too big, it’s likely due to a loose gauge or inaccurate measurements. If it’s too small, your gauge might be too tight or you miscalculated your starting chain. Review your swatch and measurements. For minor fit issues, you might be able to adjust seam allowances or add a border to gain a little width/length.
Key Takeaways
- Always begin with a gauge swatch to ensure your finished top will fit correctly.
- Choose a medium-weight, light-colored yarn for your first project to easily see your stitches.
- Practice your basic stitches (chain, half double crochet) until your tension feels consistent.
- Measure yourself accurately and determine your desired panel dimensions before starting.
- Count your stitches frequently to maintain straight edges and a consistent shape.
- Leave long yarn tails when fastening off panels for easier and cleaner seaming.
Frequently Asked Questions
Can I use a different stitch for this top?
Yes, you absolutely can! Once you’re comfortable with the half double crochet, you could try single crochet for a denser fabric or double crochet for a lacier look. Just remember to make a new gauge swatch for any new stitch you choose.
How do I make the top longer or shorter?
To adjust the length, simply crochet more or fewer rows for your front and back panels. Measure as you go to ensure you reach your desired length before fastening off.
What if my yarn runs out mid-row?
It’s best to join new yarn at the end of a row or at the very beginning of a new row for the neatest finish. If you must join mid-row, make sure to tie a secure knot and weave in both tails very carefully to hide them.
How do I care for my crocheted top?
Care instructions depend on your yarn fiber. Cotton and acrylic blends are generally machine washable on a gentle cycle and laid flat to dry. Always check your yarn label for specific care instructions to keep your top looking its best.
Your Journey into Wearable Crochet
You’ve just taken a monumental step in your crochet journey, moving from simple squares to a wearable garment.
This first top is more than just fabric; it’s a testament to your growing skill and patience.
Now that you’ve mastered a basic top, consider exploring patterns with different necklines, stitch patterns, or even adding sleeves.
Pick up your hook today and let your creativity flow into your next beautiful project!