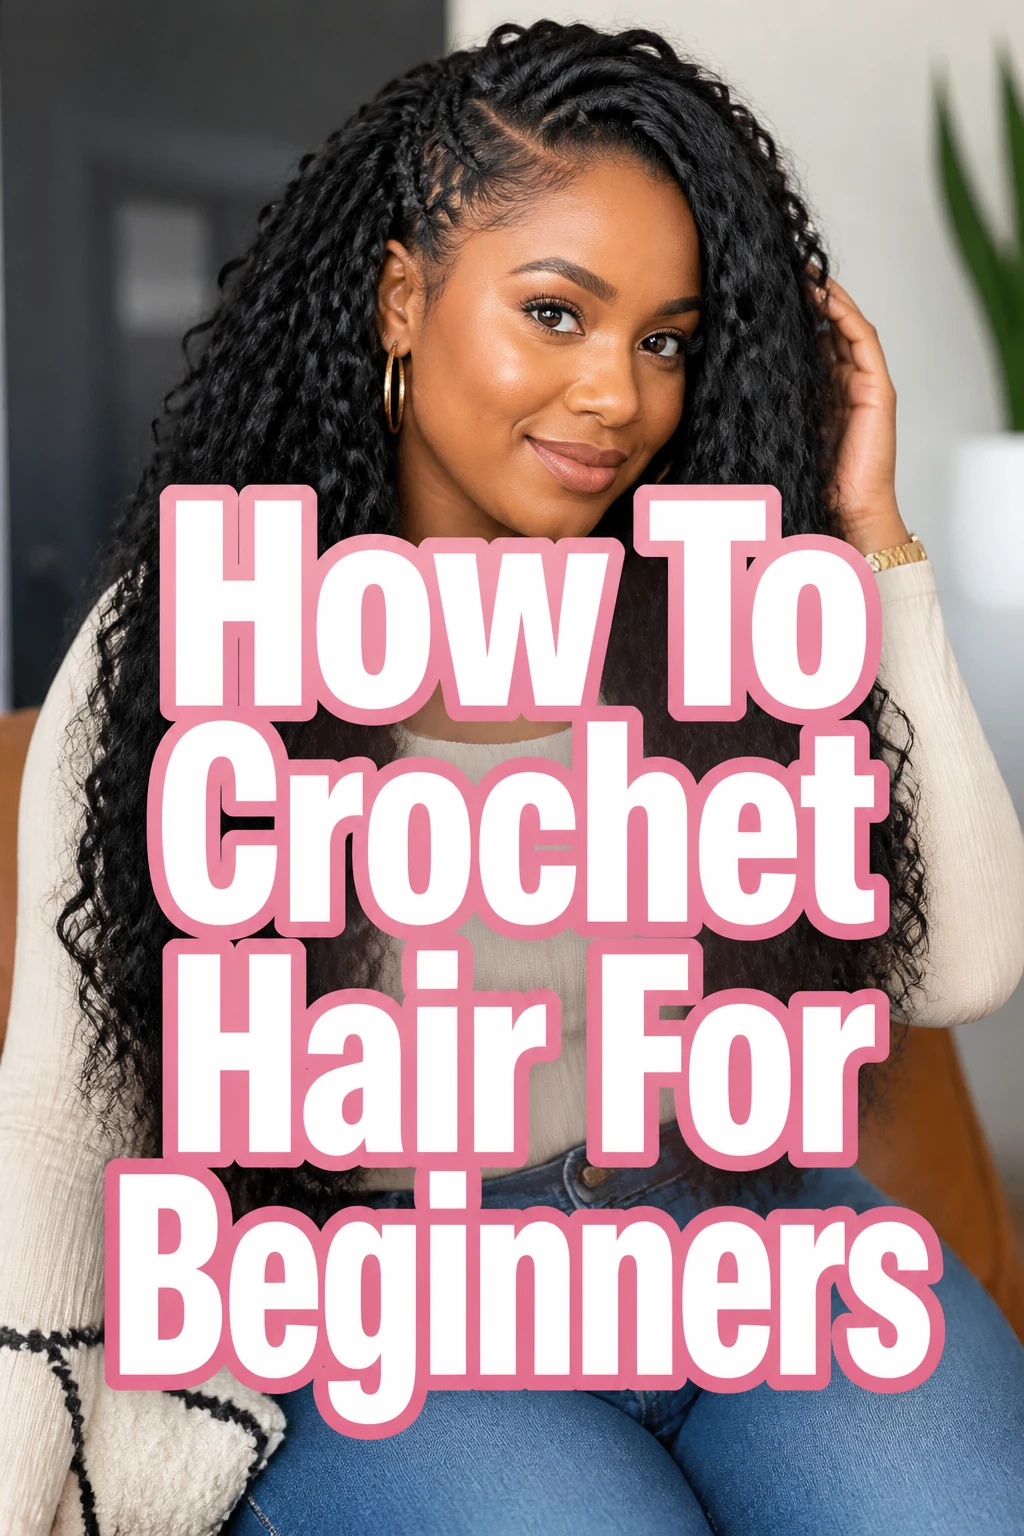
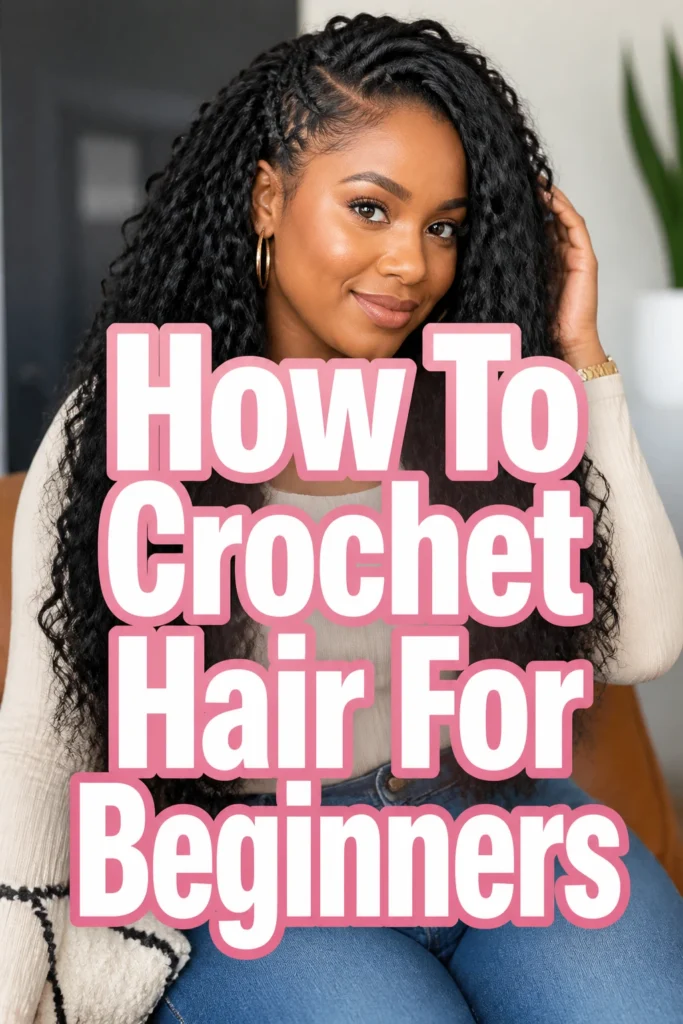
How To Crochet Hair For Beginners
Learning to install your own protective styles is a total game-changer for your hair care routine and your budget.
I remember spending hundreds of dollars at the salon before I realized I could achieve the same look at home with just a little patience.
This guide is built from years of trial and error to help you master the crochet method quickly and easily.
Quick Overview
This tutorial will teach you how to create a foundation, install extensions using a latch hook, and maintain your style for weeks of wear.
- Time needed: 2 to 4 hours depending on the style
- Difficulty: Beginner
- What you’ll need: Crochet latch hook, 4-7 packs of crochet hair, wide-tooth comb, edge control, and a mirror.
Step 1: Prepare Your Natural Hair
Start with clean hair. Before you even think about extensions, you must wash and deep condition your natural hair to ensure it stays healthy underneath the style.
Apply a leave-in conditioner. Use a lightweight moisturizer to lock in hydration because your hair will be tucked away for several weeks.
Dry your hair completely. Braiding damp hair can lead to mildew or a sour smell, so make sure your tresses are bone-dry before moving to the next phase.
Detangle thoroughly. Use a wide-tooth comb to remove all knots and tangles from the roots to the ends to make the braiding process smoother.
Pro Tip: Focus on moisturizing your ends especially well, as they are the oldest and most fragile part of your hair.
Step 2: Create Your Braid Pattern
Choose your pattern. For a standard look, braid your hair straight back in cornrows, or use a beehive pattern for styles that require more volume in the back.
Keep the braids small. Smaller cornrows provide a flatter foundation, which prevents your crochet style from looking bulky or unnatural.
Secure the ends. Once you reach the nape of your neck, sew the ends of your braids up into the cornrows or tuck them away securely so they do not hang down.
Consider your part. If you want a specific side part or middle part, braid your hair in a way that allows for more density and specific placement in those areas.
Avoid excessive tension. Do not pull too hard on your edges while braiding, as this can lead to traction alopecia or scalp irritation over time.
Step 3: Map Out Your Installation
Count your hair packs. Take a look at how much hair you have and visualize how it needs to be distributed across your head.
Start at the back. It is always best to begin the installation at the nape of the neck and work your way toward the front of your head.
Space the hair out. In the back sections, you can space the hair about an inch apart to save hair and prevent the style from becoming too heavy.
Plan for the hairline. Save the most realistic-looking pieces for the front and the parting area where the knots will be most visible.
Step 4: Insert The Crochet Hook
Open the latch. Ensure the small lever on your crochet hook is in the open position before you slide it under your braid.
Slide the needle. Gently push the hook underneath one of your cornrows, making sure you are going under the braid and not through the actual hair strands.
Position the hook. The hook should be perpendicular to the braid so that the hair will lay in the correct direction once it is attached.
Avoid the scalp. Be careful not to poke your scalp with the tip of the needle, as this can cause discomfort and small abrasions.
Pro Tip: If the braid is too tight to slide the needle under, use your fingers to gently wiggle and loosen the braid slightly before trying again.
Step 5: Attach The Extension Hair
Loop the hair. Take a small section of the crochet hair and fold it in half so that a loop forms at the top.
Hook the loop. Place the loop of the extension hair onto the open hook and close the latch firmly to secure the hair inside.
Pull it through. Slowly pull the hook back under the braid until the loop of the extension hair is visible on the other side.
Remove the hook. Once the loop is through, open the latch and slide the hook out of the hair entirely.
Step 6: Secure The Knot
Insert your fingers. Put your thumb and index finger through the loop of the extension hair that you just pulled under the braid.
Grab the ends. Reach through the loop and grab the tail ends of the extension hair, pulling them through the loop.
Twist and pull. For extra security, twist the loop once and pull the tails through a second time to create a double knot.
Tighten the base. Gently pull the tails of the hair to tighten the knot against the braid, ensuring it feels secure but not painfully tight.
Repeat the process. Continue this method row by row until you have covered the majority of your head, leaving only the parting area for last.
Step 7: Refine The Parting Area
Use the invisible knot method. When you get to your part, pull only one tail of the hair through the loop instead of both to create a smaller, less visible knot.
Space the hair closer. In the parting area, place the hair much closer together to hide the cornrows and the knots completely.
Check the density. Look in the mirror frequently to ensure the hair looks full enough to cover your natural braids from every angle.
Blend the front. Use smaller pieces of hair near your forehead to create a soft, natural-looking transition from your skin to the hair.
Step 8: Trim And Style
Shake it out. Give your head a good shake to let the hair settle into its natural position before you start cutting.
Layer the hair. Use sharp hair shears to cut layers into the style, which helps the hair move more naturally and prevents it from looking like a wig.
Remove frizz. Snip away any stray fibers or frizzy ends that may have appeared during the installation process.
Apply edge control. Lay down your baby hairs along the perimeter of your head to give the style a polished and professional finish.
Pro Tip: Always cut less than you think you need to; you can always go back and trim more, but you cannot put the hair back once it is cut.
Common Mistakes to Avoid
Braiding Too Tight Near The Edges
Many beginners believe that tighter braids make the style last longer, but this actually causes unnecessary stress on your follicles. Tension at the hairline can lead to thinning and permanent hair loss, so keep your braids firm but comfortable.
If you feel a constant pulling sensation or see small white bumps, your braids are too tight. It is better to redo a braid than to risk damaging your natural hair for a temporary style.
Using Too Much Hair
One of the most common errors is installing every single strand from five or six packs of hair. This results in a heavy, bulky look that can be difficult to style and may even cause neck pain from the weight.
Focus on strategic placement rather than quantity. You want enough hair to cover your braids, but not so much that the style loses its natural movement and shape.
Neglecting Scalp Care During Wear
Just because your hair is tucked away does not mean you should stop caring for your scalp. Forgetting to oil your scalp or cleanse it can lead to extreme itching and product buildup.
Use a pointed applicator bottle to apply lightweight oils or scalp treatments between your braids. This keeps the skin healthy and prevents the “crochet itch” that many people experience after a week or two.
Troubleshooting
The Hair Is Slipping Out
If your crochet knots are sliding down the braid, you likely did not secure them tightly enough or the hair texture is too silky. To fix this, try the double-knot method where you loop the tails through twice before pulling tight.
You can also try making your base braids slightly thicker, which provides more surface area for the knot to grip onto. If the hair is exceptionally silky, a tiny drop of hair glue on the knot can provide extra security, though this should be a last resort.
The Style Looks Too Frizzy After Two Days
Synthetic crochet hair can frizz quickly if it rubs against cotton pillowcases or rough clothing. To solve this, always wear a satin or silk bonnet at night to reduce friction while you sleep.
You can also apply a small amount of hair mousse to the extensions to lay down the fibers and redefine the curl pattern. Avoid using heavy oils on synthetic hair, as this will only attract dust and make the frizz worse.
The Parting Looks Unnatural
If you can see your braids through the part, you need to add more hair using the invisible knot technique. This involves taking very thin strands of hair and placing them extremely close together along the edge of the part.
You can also use a bit of concealer that matches your skin tone on the “part” to mimic the appearance of a natural scalp. This creates an illusion of depth and hides the knots where the hair meets the braid.
Key Takeaways
- Clean and dry hair is the essential foundation for any successful crochet installation.
- Braid patterns should be flat and tailored to your desired parting style.
- The double-knot technique is the best way to ensure extensions stay secure for weeks.
- Avoid over-installing hair to keep the style lightweight and natural-looking.
- Nightly protection with a satin bonnet is non-negotiable for maintaining the hair texture.
- Scalp hydration is vital for preventing itchiness and promoting natural hair growth.
Frequently Asked Questions
How many packs of hair do I need for a full head?
Most beginners will need between 5 and 7 packs of hair for a standard full-volume look. If you are using pre-twisted or pre-braided hair, you might need slightly more to ensure full coverage of your cornrows. Always buy one extra pack just in case you run out mid-install, as dye lots can vary between different batches.
Can I wash my hair while it is in a crochet style?
Yes, you can wash your scalp while wearing crochet hair by using a diluted shampoo solution in a spray bottle. Focus the spray on your scalp and gently massage between the braids with your fingertips before rinsing thoroughly. Be careful not to scrub the extension hair itself too vigorously, as this will cause it to mat and frizz prematurely.
How long can I keep crochet hair in?
A typical crochet style can last anywhere from 4 to 8 weeks depending on how well you maintain it. However, it is generally recommended to remove the style after 6 weeks to give your natural hair a break and a deep cleanse. Leaving the style in for too long can lead to matting of your natural hair at the roots, making the take-down process difficult.
Is crochet hair better for your hair than a traditional sew-in?
Crochet hair is often considered a better protective style because it puts less tension on the scalp and allows for easier access to the skin. Since the hair is looped under the braid rather than sewn with thread, there is less weight pulling on any single point of the braid. It also takes significantly less time to install and remove, reducing the risk of breakage during those processes.
Our Top Recommended Finds
- Ergonomic Latch Hook Tool: Look for a hook with a soft, padded handle to prevent hand cramping during long installation sessions.
- Satin Pineapple Bonnet: A large, high-quality satin bonnet is perfect for keeping long crochet curls or braids from tangling while you sleep.
- Witch Hazel Scalp Cleanser: This is a great tool for refreshing your scalp and removing itchiness without needing a full water wash.
Master Your New Signature Style
Now that you understand the mechanics of the crochet method, you have the power to change your look whenever you want. This skill not only saves you a significant amount of money but also gives you full control over the health of your natural hair.
Start with a simple curly look for your first attempt to hide any minor imperfections in your knots or parting. As you get more comfortable with the latch hook, you can experiment with more complex styles like faux locs, box braids, or sleek straight textures.
Take your time with your first installation and do not be afraid to undo a knot if it does not look right. Practice is the only way to perfect your technique, so grab your tools and start your first row today.