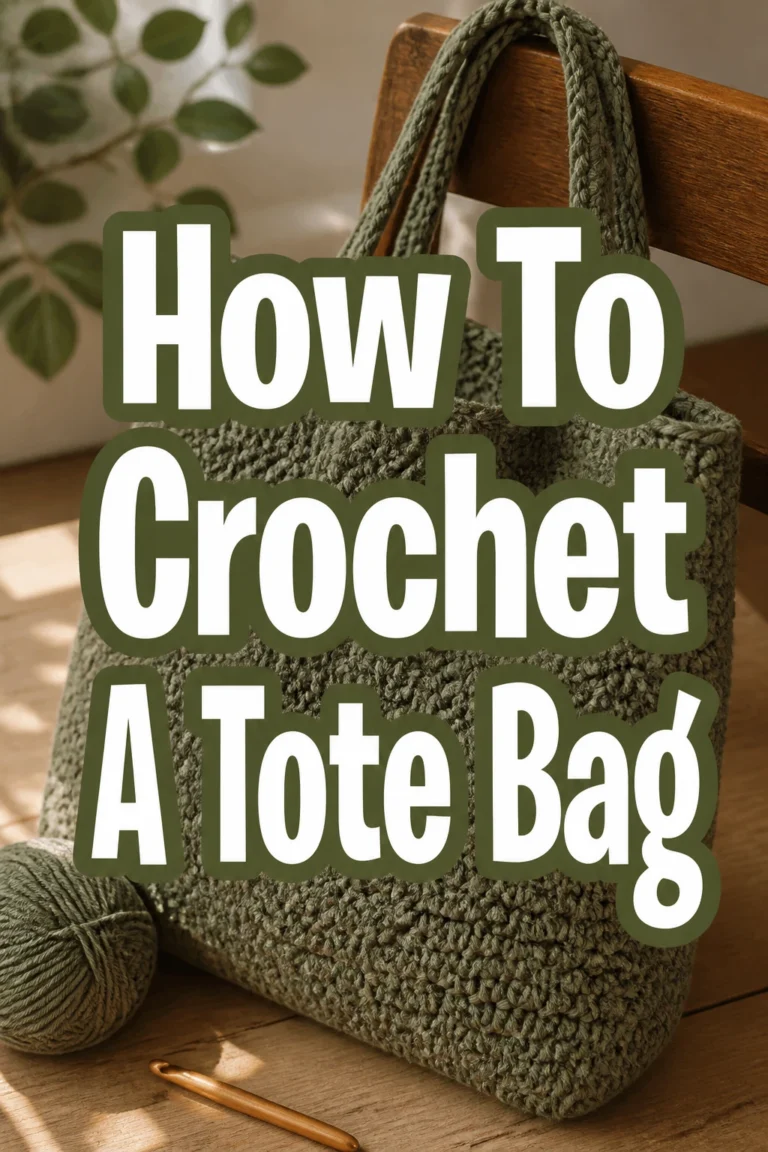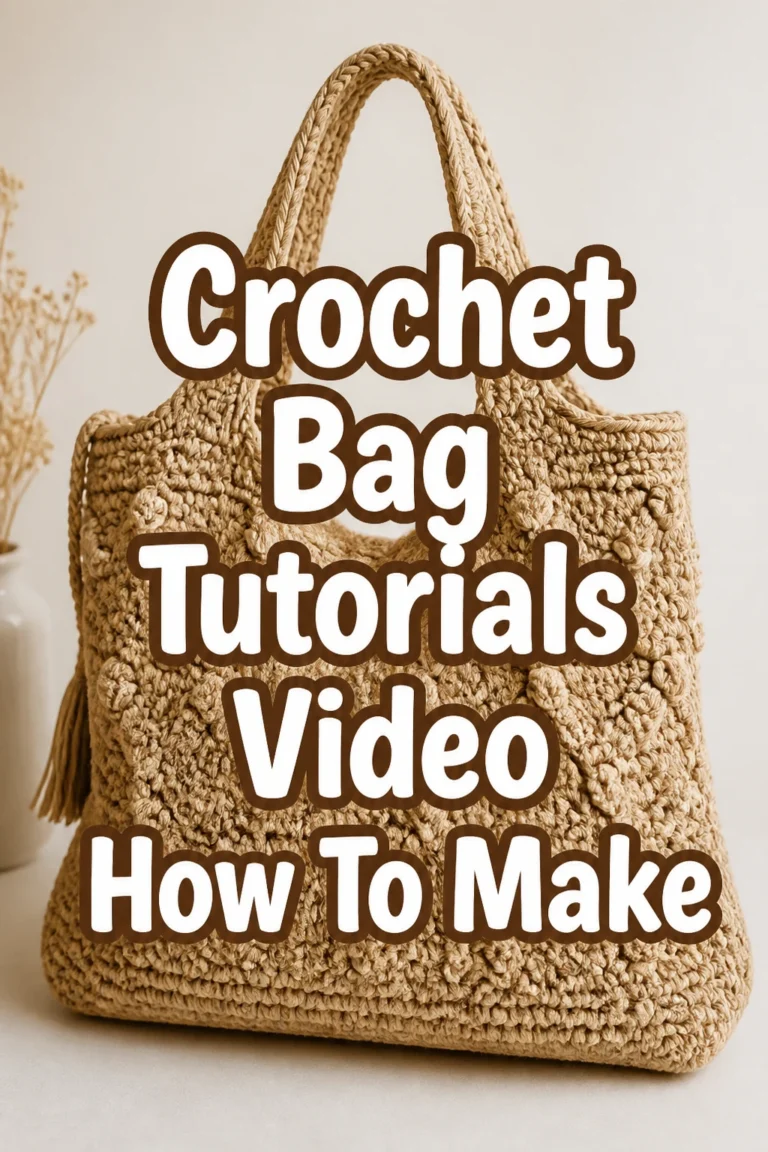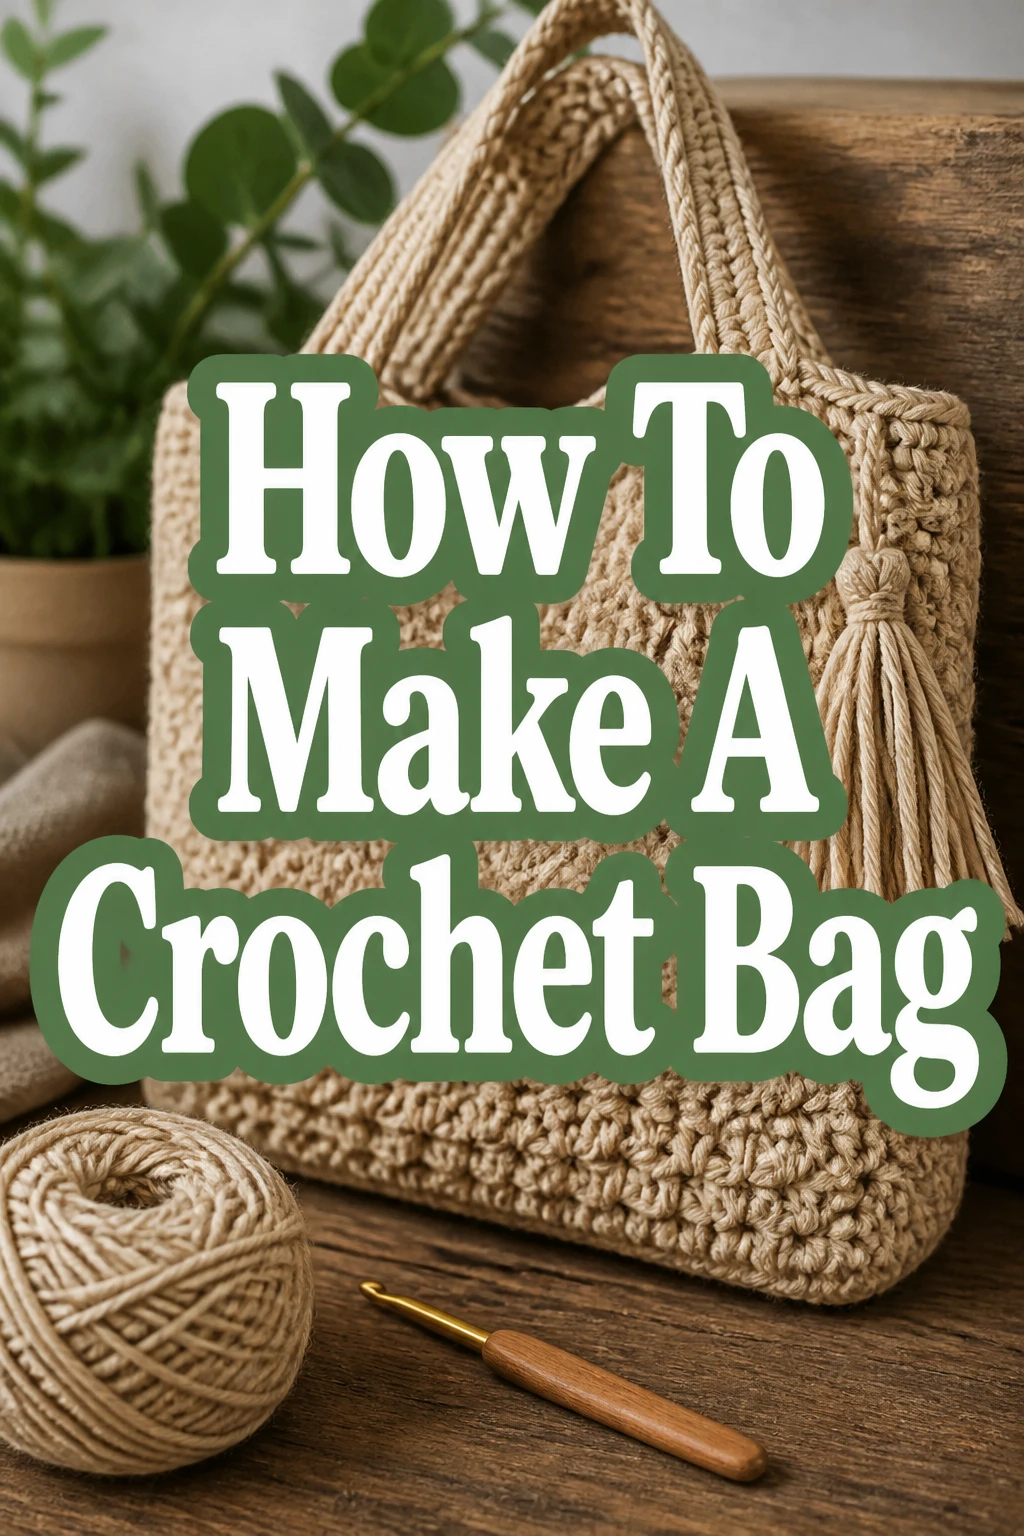
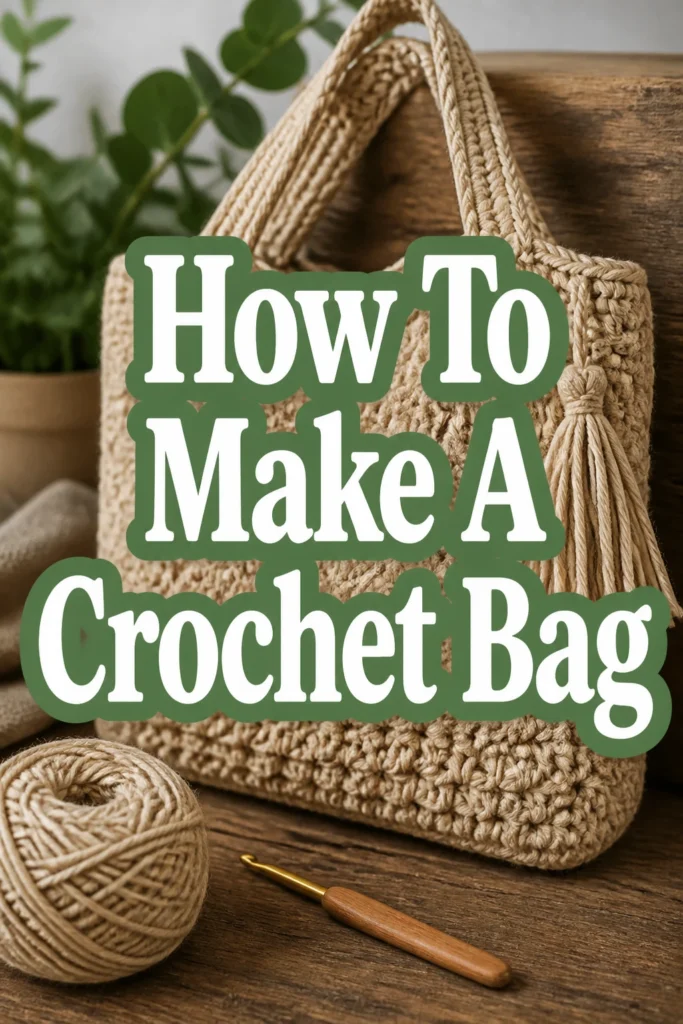
How To Make A Crochet Bag
There’s a special joy in creating something useful and beautiful with your own hands.
I remember the satisfaction of finishing my very first crochet bag, a simple tote I still use today.
This guide shares the practical steps and insights I’ve gathered to help you craft your own unique crochet bag.
Quick Overview
You’re about to embark on a creative journey to make a functional and stylish crochet bag. This project will teach you essential techniques, from selecting materials to adding those final, personal touches.
- Time needed: 8-15 hours (spread over several days for beginners)
- Difficulty: Beginner to Intermediate
- What you’ll need: Yarn, crochet hook, scissors, yarn needle, stitch markers, optional bag accessories
Step-by-Step Instructions
Making a crochet bag is a rewarding process. Follow these steps to bring your vision to life, one stitch at a time.
Step 1: Gather Your Tools and Materials
Starting with the right supplies makes a significant difference. Choose materials that suit the bag’s intended use and your personal style.
- Select your yarn. For a sturdy bag, consider cotton, acrylic, or T-shirt yarn. Cotton offers great stitch definition and durability, while acrylic is versatile and comes in many colors.
- Choose a crochet hook. The yarn label will suggest a hook size, but you might adjust it based on your desired fabric density. A smaller hook creates a tighter, firmer fabric, ideal for bags.
- Acquire essential notions. You will need a pair of sharp scissors, a yarn needle for weaving in ends, and several stitch markers to keep track of your rounds or rows.
Pro Tip: Always check the yarn label for fiber content, care instructions, and recommended hook size. This information is crucial for planning your project.
Step 2: Choose Your Pattern and Stitch
Decide on the overall shape and texture of your bag. Simple patterns are excellent for beginners and allow you to focus on technique.
- Pick a bag shape. Common shapes include flat rectangles for tote bags, circles for round bags, or ovals for more structured bases.
- Select your primary stitch. Single crochet (SC) creates a dense, sturdy fabric perfect for bags. Half double crochet (HDC) and double crochet (DC) work up faster but result in a looser fabric.
- Consider a free pattern or design your own. Many beginner-friendly patterns are available online or in crochet books.
Step 3: Create the Base of Your Bag
The base provides the foundation and structure for your entire bag. Pay close attention to your stitch count for even results.
- Start with a slip knot and foundation chain. The length of your chain will determine the width of your bag’s base if you’re making a rectangular or oval bottom.
- Work your first row or round. For a rectangular base, you’ll typically work into both sides of the foundation chain. For a circular base, you’ll work in rounds, increasing stitches evenly.
- Continue shaping the base according to your pattern. Ensure your increases are consistent to prevent curling or uneven edges.
Step 4: Build the Sides of Your Bag
Once the base is complete, you will begin working upwards to form the body of the bag. This is where the bag truly takes shape.
- Work in continuous rounds or join and turn your rows. For a seamless bag, working in continuous rounds is often preferred. Joining with a slip stitch and chaining up at the end of each round creates a visible seam but can help maintain evenness.
- Maintain consistent tension. Even tension is key to a professional-looking finish and helps the bag hold its shape.
- Count your stitches regularly. This prevents accidental increases or decreases and ensures your bag sides are straight and even.
Pro Tip: Place a stitch marker in the first stitch of each round if working continuously. This helps you keep track of the beginning and end of each round.
Step 5: Form the Top Edge
The top edge provides a clean finish and often strengthens the bag’s opening. You can keep it simple or add a decorative touch.
- Work a few rounds of single crochet for a sturdy, simple edge. This reinforces the opening of the bag and prevents stretching.
- Consider a decorative border. Shell stitches, crab stitch (reverse single crochet), or picot stitches can add a beautiful detail to the top edge.
- Fasten off your yarn securely after completing the top edge. Leave a tail long enough to weave in.
Step 6: Attach the Handles
Handles are crucial for functionality and can significantly impact the bag’s style. You have several options for handle types.
- Crochet your own handles. You can make simple straps using single crochet rows or create more elaborate braided or tubular handles.
- Use pre-made handles. Leather, bamboo, or metal handles can be sewn directly onto your bag for a professional look.
- Attach D-rings or other hardware. This allows you to use detachable straps, offering versatility for your bag.
- Position handles evenly on either side of the bag. Use stitch markers to mark the attachment points before sewing them on securely.
Step 7: Finish and Embellish
The final touches transform your project from a piece of crochet into a finished bag. Don’t skip these important steps.
- Weave in all loose yarn ends using your yarn needle. Neatly tuck them into the stitches to hide them completely.
- Add a lining (optional). A fabric lining can give your bag more structure, prevent small items from falling through stitches, and add interior pockets.
- Attach a closure. Magnetic snaps, buttons, or a zipper can be added for security.
- Embellish with accessories. Tassels, pompoms, appliques, or embroidered details can personalize your bag further.
Step 8: Block Your Bag (Optional but Recommended)
Blocking is a finishing technique that can significantly improve the appearance and drape of your crochet fabric. It helps to even out stitches and shape your bag.
- Wet block your bag if using natural fibers like cotton or wool. Submerge the bag in lukewarm water, gently squeeze out excess water, and then shape it on a flat surface.
- Steam block for acrylics or delicate fibers. Hover a steamer or iron (on a low setting with steam) over the bag without touching it, then shape it.
- Allow the bag to dry completely in its desired shape. This process sets the stitches and helps the bag maintain its structure.
Common Mistakes to Avoid
Even experienced crocheters make mistakes. Being aware of common pitfalls can help you avoid frustration and achieve better results.
Inconsistent Tension
Uneven tension leads to a fabric that looks bumpy or stretched in places. This can make your bag appear lopsided or less professional.
To avoid this, practice holding your yarn and hook consistently. Take breaks if your hands start to cramp, and try to maintain a relaxed grip throughout your project.
Incorrect Hook Size
Using a hook size that is too large or too small for your chosen yarn can result in a fabric that is too loose and floppy, or too stiff and dense. Neither is ideal for a bag.
Always check the yarn label for the recommended hook size. Make a small swatch to test your gauge and adjust your hook size if your fabric is not meeting your desired density or drape.
Forgetting to Count Stitches
Skipping stitch counts, especially when working in rounds or shaping, can lead to uneven edges, tapering, or widening where you don’t intend it. Your bag might end up crooked.
Make it a habit to count your stitches at the end of every row or round, or at least every few. Stitch markers are invaluable tools for marking the first stitch of a round and other important points.
Skipping the Swatch
A gauge swatch is a small sample of your chosen stitch pattern made with your specific yarn and hook. Skipping this step means you don’t know if your tension matches the pattern’s recommendation.
Always make a gauge swatch, especially if the pattern specifies one. It allows you to adjust your hook size before you commit to the entire project, saving you time and preventing disappointment.
Troubleshooting
Even with careful planning, issues can arise. Here are solutions to some common crochet bag problems.
Bag is too small or too large
If your finished bag’s dimensions don’t match the pattern, it’s likely a gauge issue. Your stitches are either tighter or looser than the pattern designer’s.
To correct this, you can adjust your hook size. If your bag is too small, try a larger hook. If it’s too large, use a smaller hook. Always make a new swatch to confirm your new gauge before continuing.
Edges are wavy or curling
Wavy edges often indicate too many stitches or tension that is too loose. Curling edges can mean too few stitches or tension that is too tight.
Carefully recount your stitches to ensure you haven’t accidentally added or missed any. Adjust your tension by consciously loosening or tightening your grip on the yarn. Blocking can also help to even out minor waves or curls.
Holes appearing in the fabric
Unintended holes usually mean you’ve accidentally skipped a stitch or missed inserting your hook into the correct loop.
Carefully examine your work to identify where the stitch was dropped. If it’s only a few rows back, you might be able to carefully unravel and re-crochet that section. Using stitch markers can help prevent future skips by clearly marking the first and last stitches of a row or round.
Key Takeaways
- Always make a gauge swatch to ensure your tension matches the pattern for accurate sizing.
- Consistent tension is crucial for a professional-looking, sturdy bag that holds its shape well.
- Regularly count your stitches to prevent accidental increases or decreases and maintain an even shape.
- Don’t underestimate the power of finishing touches like weaving in ends and blocking; they elevate your project.
- Experiment with different yarn types and stitch patterns to create unique bags tailored to your style.
- Enjoy the creative process and celebrate each step of making your handmade crochet bag.
Frequently Asked Questions
What’s the best yarn for a crochet bag?
For durability and structure, cotton, acrylic, or T-shirt yarn are excellent choices. Cotton offers great stitch definition and strength, while acrylic is versatile and easy to care for. T-shirt yarn creates a very sturdy, chunky bag.
Do I need to line my crochet bag?
Lining a crochet bag is optional but highly recommended. A fabric lining adds structure, prevents small items from slipping through stitches, and can extend the bag’s lifespan. It also allows you to add internal pockets for organization.
How do I wash my crochet bag?
The washing method depends entirely on the yarn fiber. For most natural fibers like cotton or wool, hand washing in cool water with a gentle detergent is best. Lay the bag flat to dry to maintain its shape. Always check your yarn label’s care instructions.
Can I use any stitch for a bag?
While you can technically use many stitches, some are better suited for bags than others. Denser stitches like single crochet, half double crochet, or moss stitch provide more structure and less stretch, which is ideal for a functional bag. Avoid overly lacy or open stitches unless you plan to line the bag.
Our Top Recommended Finds
These tools can make your crochet bag-making experience even more enjoyable and efficient.
- Ergonomic Crochet Hook Set: A good set of ergonomic hooks reduces hand fatigue, allowing you to crochet for longer periods comfortably.
- High-Quality Cotton Yarn: Investing in durable cotton yarn ensures your bag will be sturdy, hold its shape, and withstand regular use while looking great.
- Fabric Scissors and Yarn Needles Set: Sharp scissors are essential for clean cuts, and a variety of yarn needles makes weaving in ends and attaching components much easier.
Crafting Your Next Favorite Accessory
You now have a comprehensive guide to create your very own crochet bag. Each stitch you make brings you closer to a unique, handmade item.
Don’t be afraid to experiment with colors, textures, and embellishments to truly make it your own.
Ready to try a new challenge? Consider exploring different bag styles like a market tote, a backpack, or even a clutch. Pick up your hook today and start crafting your next favorite accessory.