How To Sew Crochet Pieces Together
Learning to sew your crochet pieces together can feel like magic.
I remember the first time I confidently joined squares for a blanket; it truly transformed my projects from individual motifs into a cohesive, beautiful item.
This guide will share my practical techniques, ensuring your finished crochet projects look professional and polished.
Quick Overview
This guide will equip you with the skills to seamlessly join your crochet motifs, making your finished projects look professionally crafted. You will learn several common seaming methods, understand their best uses, and troubleshoot common issues.
- Time needed: 1-3 hours (depending on project size and number of pieces)
- Difficulty: Beginner to Intermediate
- What you’ll need: Yarn needle (tapestry needle), scissors, crochet pieces to join, matching yarn.
Step-by-Step Instructions
Step 1: Gather Your Materials
Before you begin, ensure you have all the necessary tools close at hand. Having everything ready streamlines the joining process.
- Find a yarn needle. This is also known as a tapestry needle and has a blunt tip and a large eye, perfect for yarn.
- Select your yarn. Ideally, use the same yarn you used for your crochet pieces, or a very similar weight and fiber.
- Grab a pair of sharp scissors. These will be essential for trimming yarn ends neatly.
- Prepare your crochet pieces. Make sure they are blocked if desired, as this helps them lay flat and makes joining easier.
Pro Tip: Blocking your pieces before seaming ensures consistent sizing and shape, leading to a much neater final join. It’s a step many skip but greatly improves the outcome.
Step 2: Choose Your Seaming Method
There are several ways to sew crochet pieces together, each offering a slightly different look and feel. Your choice depends on the project, the yarn, and your desired finish.
Consider the visibility of the seam and the amount of bulk you want to add.
- Identify the project requirements. Do you need an invisible seam or a decorative one?
- Evaluate the yarn weight. Thicker yarns might benefit from less bulky seams.
- Decide on the desired aesthetic. Some seams are flat, others create a slight ridge.
Step 3: Prepare the Yarn for Seaming
The length of your seaming yarn is important. Too short, and you’ll have to join new yarn mid-seam, which can be messy. Too long, and it can tangle.
A good rule of thumb is to use a length about three times the length of the seam you’re making.
- Cut a generous length of yarn from your skein. For a 12-inch seam, cut about 36 inches of yarn.
- Thread one end of this yarn through the eye of your yarn needle.
- Leave a small tail on the needle side, about 4-6 inches, to secure later.
Step 4: Align Your Crochet Pieces
Proper alignment is crucial for a straight and even seam. Take your time with this step to avoid frustration later.
Pinning your pieces together can be incredibly helpful, especially for larger or more complex joins.
- Lay your two crochet pieces flat, right sides facing up (or wrong sides together, depending on the seam).
- Match up the corresponding stitches along the edges you intend to join. Count stitches if necessary.
- Use stitch markers or pins to secure the pieces together at regular intervals. This prevents shifting.
Step 5: Master the Whip Stitch
The whip stitch is one of the simplest and most common ways to join crochet pieces. It creates a neat, slightly raised seam.
This stitch is excellent for joining squares where you want a bit of definition.
- Start by inserting your needle from back to front through both layers of the first stitch on the right side of your fabric. Leave a tail to weave in later.
- Bring the needle over the edge and insert it again from back to front through the next corresponding stitch on both pieces.
- Pull the yarn gently but firmly, creating a diagonal stitch across the edge.
- Repeat this motion, working into each stitch along the edge, ensuring you go through both loops of each stitch for a strong join.
- Maintain consistent tension to keep the seam even.
Step 6: Execute the Mattress Stitch (Invisible Seam)
The mattress stitch is a fantastic technique for an almost invisible seam, especially when joining pieces made in single crochet or half double crochet.
It works best when the right sides of your work are facing you.
- Position your pieces side-by-side, right sides facing up.
- Anchor your yarn. Insert your needle into the very first stitch on the edge of the first piece, from back to front, leaving a tail.
- Go to the second piece. Insert your needle under the horizontal bar (or loop) of the first stitch, from bottom to top.
- Return to the first piece. Insert your needle under the next horizontal bar of the next stitch, bottom to top.
- Continue this zig-zag motion, picking up one horizontal bar from each piece alternately.
- Gently pull the yarn every few stitches. You’ll see the seam “disappear” as the stitches draw together.
Pro Tip: When doing the mattress stitch, avoid pulling too tightly initially. Let the stitches build up a bit, then pull to see the magic happen. This prevents puckering.
Step 7: Try the Slip Stitch Join (Crocheted Seam)
Instead of sewing, you can also use your crochet hook to join pieces with a slip stitch. This creates a slightly more pronounced, but often very sturdy, seam.
It’s a great option if you prefer to keep your hook in hand.
- Hold your two pieces together, either with right sides together or wrong sides together, depending on whether you want the seam visible on the front or back.
- Insert your crochet hook through both layers of the first stitch on both pieces.
- Yarn over and pull through all loops on the hook, completing a slip stitch.
- Continue inserting your hook through both layers of each corresponding stitch along the edge, making a slip stitch for each.
- Fasten off once you reach the end of the seam.
Step 8: Secure and Weave in Ends
Once your seam is complete, securing your yarn and weaving in ends is essential for a durable and tidy finish.
Loose ends can unravel your beautiful work over time.
- Make a small knot close to the fabric, but not so tight that it puckers the seam.
- Thread the tail onto your yarn needle.
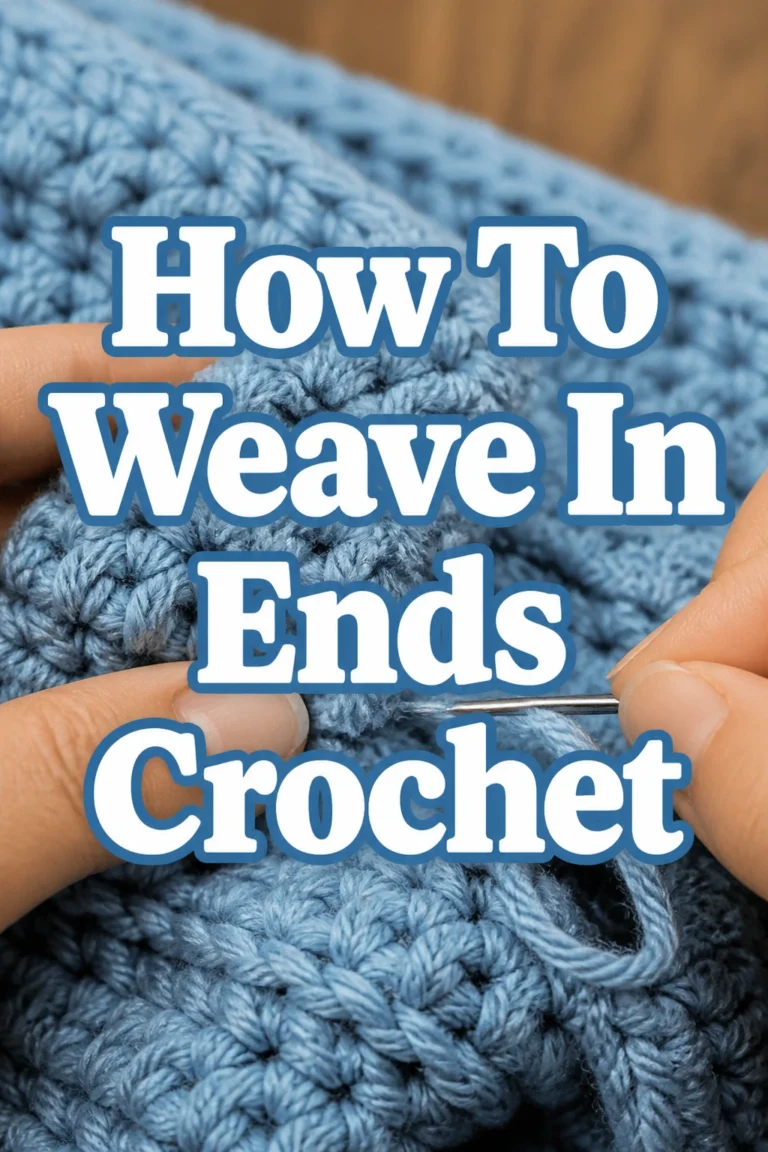
- Weave the yarn tail through several stitches within the seam or into the fabric itself, changing direction at least once to lock it in.
- Trim any excess yarn close to the fabric, being careful not to cut the main stitches.
Common Mistakes to Avoid
Pulling Too Tightly
One of the most common errors is pulling your seaming yarn too tightly. This can cause the seam to pucker, making your fabric ripple and distort the overall shape of your project. Aim for a tension that is firm enough to close the gap but loose enough to allow the fabric to lay flat and maintain its drape.
Practice with scrap pieces to find the right tension before working on your main project. A relaxed grip on the needle often helps.
Mismatched Stitch Counts
Attempting to join edges with different numbers of stitches is a recipe for a wavy or uneven seam. Before you start seaming, always count the stitches along the edges you plan to join.
If there’s a slight discrepancy, you may need to skip a stitch occasionally or work into a stitch twice to even things out. For significant differences, re-crocheting one of the pieces might be the best solution.
Using the Wrong Yarn or Needle
Using a yarn that is too thick or too thin compared to your project yarn can create an obvious, bulky, or flimsy seam. Similarly, a sharp sewing needle can split yarn fibers, weakening the seam and making weaving difficult.
Always use a blunt-tipped yarn needle (tapestry needle) and a seaming yarn that matches the weight and fiber of your project yarn. This ensures the seam blends in beautifully and is just as durable as the rest of the piece.
Not Securing Ends Properly
Failing to weave in your yarn tails securely can lead to the seam unraveling over time. Simply tying a knot and trimming the yarn might seem sufficient, but it’s often not enough to withstand wear and tear.
Always weave tails through several stitches, changing direction at least once, to lock them into the fabric. This creates friction that prevents the yarn from pulling out, ensuring your hard work lasts.
Troubleshooting
My Seam is Puckering
If your seam is puckering, it means you’re likely pulling the seaming yarn too tightly. The stitches along the seam are being drawn in more than the surrounding fabric, causing it to gather.
Try to loosen your tension. If you’re mid-seam, gently tug on the fabric to relax the stitches. For future seams, practice maintaining a more relaxed tension. Sometimes, using a slightly thinner seaming yarn can also help reduce bulk and puckering.
The Seam is Uneven or Crooked
An uneven or crooked seam usually stems from inconsistent stitch placement or mismatched stitch counts. If you’re not going through corresponding stitches on both pieces consistently, the seam will wander.
Go back and carefully count the stitches on both edges before you begin. Use stitch markers to align key points, like corners or specific stitch repeats. Take your time, ensuring your needle goes through the same relative point on each piece for every stitch.
The Seam is Too Bulky
A bulky seam can be caused by using too thick of a yarn for seaming, or by a seaming method that naturally creates more volume. Some stitches, like the slip stitch join, are inherently bulkier than others.
Consider switching to a less bulky seaming method, such as the mattress stitch, which creates a very flat join. You might also try using a strand of yarn that is slightly thinner than your main project yarn for seaming, if it won’t compromise durability or appearance too much.
Key Takeaways
- Always block your crochet pieces before joining for the best results and easier alignment.
- Choose a seaming method that suits your project’s aesthetic and desired seam visibility.
- Use a blunt-tipped yarn needle and a matching yarn for a professional finish.
- Maintain consistent, firm but not tight, tension to avoid puckering and ensure a flat seam.
- Securely weave in all yarn tails by changing direction to prevent unraveling.
- Practice different joining techniques on scrap pieces to find your preferred method.
Frequently Asked Questions
Can I use regular sewing thread to join crochet pieces?
It’s generally not recommended to use regular sewing thread. Sewing thread is much thinner and weaker than crochet yarn, which can lead to a flimsy seam that easily breaks or unravels. It also won’t blend well with the texture of your crochet fabric. Always use yarn that matches or is very similar to your project yarn for the best results.
How do I join pieces made with different stitch patterns?
When joining pieces with different stitch patterns, the key is to focus on matching the number of rows or stitches along the joining edge. For instance, if one piece has 20 single crochet stitches along its edge and the other has 10 double crochet rows, you’ll need to adjust. You might join two rows of one piece to one row of the other, or strategically skip/add stitches to maintain an even line. Pinning extensively is very helpful here.
What’s the best way to join pieces for a blanket?
For blankets, especially those made of many squares, the mattress stitch is often favored for its invisible finish, which creates a seamless fabric look. The whip stitch is also popular for a slightly more defined, yet still neat, seam. Consider the overall drape and how much texture you want the joins to add to the finished blanket.
Do I need to leave long tails on my crochet pieces for joining?
Yes, it’s a good practice to leave a long tail (at least 12-18 inches) when you finish a crochet piece, especially if it’s a motif that will be joined later. This tail can then be used directly for seaming, reducing the number of extra ends you need to weave in. If you forget, you can always cut a fresh piece of yarn for seaming.
Creating Seamless Crochet Masterpieces
You now have the tools and knowledge to confidently sew your crochet pieces together. No more unfinished projects sitting in a basket!
The satisfaction of seeing your individual motifs transform into a complete, polished item is truly rewarding.
Take these techniques and apply them to your next project, whether it’s a cozy blanket, a stylish garment, or a decorative accessory.
Perhaps explore advanced joining methods like the invisible join or the flat braid join for even more options. The world of crochet joining is vast and full of creative possibilities.
Pick up your yarn and needle today and start transforming your crochet dreams into reality.