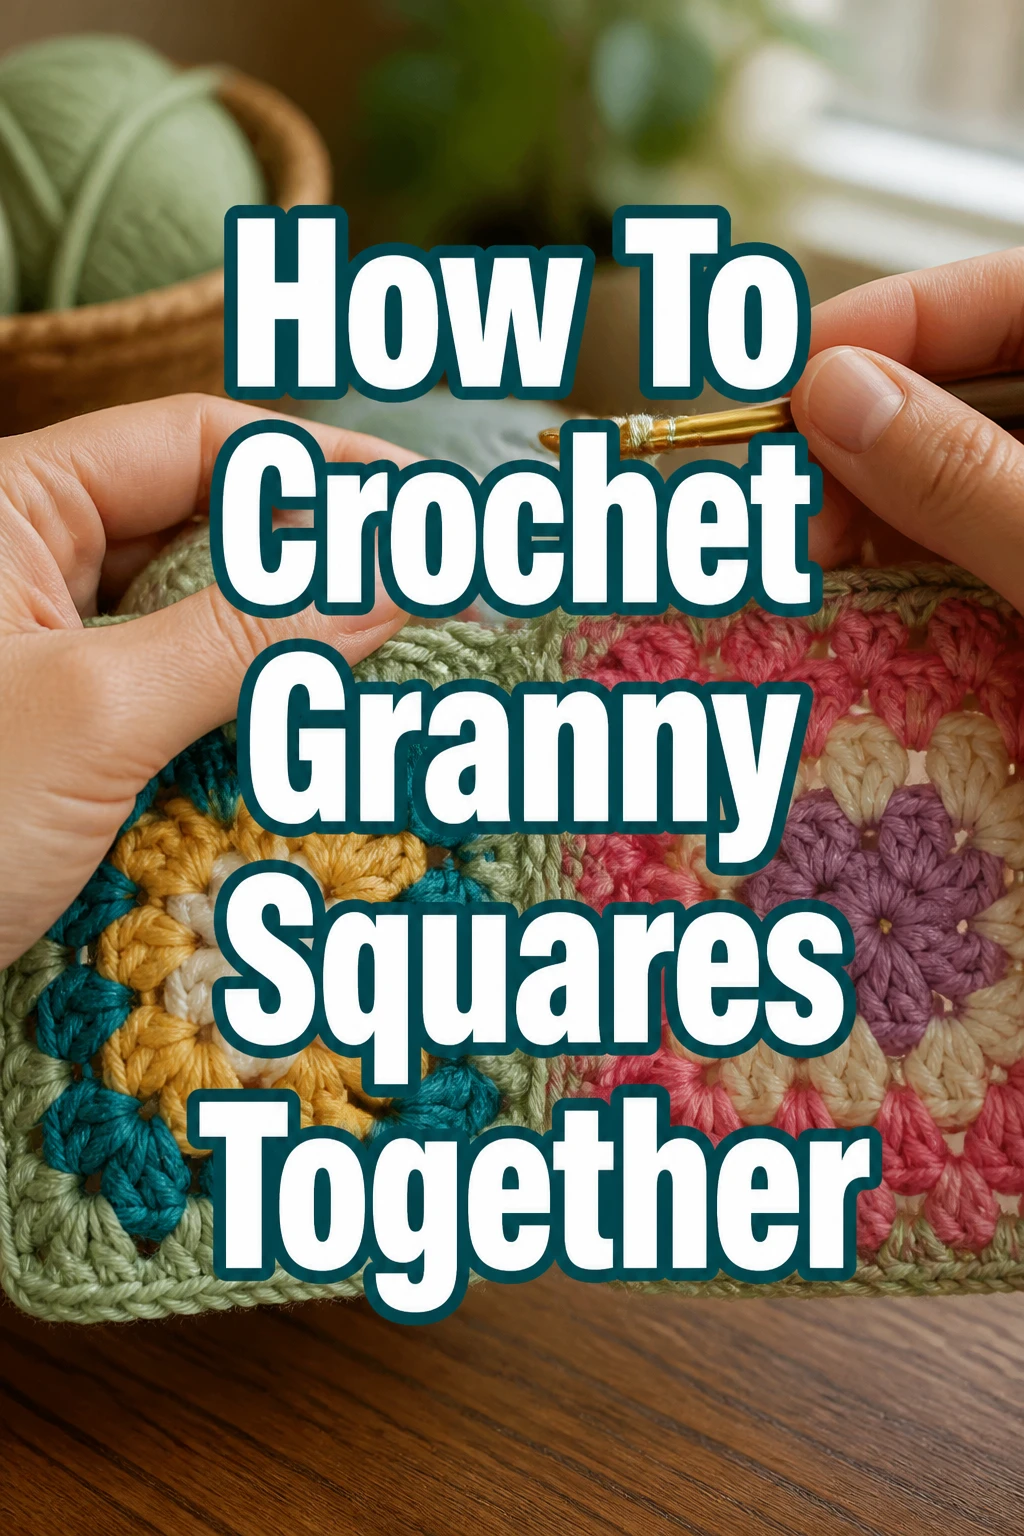
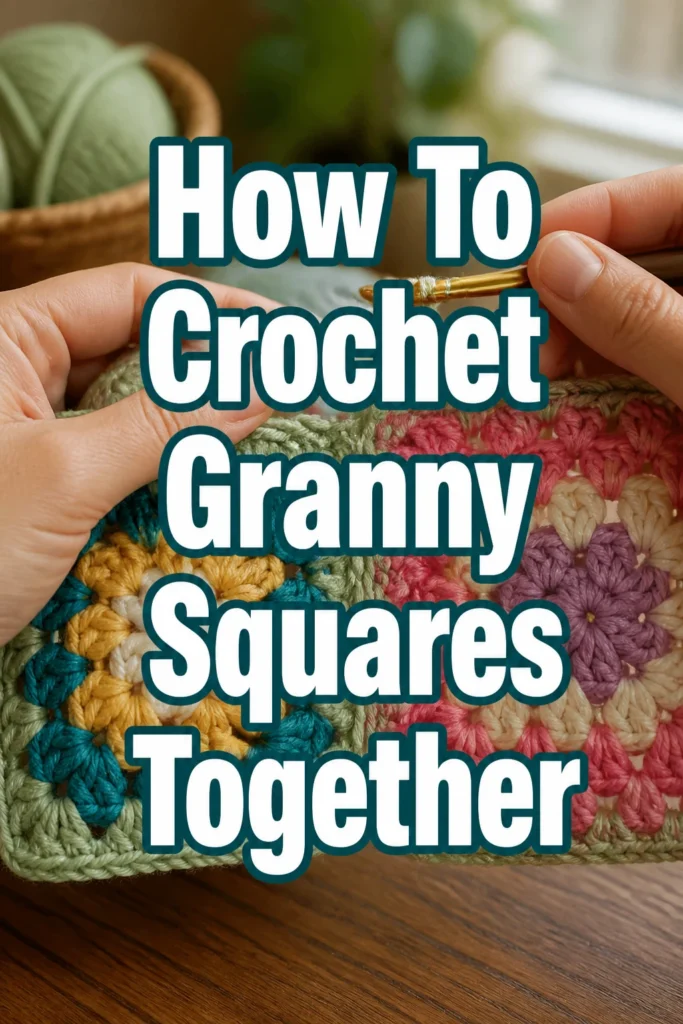
How To Crochet Granny Squares Together
There’s a special kind of magic in watching individual granny squares transform into a cohesive, beautiful project.
I remember the joy of finishing my first granny square blanket, seeing all those colorful pieces finally united.
This guide will walk you through the practical steps I use to join squares seamlessly, giving your crochet creations a professional finish you’ll be proud of.
Quick Overview
You’re about to learn how to connect your granny squares with a neat, durable seam.
We’ll focus on a versatile method that works for blankets, garments, and more, ensuring your project looks polished.
- Time needed: 1-3 hours for a small project (e.g., 9-12 squares), longer for larger items.
- Difficulty: Beginner to Intermediate. Basic crochet stitches are required.
- What you’ll need: Finished granny squares, crochet hook (same size or one size smaller than used for squares), yarn needle, scissors, yarn matching your squares.
Step-by-Step Instructions
Step 1: Gather Your Materials and Plan Your Layout
Before you begin joining, it’s essential to have everything ready and organized.
Collect all your finished granny squares, your chosen yarn for joining, your crochet hook, scissors, and a yarn needle.
Lay out your squares on a flat surface in the arrangement you desire for your final project.
This visual step helps you catch any layout errors and ensures a balanced design before you commit to joining.
Pro Tip: Take a photo of your planned layout. This gives you a reference to return to if squares get accidentally shifted during the joining process.
Step 2: Choose Your Joining Yarn
The yarn you use for joining can significantly impact the final look of your project.
You can select a yarn that matches one of the colors in your squares for a subtle, blended seam.
Alternatively, choose a contrasting color to create a decorative, visible join that adds an extra design element.
Ensure the yarn weight is similar to or slightly lighter than the yarn used for your squares to maintain an even tension and drape.
Step 3: Block Your Granny Squares (Optional but Recommended)
Blocking helps to even out your squares, making them uniform in size and shape.
While optional, blocking can make the joining process much easier and result in a neater finish.
Gently wet your squares, then pin them to a blocking mat or towel, shaping them into perfect squares.
Allow them to dry completely before proceeding.
Step 4: Prepare for the Flat Slip Stitch Join (Invisible Join Method)
This method creates a strong, almost invisible seam that lies flat, making it ideal for blankets and garments.
Place two squares side-by-side with their right sides facing up.
The edges you are joining should be aligned perfectly.
Insert your hook into the back loop only of the first stitch on the first square, and then into the back loop only of the corresponding stitch on the second square.
This technique works by connecting the back loops of adjacent squares.
Step 5: Begin the Flat Slip Stitch Join
Attach your joining yarn by making a slip knot and placing it on your hook.
Yarn over and pull through all loops on your hook to complete your first slip stitch.
This secures the yarn and begins your seam.
Continue by inserting your hook into the back loop only of the next stitch on the first square, and the back loop only of the corresponding stitch on the second square.
Yarn over and pull through all loops on your hook to create another slip stitch.
Step 6: Work Across the First Edge
Repeat the slip stitch process across the entire edge you are joining.
Ensure you are working into the correct back loops of each corresponding stitch.
Maintain consistent tension throughout to keep the seam even and prevent puckering or stretching.
When you reach the end of the edge, cut your yarn, leaving a tail about 6 inches long, and fasten off by pulling the tail through the last loop on your hook.
Pro Tip: For corners where squares meet, you can make an extra slip stitch directly into the corner chain space of both squares to secure it firmly before moving to the next set of edges.
Step 7: Join Rows of Squares
Once you have joined all the squares in your first row, repeat the process for all subsequent rows.
Join each square to its neighbor along the horizontal edges first.
Work methodically across your layout, connecting all the horizontal seams.
This creates long strips of joined squares.
Step 8: Join the Rows Together
After all your horizontal seams are complete, you will have several long strips of joined squares.
Now, rotate your project so you can join these strips vertically.
Align the first two strips you wish to join, right sides up, just as you did with individual squares.
Repeat the flat slip stitch joining method, working down the vertical edges, connecting the strips to each other.
Pay close attention when you reach the points where horizontal seams intersect; try to make a neat slip stitch directly into the intersecting stitches to keep the join smooth.
Step 9: Weave In All Ends
Once all your squares and rows are joined, you will have many yarn tails from fastening off.
Thread each yarn tail onto your yarn needle.
Weave the tail securely into the stitches of your project, hiding it within the fabric.
Trim any excess yarn close to the fabric.
Properly weaving in ends prevents your project from unraveling and gives it a clean finish.
Common Mistakes to Avoid
Inconsistent Tension
Applying uneven tension during joining can lead to a wavy or puckered seam, or one that pulls too tightly and distorts your squares. Practice maintaining a consistent, relaxed grip on your yarn and hook. If your seam looks too tight, try loosening your tension slightly; if it’s too loose, gentle tightening might be needed.
Skipping Stitches or Working Into Wrong Loops
Missing a stitch or inserting your hook into the front loop instead of the back loop will create an uneven or visible seam. Always count your stitches before you start joining, and carefully observe where you insert your hook. Double-check that you are consistently working into the designated loops for your chosen joining method.
Using the Wrong Hook Size
If your joining hook is too large, the seam might be loose and gappy. If it’s too small, the seam could be tight and restrictive. Generally, using the same hook size you used for the squares, or one size smaller, works best. Test a small section to see how the seam looks and adjust your hook size if needed.
Not Blocking Squares Before Joining
Unblocked squares often vary slightly in size and shape, making it difficult to align them perfectly for joining. This can result in a messy or uneven finished project. Taking the time to block your squares beforehand ensures uniformity, making the joining process much smoother and the final result more professional.
Troubleshooting
Seam is Puckered or Wavy
This usually indicates that your joining tension is too tight. Try to relax your grip on the yarn and hook. You might also be making too many stitches in a given area, causing the fabric to gather. Ensure you are matching one joining stitch to one stitch on each square’s edge.
Seam is Too Loose or Gappy
A loose seam often happens when your tension is too relaxed, or your hook size is too large. Try using a slightly smaller hook or gently tightening your tension as you work. Make sure you are pulling the yarn snug enough to close the gap between squares without distorting them.
Squares Don’t Line Up Evenly
If your squares aren’t lining up, it could be due to inconsistent stitch counts on the edges of your squares, or the squares themselves might be different sizes. First, check your stitch counts. If they vary, you might need to add or skip a stitch subtly at the beginning or end of a row to compensate. Blocking your squares thoroughly before joining can also significantly help with alignment.
Key Takeaways
- Planning your layout visually is crucial for a successful project.
- Choosing the right joining yarn color and weight impacts the aesthetic.
- Blocking squares before joining ensures uniformity and a neater finish.
- Consistent tension is key to preventing puckering or gapping in your seams.
- The flat slip stitch join creates a strong, nearly invisible seam ideal for many projects.
- Weave in all ends securely to prevent unraveling and achieve a professional look.
Frequently Asked Questions
Can I use a different joining method?
Absolutely! Many methods exist, like the single crochet join, whip stitch, or even sewing. The flat slip stitch is popular for its neat, flat finish. Experiment with swatches to find the method you prefer for your specific project and desired look.
How do I handle corners when joining?
When two squares meet at a corner, you typically work a slip stitch (or your chosen joining stitch) into the corner chain space of both squares. If four squares meet, you can work a stitch into the corner chain space of all four, or work into two, then the other two, securing the intersection.
What if my squares are slightly different sizes?
Blocking is your best friend here. It helps even out minor size discrepancies. For larger differences, you might need to subtly adjust your tension or add/skip a stitch every few stitches along the seam to ease in the difference, being careful not to make it too noticeable.
Do I have to use the same color yarn for joining?
No, you don’t! Using a contrasting color can create a beautiful design element, highlighting the seams and adding visual interest. The choice depends entirely on the aesthetic you’re aiming for for your finished piece.
Our Top Recommended Finds
- Blocking Mats with Grids: Essential for precise blocking, ensuring your squares are perfectly uniform in size and shape before joining.
- T-Pins for Blocking: Rust-proof pins that hold your squares firmly in place on blocking mats, preventing shifting as they dry.
- Ergonomic Crochet Hook Set: Comfortable hooks reduce hand fatigue, making long joining sessions more enjoyable and helping maintain consistent tension.
Bringing Your Vision to Life
You’ve now mastered the art of bringing your granny squares together, transforming a collection of individual pieces into a beautiful, cohesive whole.
The satisfaction of seeing your project take shape is one of the greatest joys of crochet.
Now that you’ve got this essential skill down, why not explore different types of granny squares, or perhaps even experiment with combining various joining methods for unique effects?
Grab your squares, pick your yarn, and start joining today to see your creative vision come to life!