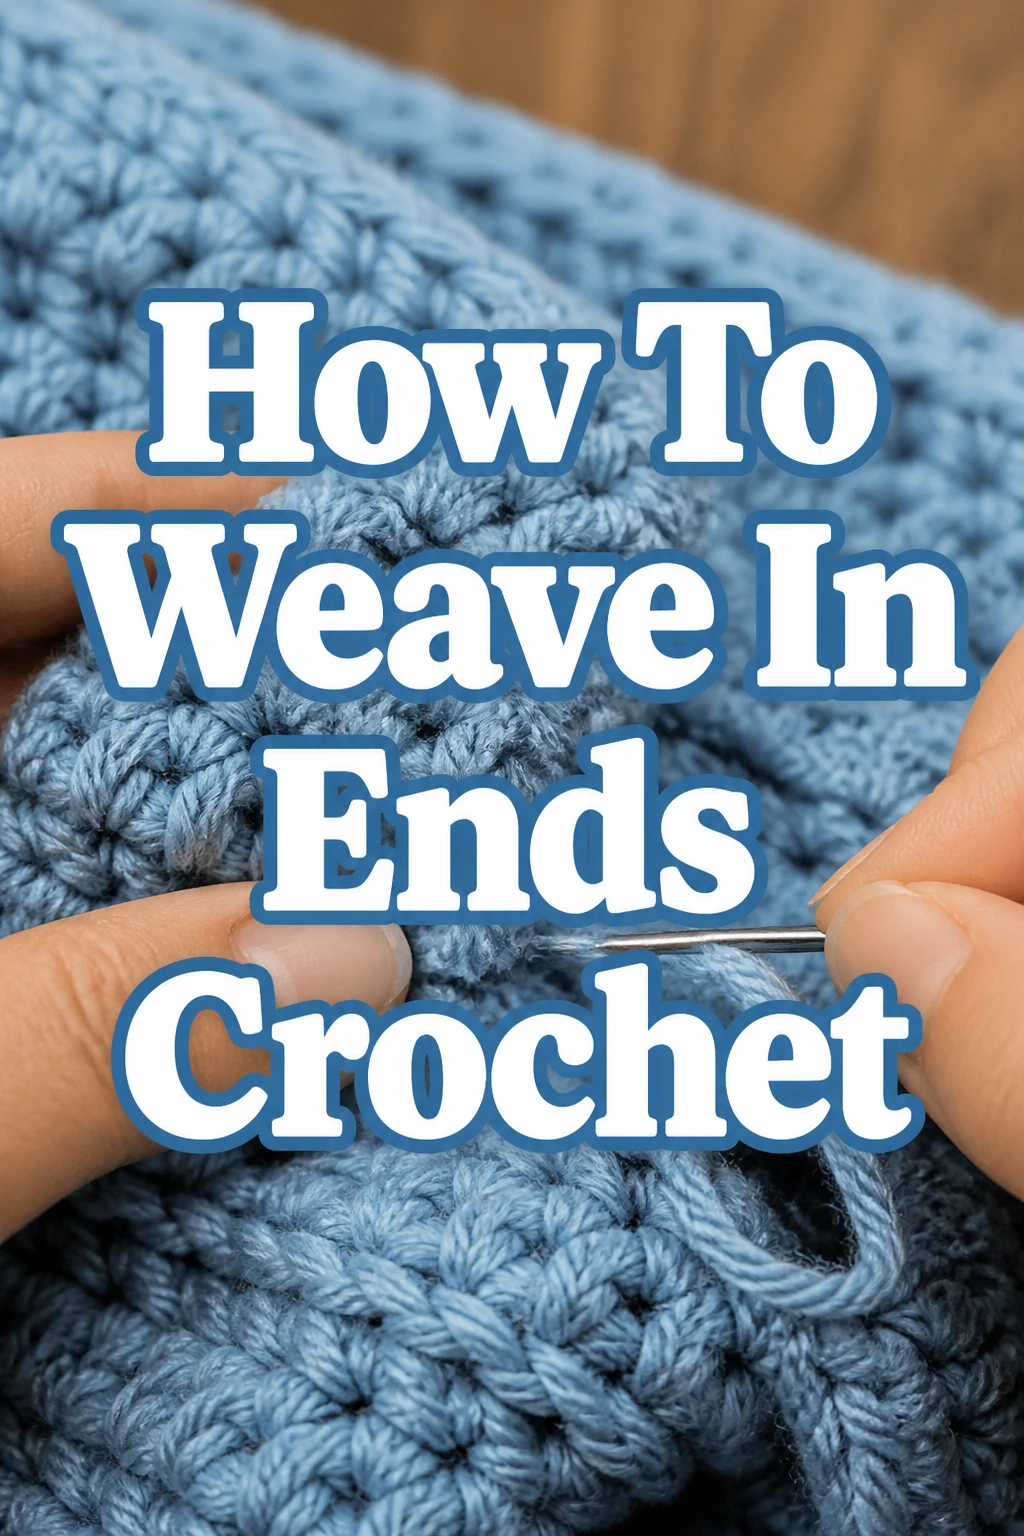
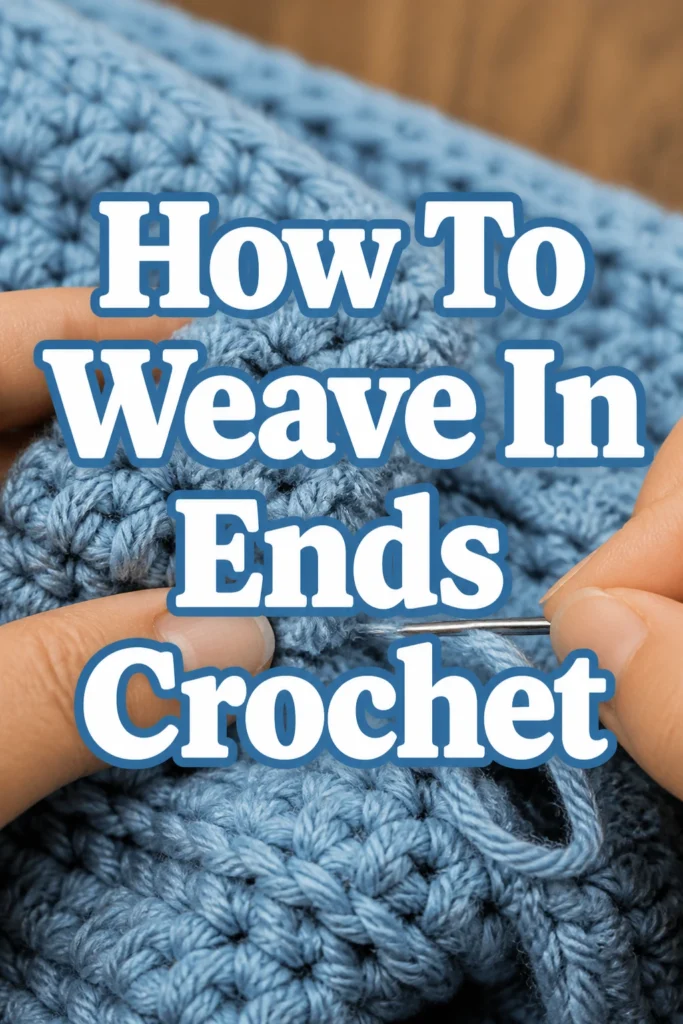
How To Weave In Ends Crochet
Finishing a crochet project should be a moment of triumph, not dread.
Yet, those pesky loose ends can often feel like the last hurdle, threatening to unravel all your hard work.
I’ve spent countless hours perfecting my own methods for securely weaving in ends, and I’m here to share the practical techniques that truly last.
Quick Overview
This guide will show you how to seamlessly hide your yarn tails, ensuring a professional and durable finish for all your crochet projects.
- Time needed: 5-10 minutes per end
- Difficulty: Beginner
- What you’ll need: Yarn needle (tapestry needle), scissors, your finished crochet piece.
Step-by-Step Instructions
Step 1: Prepare Your Yarn Tail
Start by trimming your yarn tail to a manageable length. An ideal length is usually about 6 to 8 inches, giving you enough to work with without it becoming too cumbersome.
Thread your yarn needle with this tail. A blunt-tipped tapestry needle is highly recommended as it glides through stitches without splitting the yarn fibers.
Step 2: Identify the Fabric Structure
Before you begin weaving, take a moment to examine your crochet fabric. Look for the distinct “grain” of your stitches, whether they are V-shapes, post stitches, or loops.
Understanding this structure helps you blend the yarn tail invisibly into the existing texture, making it disappear seamlessly.
Pro Tip: Weave your ends into sections of the same color yarn. This minimizes visibility and helps the tail blend in naturally.
Step 3: Begin Your First Pass
Insert your threaded needle into the back of your stitches, moving in one direction. Aim to go through the core of the existing stitches or under a few loops, rather than just random gaps.
Ensure your needle travels through the fabric without poking out to the front of your work. The goal is to hide the tail within the fabric’s layers.
Step 4: Change Direction
Once you’ve woven for about 1 to 2 inches in the first direction, change the direction of your weaving. Turn your work or angle your needle to go back over your previous path.
Slightly offset this second pass from the first, perhaps by going under a different set of loops or into the next row of stitches. This change in direction “locks” the yarn tail in place, preventing it from easily pulling out.
Step 5: Make a Third Pass (Recommended for Security)
For added security, especially with slippery yarns or frequently used items, make a third pass. This pass should go in yet another direction, ideally perpendicular or diagonal to your previous paths.
This triple-directional weaving creates a very strong anchor, significantly reducing the chances of the end working its way loose over time. It’s a small extra step that makes a big difference.
Step 6: Avoid Pulling Too Tightly
As you weave, be mindful of your tension. Pulling the yarn tail too tightly can distort your crochet fabric, causing it to pucker or bunch up.
The woven end should sit comfortably within the stitches, maintaining the natural drape and elasticity of your project. Gently tug on the fabric after weaving to ensure no distortion has occurred.
Pro Tip: After weaving, gently stretch the fabric in all directions. This helps the woven yarn settle into its new home and reveals any areas where you might have pulled too tightly.
Step 7: Trim the Excess
Once you are satisfied that the yarn end is securely woven and invisible, it’s time to trim the excess. Use a sharp pair of scissors to snip the remaining tail as close to the fabric as possible.
Be extremely careful not to accidentally snip any of your actual stitches. A small, sharp pair of embroidery scissors works best for this precise task.
Step 8: Give It a Gentle Tug and Massage
After trimming, gently tug on the surrounding fabric and lightly massage the area where you wove in the end. This helps the cut end disappear completely into the surrounding fibers.
It also encourages the fibers to bloom and blend, further obscuring the point where the yarn tail was trimmed. Your end should now be practically undetectable.
Common Mistakes to Avoid
Weaving Into Only One Direction
A common mistake is simply weaving the yarn tail in one straight line across the fabric. While this might look neat initially, it offers very little security.
Over time, with use and washing, the yarn can easily work its way back out. Always change directions at least once, ideally twice, to create a secure lock within the stitches.
Pulling Too Tightly
It’s tempting to pull the yarn taut to make it feel secure, but this often leads to puckering or bunching of your fabric. This distortion is not only unsightly but can also alter the shape and drape of your finished piece.
Aim for a tension that matches the rest of your crochet work, allowing the fabric to remain flat and flexible. If you notice any pulling, gently undo your work and re-weave with a lighter hand.
Trimming Too Soon or Too Close
Trimming the yarn tail too short before weaving or cutting it flush with the surface after only one or two passes is a recipe for disaster. The end can quickly pop out, especially after washing.
Ensure you have woven the end through enough stitches and in enough directions to truly anchor it before trimming. Leave a tiny bit of length if you’re unsure, as the fibers will often settle further into the fabric.
Using the Wrong Needle
Attempting to weave in ends with a sharp sewing needle or a very small eye can split your yarn fibers. This weakens the yarn, making it more prone to breaking or fraying, which compromises the security of your woven end.
Always use a blunt-tipped tapestry or yarn needle with an eye large enough for your yarn. The blunt tip pushes through the stitches without piercing them, keeping the yarn intact.
Troubleshooting
Ends Popping Out
If your ends are starting to poke out after some use or washing, it typically means they weren’t secured enough. The most common reason is not weaving in enough directions or for a sufficient length.
To fix this, carefully re-thread the popping end onto your yarn needle. Weave it further into the fabric, making sure to incorporate at least two or three directional changes. Consider a slightly longer weaving path this time.
Fabric Looks Bunched Up
When the area where you’ve woven in an end appears puckered or gathered, it’s a clear sign you’ve pulled the yarn too tightly. The tension of the woven end is much greater than the surrounding stitches.
Gently undo the woven end. Re-weave it, paying close attention to maintaining a relaxed tension that matches the existing fabric. Stretch the fabric gently as you go to ensure it lays flat.
Yarn Splits While Weaving
If your yarn is constantly splitting as you try to weave it in, several factors could be at play. You might be using a needle that is too sharp, or the yarn itself might be very loosely plied and delicate.
Switch to a blunt-tipped tapestry needle if you aren’t already using one. If the yarn is very splitty, try twisting the yarn strands together more tightly before threading the needle. You can also try going through the middle of the stitches rather than just under the loops, which can offer more support to the yarn.
Key Takeaways
- Directional changes are crucial for securely anchoring yarn tails and preventing unraveling.
- Match your weaving path to the natural structure of your crochet stitches for an invisible finish.
- Maintain consistent, loose tension to avoid distorting your fabric with puckers or gathers.
- A blunt-tipped tapestry needle is your most valuable tool for weaving without splitting yarn.
- Practice makes perfect; the more you weave, the more invisible and secure your ends will become.
Frequently Asked Questions
How long should the yarn tail be for weaving?
An ideal yarn tail length for weaving is typically 6 to 8 inches. This length provides enough yarn to comfortably thread your needle and make multiple passes without being so long that it becomes tangled or unwieldy during the process.
Can I weave in ends with a crochet hook instead of a needle?
Yes, you can absolutely weave in ends with a crochet hook, especially for thicker yarns or when you need to pull the yarn through tight spaces. However, a yarn needle often provides a neater and more precise finish, as it can glide through the fabric without catching as many fibers as a hook might.
Should I weave into the front or back of the work?
For most projects, you should primarily weave into the back or the “wrong side” of your crochet work. This ensures that the woven end remains invisible from the front, maintaining a clean and polished appearance. Only weave into the front if the design specifically calls for it or if the front and back are identical.
Does yarn type affect how I weave in ends?
Absolutely, yarn type significantly affects weaving. Slippery yarns like silk, rayon, or certain acrylics require more passes and more directional changes to secure properly. Wool and other animal fibers, which are naturally “sticky,” tend to felt into place more easily and may require slightly fewer passes for security.
Our Top Recommended Finds
- Blunt-tipped Tapestry Needle Set: Essential for gliding through stitches without splitting yarn, coming in various sizes for different yarn weights.
- Small, Sharp Scissors: Perfect for precise, close trimming of yarn tails without accidentally snipping your stitches.
- Yarn Bobbins: While not for weaving, these are helpful for managing multiple color changes during a project, making end management easier when you get to the finishing stage.
Mastering Your Crochet Finish
You’ve poured your creativity and time into every stitch of your crochet project. Don’t let the final step diminish your hard work.
By applying these simple, practical weaving techniques, you’ll ensure every piece you create looks professional, lasts longer, and truly reflects your skill.
Take a moment now to secure those loose ends on your current project. You’ll be amazed at the difference a well-finished piece makes, ready for blocking or its final use.