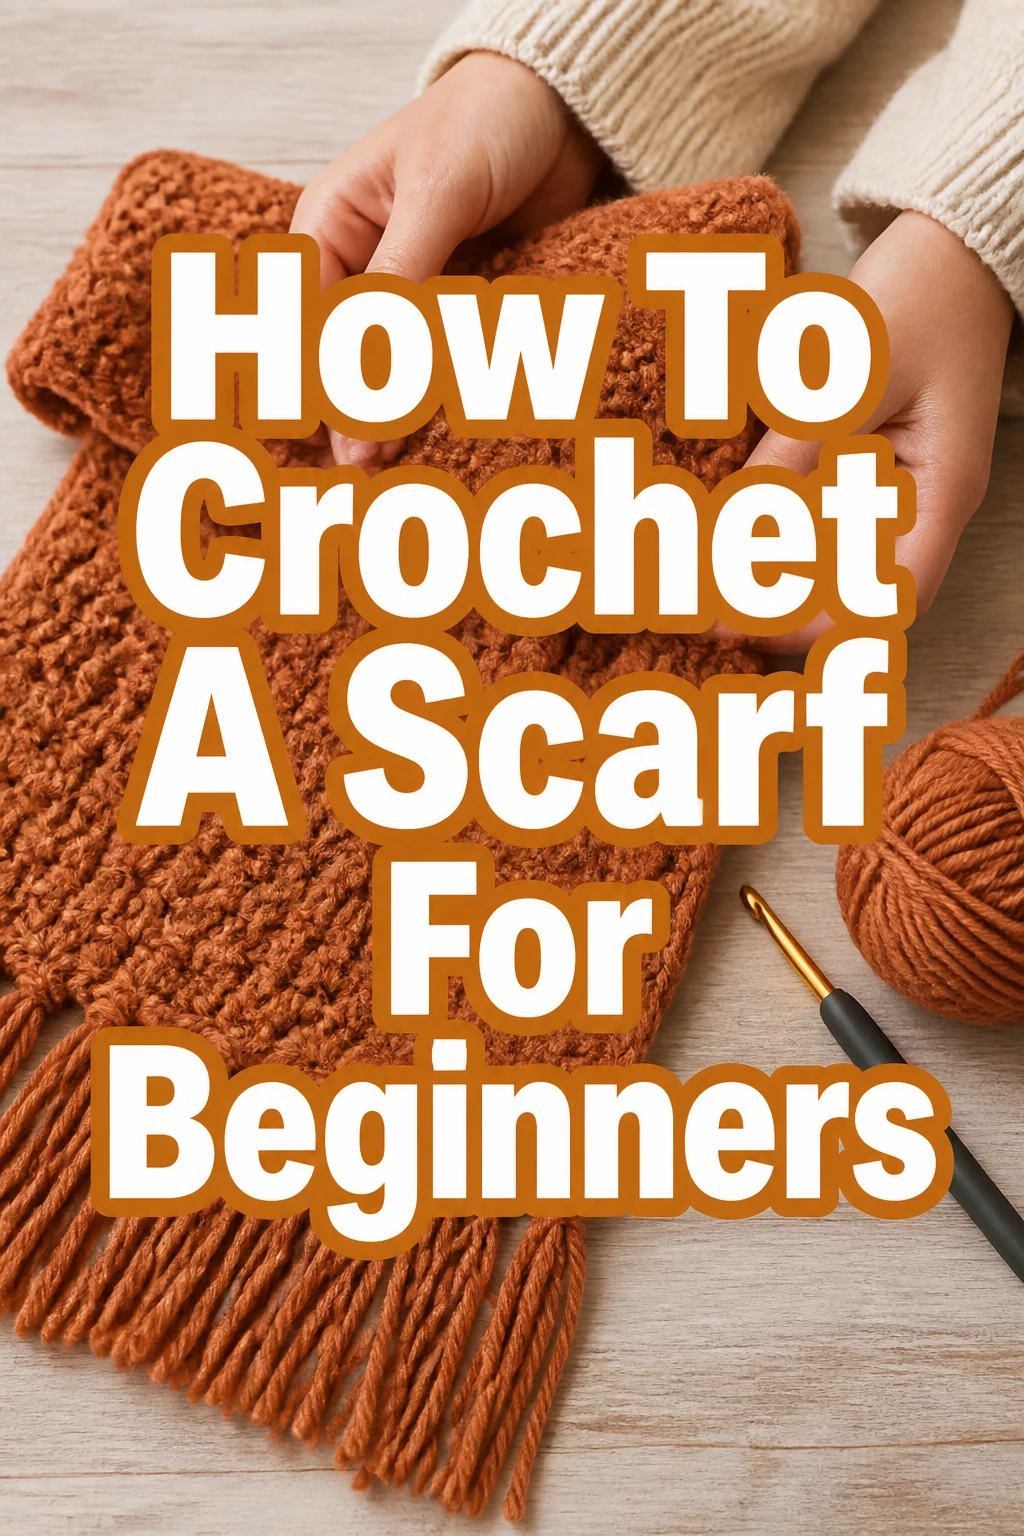
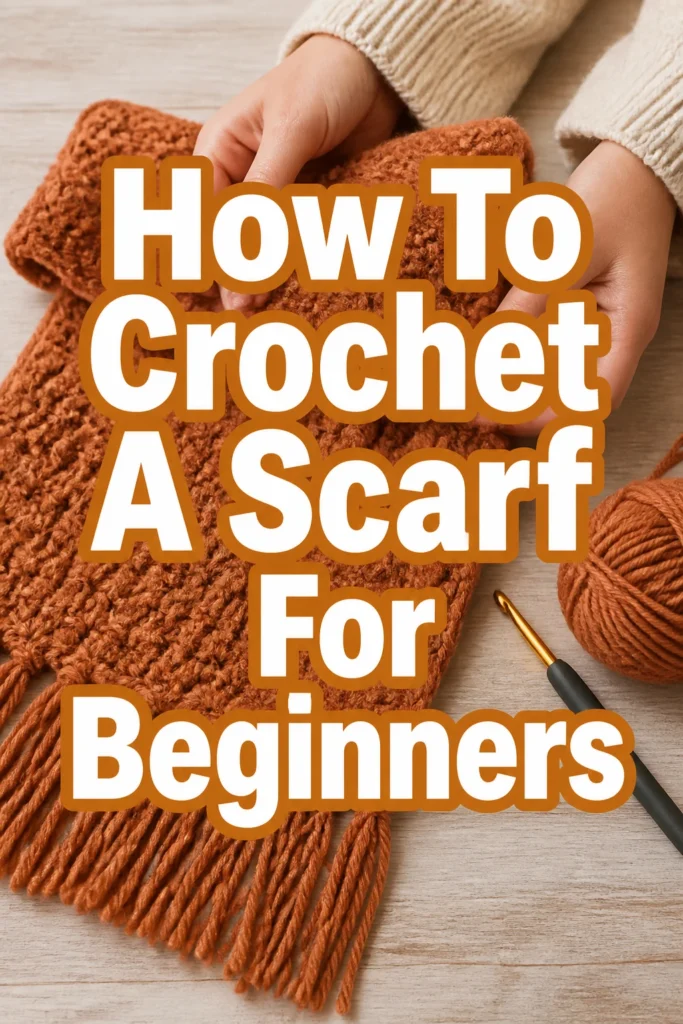
How To Crochet A Scarf For Beginners
My first crochet scarf felt like a huge accomplishment.
It taught me that anyone can create something beautiful with just a hook and yarn.
This guide shares the exact steps I used, making it easy for you to experience that same joy and create your own cozy scarf.
Quick Overview
You are about to embark on a rewarding journey. This guide will teach you the fundamental crochet stitches and techniques needed to create your very first wearable item: a simple, stylish scarf.
By following these steps, you’ll gain confidence in your new craft and finish with a handmade piece you can proudly use or gift.
- Time needed: 4-8 hours (can be spread over several sessions)
- Difficulty: Beginner
- What you’ll need: Yarn, crochet hook, scissors, tapestry needle
Step-by-Step Instructions
Step 1: Gather Your Tools
Before you begin, ensure you have all the necessary supplies. Choosing the right materials makes a big difference for beginners.
You will need a skein of worsted weight yarn, a crochet hook that matches the yarn’s recommended size (usually found on the yarn label), a pair of sharp scissors, and a tapestry needle.
Pro Tip: Start with a light-colored, smooth worsted weight acrylic yarn. It’s affordable, easy to see your stitches, and forgiving for beginners. Avoid dark, fuzzy, or very thin yarns initially.
Step 2: Learn How to Hold the Hook and Yarn
Finding a comfortable grip is essential for consistent tension and preventing hand fatigue. There are two main ways to hold your crochet hook.
The “pencil grip” involves holding the hook like a pencil, while the “knife grip” means holding it like a knife. Experiment to see which feels natural for you.
For the yarn, drape it over your non-dominant hand’s index finger. This helps control the tension as you pull loops through your stitches.
Step 3: Create a Slip Knot
Every crochet project begins with a slip knot. This is the first loop on your hook.
Make a loop with your yarn, ensuring the tail end crosses over the working yarn. Insert your hook into the loop, catch the working yarn with your hook, and pull it through the loop.
Pull both ends of the yarn to tighten the knot onto your hook. It should slide easily along the hook but not be too loose.
Step 4: Master the Chain Stitch (Ch)
The chain stitch forms the foundation of almost every crochet project. For a scarf, you’ll create a long chain that determines its width.
Yarn over (wrap the yarn from back to front over your hook). Pull the yarn through the loop already on your hook.
You have now made one chain stitch. Repeat this process until your chain is the desired width of your scarf, usually around 15-20 inches for an adult scarf.
Pro Tip: Do not pull your chain stitches too tightly. A loose chain makes it much easier to work into in the next step. Practice making even chains.
Step 5: Practice the Single Crochet Stitch (Sc)
The single crochet is a fundamental stitch perfect for beginners. It creates a dense, sturdy fabric ideal for scarves.
Skip the first chain stitch from your hook. Insert your hook into the center of the second chain stitch.
Yarn over and pull a loop through the chain stitch (you now have two loops on your hook). Yarn over again and pull through both loops on your hook.
You have completed one single crochet stitch. Repeat this process, inserting your hook into the next chain stitch along your foundation chain until you reach the end.
Pro Tip: Place a stitch marker in the very first single crochet stitch of each row. This helps you identify where to work your last stitch in subsequent rows, preventing uneven edges.
Step 6: Turn Your Work and Start New Rows
Once you reach the end of your first row of single crochet, you need to turn your work to begin the next row.
Chain 1 (make one chain stitch). This chain is called a “turning chain” and it creates the necessary height for your next row of single crochet.
Turn your work over, so the back of the previous row is now facing you. You are ready to work into the stitches you just made.
Step 7: Continue Crocheting Rows
Now you will build the length of your scarf by repeating the single crochet stitch in each row.
Insert your hook into the first stitch of the new row (the one directly below your turning chain). Work a single crochet stitch.
Continue making one single crochet stitch in each stitch across the row. Remember to count your stitches periodically to ensure your scarf maintains a consistent width.
When you reach the end of the row, chain 1 and turn your work. Repeat these steps until your scarf reaches your desired length.
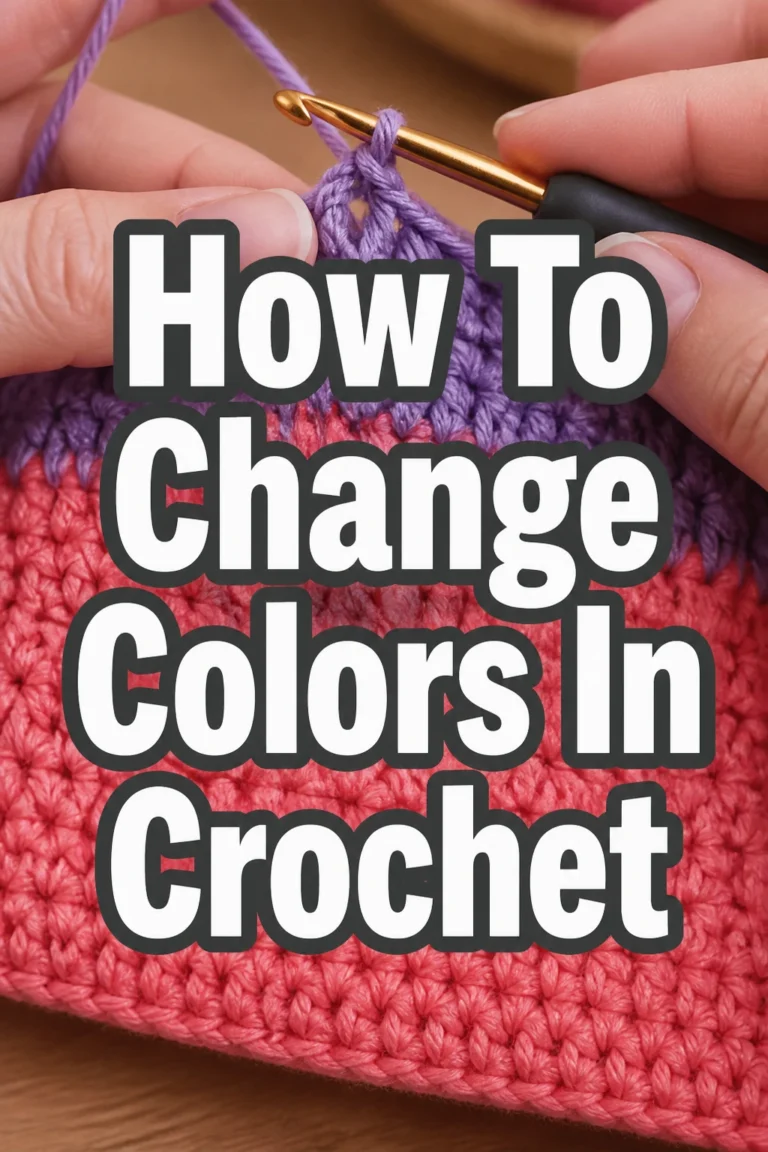
Step 8: Change Colors (Optional)
Adding new colors can make your scarf more vibrant. This is a simple technique to master.
When you are almost finished with your last stitch of a row, stop before the final yarn over. You should have two loops on your hook.
Pick up your new color yarn. Yarn over with the new color and pull it through both loops on your hook to complete the stitch.
Chain 1 with the new color and turn your work. You can then trim the old yarn, leaving a tail to weave in later.
Step 9: Finish Your Scarf (Fasten Off)
Once your scarf is the perfect length, it’s time to secure your stitches so they don’t unravel.
After completing your final stitch of the last row, cut the working yarn, leaving a tail about 6 inches long.
Yarn over with this tail and pull it completely through the loop on your hook. Pull firmly to tighten the knot and secure your work.
Step 10: Weave in Ends
A neat finish makes your handmade scarf look professional. This involves hiding all those loose yarn tails.
Thread each yarn tail onto your tapestry needle. Weave the needle through several stitches on the wrong side of your fabric.
Change directions at least once to ensure the tail is securely hidden. Trim any excess yarn close to the fabric.
Common Mistakes to Avoid
Uneven Edges
Many beginners find their scarf edges becoming wavy or tapered. This often happens from missing stitches at the end of a row or accidentally adding extra ones.
Always count your stitches at the end of each row. Use a stitch marker in the first and last stitch to easily identify where your row begins and ends.
Too Tight or Too Loose Tension
Inconsistent tension leads to an uneven fabric that can be stiff or too flimsy. Your stitches might look different from one row to the next.
Try to relax your hands and wrist as you crochet. Practice pulling the yarn consistently for each stitch. Don’t grip the hook too tightly, and let the yarn glide smoothly through your fingers.
Forgetting Turning Chains
If you skip the turning chain at the end of a row, your fabric will likely pull inward, making your scarf narrower. The turning chain provides the necessary height to start the next row cleanly.
Always remember to chain 1 (for single crochet) before turning your work. This creates a neat edge and maintains the width of your project.
Choosing Complex Patterns Too Soon
While it’s exciting to see intricate crochet designs, diving into them too early can lead to frustration. Complex patterns often require multiple advanced stitches and techniques.
Stick to simple stitches like the single crochet until you feel confident. Mastering the basics will build a strong foundation for more challenging projects later.
Troubleshooting
My Scarf is Getting Wider or Narrower
This is almost always due to an incorrect stitch count per row. You might be accidentally adding extra stitches or skipping them.
Recount your stitches at the end of every single row. If you have too many, gently unravel and correct. If you have too few, identify where you missed a stitch, usually at the beginning or end of the row, and try again.
My Stitches Look Messy or Uneven
Inconsistent tension is the primary culprit here. Your stitches might be tight in some areas and loose in others, making the fabric appear lumpy or irregular.
Practice maintaining a consistent grip on your yarn and hook. Try to make each loop the same size. Relax your shoulders and hands to prevent tension from building up.
I Can’t See My Stitches Clearly
This problem often arises when using dark-colored yarn, fuzzy yarn, or working in poor lighting. It makes it hard to identify where to insert your hook.
Ensure you are working in a well-lit area. If possible, switch to a lighter-colored, smooth yarn for practice. Feel for the top of the stitches with your hook, rather than relying solely on sight.
Key Takeaways
- Start with basic, light-colored worsted weight yarn and a corresponding hook for ease.
- Practice the slip knot and chain stitch until they feel natural before moving on.
- Consistent yarn tension is crucial for creating an even, attractive fabric.
- Always count your stitches at the end of each row to maintain the scarf’s width.
- Don’t hesitate to unravel your work and restart if you make a mistake; it’s part of learning.
- Weave in all yarn ends securely with a tapestry needle for a polished, finished look.
Frequently Asked Questions
What’s the best yarn for a beginner scarf?
For beginners, a medium-weight (worsted weight) acrylic yarn is ideal. It’s affordable, easy to work with, and the stitches are clearly visible. Avoid slippery or very thin yarns initially.
How long should my scarf be?
The ideal length for an adult scarf is typically between 60 to 70 inches (150-175 cm). However, you can make it shorter or longer based on personal preference or the recipient’s height.
Can I use any hook size with any yarn?
No, yarn labels usually recommend a specific range of hook sizes. Using a hook that is too small or too large for your yarn can result in a fabric that is too stiff or too loose. Always check your yarn label for guidance.
How do I make my scarf wider?
To make your scarf wider, simply increase the number of chain stitches you make in your foundation row. Ensure you still work the same number of stitches across each subsequent row to maintain the width.
Our Top Recommended Finds
- Ergonomic Crochet Hook Set: These hooks feature comfortable handles, reducing hand fatigue during long crafting sessions.
- Beginner-Friendly Worsted Weight Yarn Pack: A curated selection of smooth, light-colored acrylic yarns, perfect for practicing different stitches and making vibrant projects.
- Large-Eye Tapestry Needles: Essential for easily weaving in yarn ends, these needles have large eyes that accommodate thicker yarns and blunt tips to avoid splitting stitches.
Your Crochet Journey Begins Now
You now possess the knowledge and steps to crochet your very first scarf. Imagine the satisfaction of wearing something you created with your own hands.
Don’t be afraid to experiment with different yarn colors or even try a new simple stitch once you’re comfortable. This is just the beginning of a wonderful crafting adventure.
Gather your supplies today, follow these steps, and start bringing your cozy scarf to life.