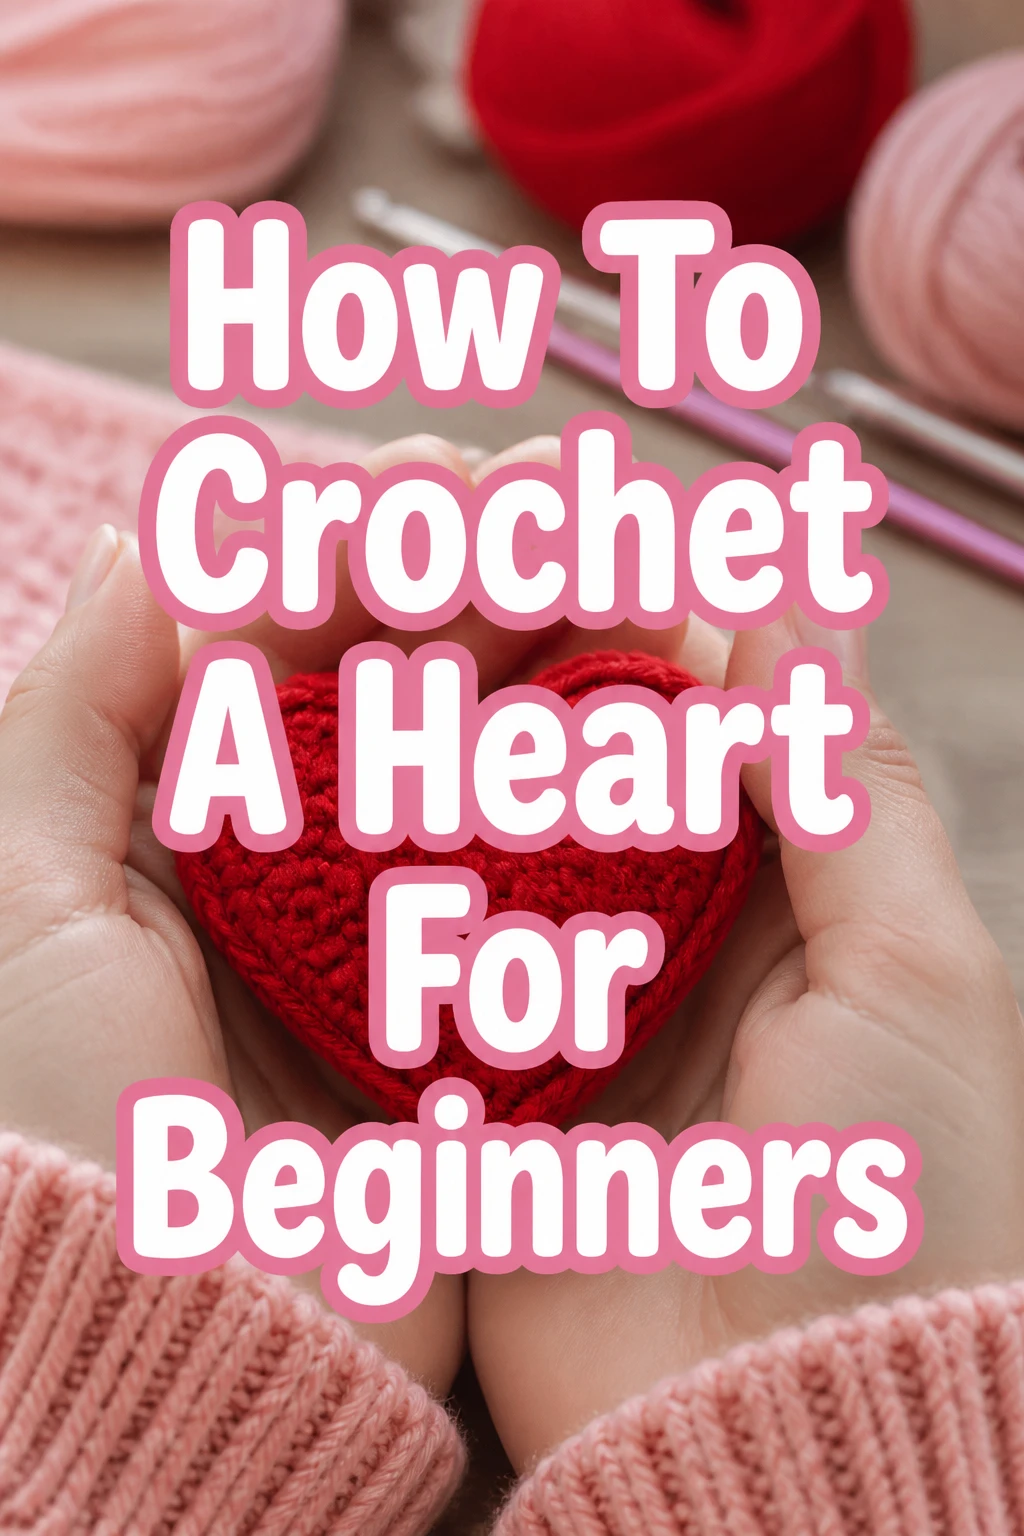
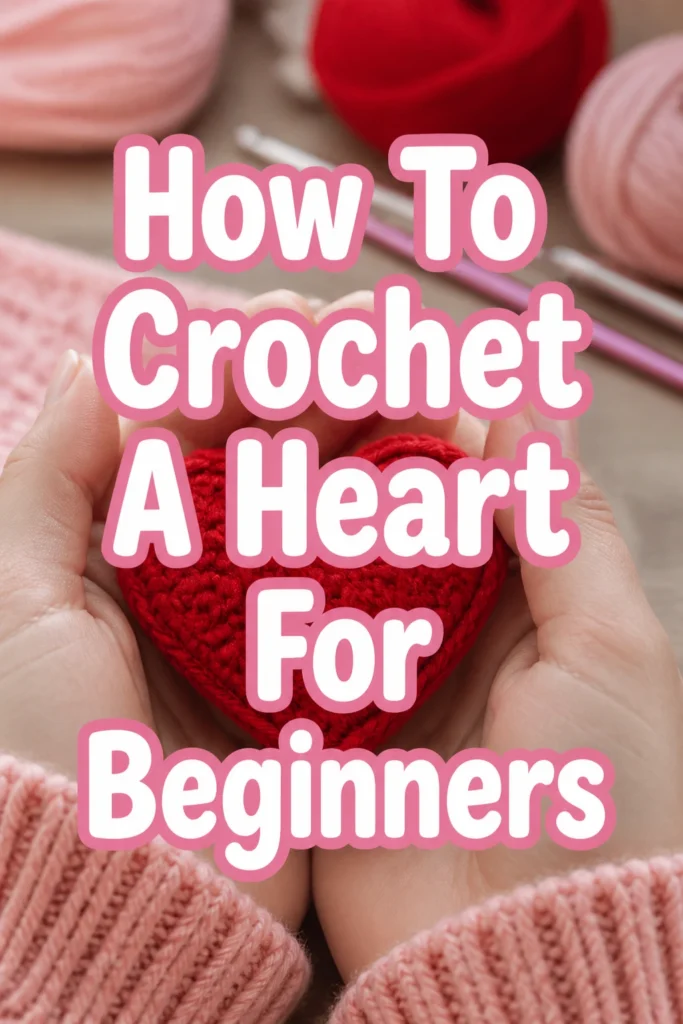
How To Crochet A Heart For Beginners
I still remember the pure joy of crocheting my very first heart; it felt like a little piece of magic coming to life in my hands.
This guide is built on that experience, designed to walk you through every stitch with patience and clarity.
You’ll soon discover how simple it is to create your own adorable, handcrafted hearts.
Quick Overview
In this guide, you will learn to crochet a charming small heart, perfect for various projects or as a stand-alone decoration.
You’ll gain confidence in basic crochet stitches and techniques, finishing with a tangible, lovely creation.
- Time needed: 30-60 minutes (depending on your pace)
- Difficulty: Beginner
- What you’ll need: Yarn, crochet hook, scissors, yarn needle
Step-by-Step Instructions
Step 1: Gather Your Materials
Before you begin, ensure you have all the necessary tools and supplies ready.
Having everything at hand prevents interruptions and helps you maintain your flow.
- Choose your yarn. For beginners, a light-colored, smooth worsted weight (medium #4) acrylic or cotton yarn is ideal. It’s easy to see your stitches and forgiving to work with.
- Select a crochet hook. The yarn label usually suggests a hook size. A common size for worsted weight yarn is a 5.0 mm (H-8) or 5.5 mm (I-9) hook. Make sure it feels comfortable in your hand.
- Grab a pair of sharp scissors. These will be used for cutting your yarn tails.
- Find a yarn needle (also called a tapestry needle). This blunt needle helps you weave in loose ends neatly.
Pro Tip: Brighter yarn colors make it easier to see your stitches, which is incredibly helpful when you’re just starting out. Avoid very dark or highly textured yarns for your first project.
Step 2: Master the Slip Knot
Every crochet project begins with a slip knot on your hook.
This knot secures your yarn to the hook and forms the first loop.
- Lay the yarn tail over your palm, letting it hang down.
- Wrap the working yarn (the yarn coming from the ball) around two fingers of your non-dominant hand, crossing over the tail.
- Insert your crochet hook under the first strand of yarn on your fingers.
- Catch the second strand with your hook (this is the working yarn).
- Pull that second strand through the first loop, creating a new loop on your hook.
- Gently pull the yarn tail and working yarn to tighten the knot around your hook, but not too tightly. The loop on your hook should still move freely.
Step 3: Create a Magic Ring (or Chain 2 Alternative)
The magic ring (also called a magic circle or adjustable ring) is perfect for starting projects that need to be worked in the round, like this heart, without a hole in the center.
If the magic ring feels too tricky at first, a chain 2 alternative works just as well for beginners.
- For a Magic Ring:
- Hold the yarn tail in your non-dominant hand.
- Wrap the working yarn around your index finger once, creating a loop.
- Insert your hook into the loop you just created.
- Yarn over (wrap the yarn from the back to the front over your hook).
- Pull up a loop.
- Chain 1 (yarn over and pull through the loop on your hook) to secure the ring. This chain 1 does not count as a stitch.
- For Chain 2 Alternative:
- Make a slip knot as in Step 2.
- Chain 2 (yarn over and pull through the loop on your hook, repeat once).
- Insert your hook into the very first chain stitch you made. This will be the center of your heart.
Pro Tip: The magic ring takes a little practice. Don’t get discouraged if it feels awkward initially. Watch a quick video tutorial if you’re struggling; visual aids can make a big difference.
Step 4: Crochet the First Side of the Heart
Now you’ll start forming the rounded top of your heart by working stitches into your magic ring or chain 2 space.
We’ll use a combination of triple crochet (TR) and double crochet (DC) stitches.
- Chain 2 (yarn over and pull through, twice). This chain 2 counts as your first double crochet (DC) in this pattern.
- Work three Triple Crochet (TR) stitches into the magic ring (or the first chain if using the chain 2 alternative).
- To make a TR: Yarn over twice, insert hook into the ring/chain, yarn over, pull up a loop (4 loops on hook).
- Yarn over, pull through two loops (3 loops on hook).
- Yarn over, pull through two loops (2 loops on hook).
- Yarn over, pull through the final two loops (1 loop on hook). You’ve made one TR. Repeat two more times.
- Work three Double Crochet (DC) stitches into the magic ring (or the first chain).
- To make a DC: Yarn over once, insert hook into the ring/chain, yarn over, pull up a loop (3 loops on hook).
- Yarn over, pull through two loops (2 loops on hook).
- Yarn over, pull through the final two loops (1 loop on hook). You’ve made one DC. Repeat two more times.
Step 5: Create the Heart’s Point
The point of the heart is often formed with a single triple crochet or a chain-stitch combination.
We’ll use a single triple crochet to give it a nice, defined tip.
- Work one Triple Crochet (TR) stitch into the magic ring (or the first chain). This single stitch forms the distinct bottom point of your heart.
Step 6: Crochet the Second Side of the Heart
You’ll now mirror the stitches from Step 4 to complete the other rounded top of your heart.
The symmetry of these stitches gives the heart its classic shape.
- Work three Double Crochet (DC) stitches into the magic ring (or the first chain).
- Work three Triple Crochet (TR) stitches into the magic ring (or the first chain).
Step 7: Finish the Heart Shape and Close the Ring
To complete the heart’s top curve and close up the center, you’ll use a chain and a slip stitch.
This final step brings the two halves together beautifully.
- Chain 2 (yarn over and pull through, twice). This chain 2 acts as the final DC on this side, mirroring the starting chain 2.
- Slip stitch into the magic ring (or the first chain).
- To make a slip stitch: Insert your hook into the ring/chain, yarn over, pull through the ring/chain AND through the loop already on your hook in one smooth motion. This joins the round.
- For a Magic Ring: Gently pull the yarn tail of your magic ring to close the center hole tightly. This gives your heart a neat, finished look.
Step 8: Fasten Off and Weave in Ends
You’re almost done! Fastening off secures your work, and weaving in ends creates a clean finish.
This makes your heart look professional and prevents it from unraveling.
- Chain 1 after your slip stitch to secure your work.
- Cut the working yarn, leaving about a 6-inch tail.
- Pull the cut yarn tail completely through the loop on your hook. Gently tug to tighten the knot. This is called fastening off.
- Thread your yarn needle with the remaining yarn tail.
- Weave the tail through several stitches on the back of your heart. Try to go through the stitches, not just under them, for a secure finish.
- Trim any excess yarn close to your work.
- Repeat for the starting tail (especially important if you used the magic ring).
Pro Tip: Weaving in ends securely is crucial for the longevity of your crocheted items. Take your time to hide them well within the stitches.
Common Mistakes to Avoid
Working into the Wrong Part of the Magic Ring
Many beginners struggle with where to insert their hook when using a magic ring. Sometimes they insert it only under one strand, or miss the ring entirely. Always ensure your hook goes under both strands of the magic ring to properly encompass it, allowing you to pull it tight later.
Uneven Tension
Your stitches might look inconsistent if your tension is too loose or too tight. If stitches are too tight, they’re hard to work into. If too loose, your fabric will be gappy. Practice holding your yarn consistently, allowing it to glide smoothly through your fingers. This will come with time and practice.
Forgetting to Count Stitches
It’s easy to lose track, especially with new stitch patterns. Skipping or adding a stitch can distort the heart’s shape. Always count your stitches after completing each section (e.g., after the first set of 3 TR, then after the 3 DC). This ensures symmetry and the correct final shape.
Ignoring Yarn Tails
Leaving yarn tails untrimmed or poorly woven in can make your project look unfinished or cause it to unravel. Always weave in both your starting and ending tails securely and neatly. It’s a small step that makes a big difference in the quality of your finished piece.
Troubleshooting
My Heart Looks Uneven/Lopsided
This is often due to an incorrect stitch count or inconsistent tension. Go back through your work, counting your stitches carefully to ensure you have the correct number of TR and DC on each side. Try to maintain a consistent grip on your yarn for even tension. Sometimes, a little gentle blocking (lightly wetting and shaping the heart) can also help even it out.
The Center Hole of My Magic Ring Won’t Close
If your magic ring doesn’t close completely, it usually means you didn’t work all your stitches around both strands of the ring, or you didn’t pull the tail firmly enough. Carefully check that your hook passed under both parts of the loop for every stitch. If it’s still stubborn, try using a slightly smaller hook for the magic ring itself, or ensure you’re pulling the correct tail (the one that’s not connected to the ball of yarn).
My Stitches Are Too Tight to Work Into
This is a common issue with tight tension. Your hook might be too small for your yarn, or you’re gripping the yarn and hook too tightly. Try using a larger hook size, even just one size up, to see if that helps. Consciously try to relax your grip on both the yarn and the hook while you work. Practice making your stitches a little looser. Remember, the loop on your hook should always be able to move freely.
Key Takeaways
- Always begin with a slip knot, forming the foundation for your first stitch.
- The magic ring provides a neat, closed center for your heart, while a chain 2 alternative is easier for beginners.
- Crocheting a heart involves mirroring stitch patterns (TR and DC) on both sides for symmetry.
- Counting your stitches is essential to ensure your heart maintains its correct shape and size.
- Properly fastening off and weaving in yarn ends creates a professional and durable finish.
- Consistent tension and patience are key to improving your crochet skills over time.
Frequently Asked Questions
Can I use any type of yarn for this heart pattern?
While you can technically use any yarn, for beginners, a smooth, light-colored worsted weight (medium #4) yarn is highly recommended. It’s easier to see your stitches and manipulate, making the learning process much smoother. More textured or very fine yarns can be challenging.
What if I don’t know how to make a Triple Crochet (TR)?
The Triple Crochet (TR) is a taller stitch. If you’re finding it difficult, there are many excellent video tutorials available online that demonstrate this stitch in slow motion. You can also substitute it with a Double Crochet (DC) for a slightly smaller, more compact heart, though the shape might be a little less defined.
How can I make my heart bigger or smaller?
To make the heart bigger, you can use a thicker yarn and a larger hook. You could also add more stitches to each section (e.g., 4 TR instead of 3 TR, 4 DC instead of 3 DC) and increase the starting chain if you’re not using a magic ring. To make it smaller, use thinner yarn and a smaller hook. You could also reduce the number of stitches in each section.
Can I attach this heart to other projects?
Absolutely! These crocheted hearts are wonderfully versatile. You can sew them onto blankets, hats, bags, or clothing as appliques. They also make lovely keychains, ornaments, or gift toppers. Just leave a longer tail when fastening off to use for sewing, or simply stitch them on with a separate piece of yarn.
Our Top Recommended Finds
- Ergonomic Crochet Hook Set: These hooks feature comfortable handles that reduce hand fatigue, perfect for longer crafting sessions.
- Beginner-Friendly Worsted Weight Yarn Pack: A multipack of smooth, brightly colored acrylic or cotton yarns, offering variety and ease of use for new crafters.
- Large-Eye Blunt Needles (Yarn Needles): Essential for weaving in ends, these needles have large eyes for easy threading and blunt tips to prevent splitting yarn.
Your Next Creative Journey Awaits
You’ve just created your very own crocheted heart, a testament to your growing skills and patience.
This little heart is more than just yarn and stitches; it’s a symbol of what you can achieve with a hook and a dream.
Now that you’ve mastered this charming project, why not try creating hearts in different colors or sizes? You could also explore other simple crochet shapes like stars or flowers, building on the techniques you’ve learned today.
Pick up your hook again and let your imagination lead the way!