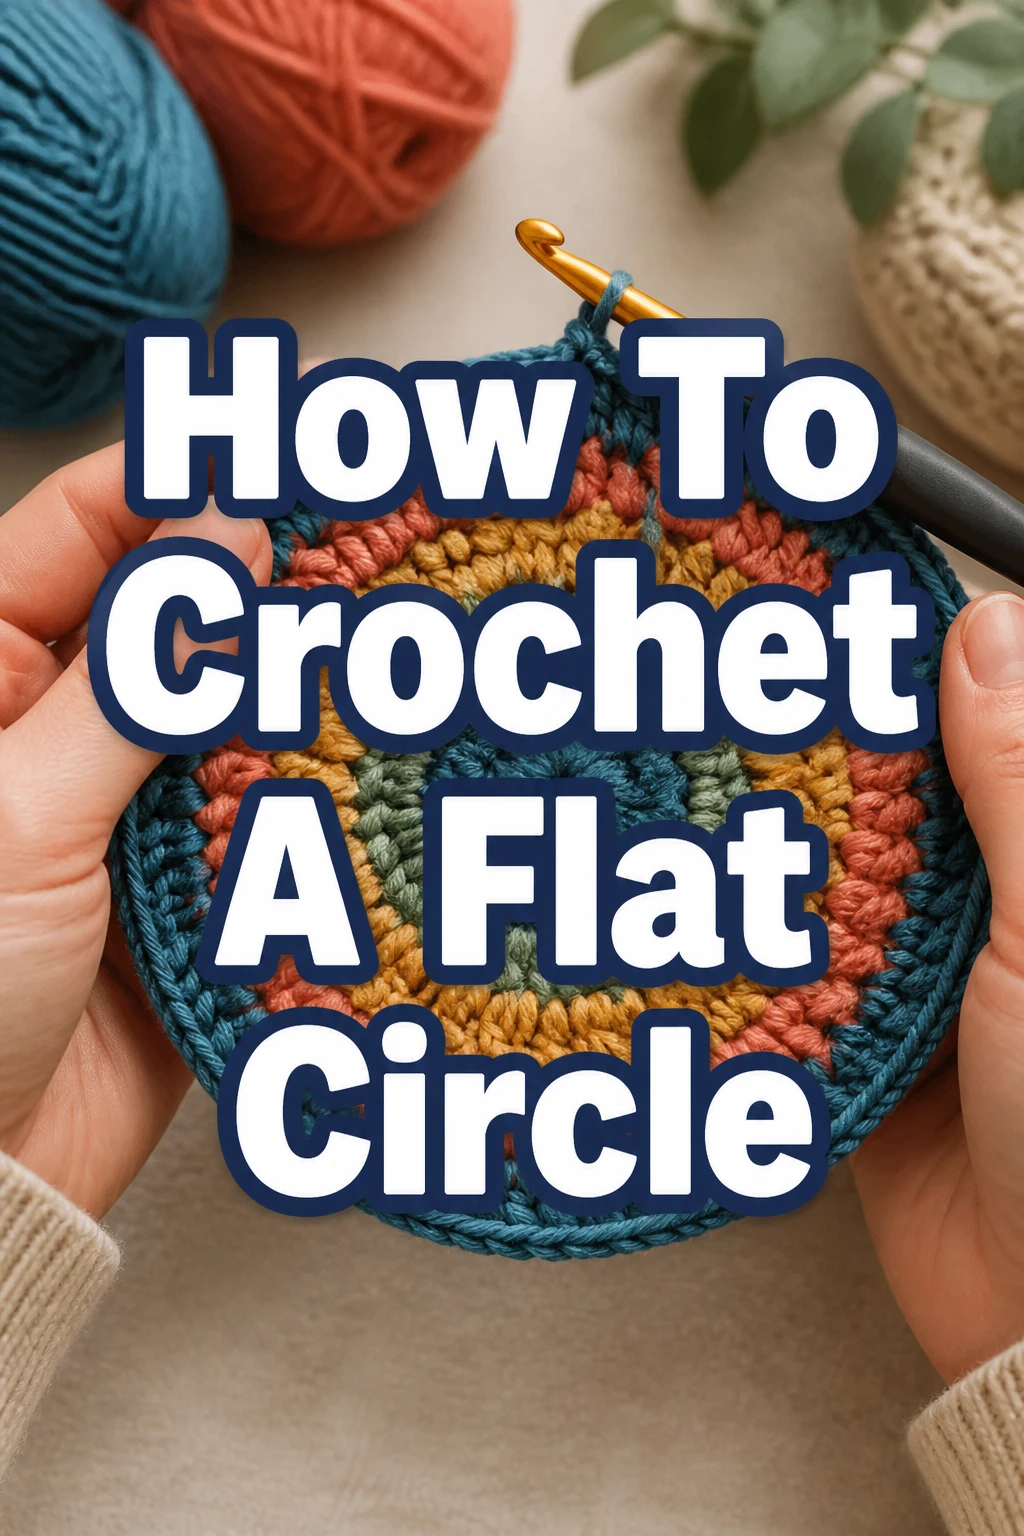
How To Crochet A Flat Circle
Crocheting a flat circle opens up a world of possibilities, from coasters to hats and blankets.
I remember the frustration of my first attempts, where circles would either cup like a bowl or ruffle like a lettuce leaf.
This guide shares the tried-and-true methods I’ve refined over years of teaching, ensuring your circles lie perfectly flat every time.
Quick Overview
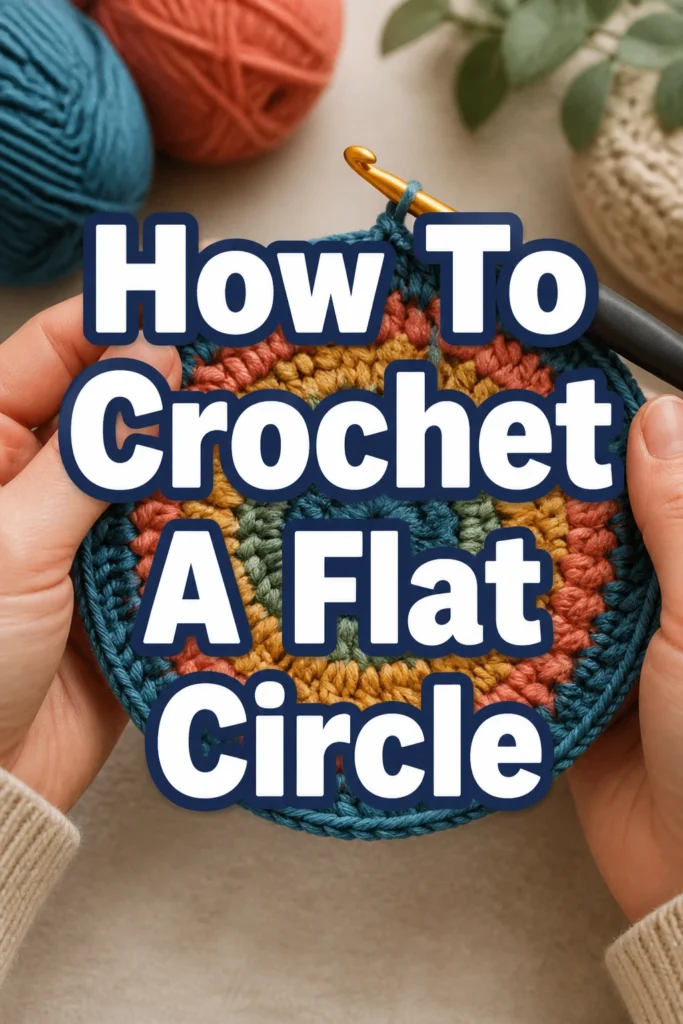
This guide will walk you through the process of creating a perfectly flat crochet circle, starting from the very first stitch.
You’ll learn the essential techniques to ensure your project grows evenly and maintains its shape.
- Time needed: 30-60 minutes (for a small practice circle)
- Difficulty: Beginner
- What you’ll need: Yarn, crochet hook, scissors, tapestry needle
Step-by-Step Instructions
Step 1: Gather Your Materials
Before beginning, ensure you have all your tools readily available. This helps maintain your flow and concentration.
Choose a smooth yarn that is easy to work with, like a worsted weight acrylic, and a hook size recommended on the yarn label.
- Select your yarn. A light-colored yarn makes stitches easier to see.
- Choose a crochet hook that matches your yarn weight.
- Grab a pair of sharp scissors.
- Find a tapestry needle for weaving in ends.
Pro Tip: For beginners, starting with a medium weight (worsted weight) yarn and a corresponding hook (e.g., H/5.0mm or I/5.5mm) provides a good balance of visibility and ease of handling. Avoid very dark or fuzzy yarns initially.
Step 2: Create Your Starting Ring
The foundation of a flat circle is a good starting ring. You have two main options: the Magic Ring (or Magic Circle) or chaining a few stitches and joining.
The Magic Ring creates a tight center hole, while the chain method leaves a small hole.
Option A: The Magic Ring (Recommended)
This method creates a very neat, adjustable center. It’s often preferred for projects where a tight center is desired.
- Wrap the yarn around your non-dominant hand’s palm, making an “X” shape.
- Insert your hook under the first strand of yarn, catching the second strand.
- Pull the second strand through, then chain 1 to secure the loop.
- Work your first round of stitches directly into this adjustable ring.
Option B: Chain 2 Method
This is a simpler starting method for beginners who find the Magic Ring tricky. It leaves a small, visible hole in the center.
- Chain 2 stitches.
- Work all your first round stitches into the very first chain stitch you made (the one furthest from your hook).
- Pull the yarn tail gently to tighten the center slightly, if possible.
Pro Tip: Practice both starting methods to see which one you prefer. The Magic Ring can feel awkward at first, but it’s worth mastering for its clean finish.
Step 3: Work Round 1
Once your starting ring is established, it’s time to work your first set of stitches. The number of stitches you make in this round determines the circumference of your circle’s center.
For most flat circles using single crochet (sc), you’ll typically start with 6-8 stitches. For half double crochet (hdc), 8-10 stitches, and for double crochet (dc), 10-12 stitches.
- Chain 1 (for single crochet), Chain 2 (for half double crochet), or Chain 3 (for double crochet). This acts as your first stitch or merely a turning chain, depending on your pattern.
- Work the required number of stitches into your starting ring. For a single crochet circle, make 6 single crochet stitches.
- Join the round by inserting your hook into the first actual stitch (not the starting chain, if it was a turning chain only) and making a slip stitch.
Step 4: Work Round 2 (Introducing Increases)
To make your circle grow flat, you must increase the number of stitches in each round. The key to a flat circle is distributing these increases evenly.
In Round 2, you will typically place two stitches into every stitch of the previous round.
- Chain 1 (for single crochet) or the appropriate turning chain for your chosen stitch.
- Work 2 stitches into each stitch around the circle. If you started with 6 single crochet stitches, you will now have 12 stitches.
- Join with a slip stitch to the first stitch of the round.
Pro Tip: Place a stitch marker in the first stitch of each new round. This helps you keep track of where the round begins and ends, preventing accidental increases or decreases.
Step 5: Work Round 3 (Continuing the Increase Pattern)
The increase pattern for flat circles follows a simple, expanding sequence. For single crochet, it’s usually “1 stitch, then 2 stitches in the next stitch.”
This ensures your circle grows evenly without becoming wavy or cupped.
- Chain 1 (for single crochet).
- Work 1 stitch in the first stitch, then 2 stitches in the next stitch.
- Repeat this pattern (1 sc, 2 sc in next st) all the way around the circle. You should now have 18 stitches if you started with 6.
- Join with a slip stitch to the first stitch of the round.
Step 6: Continue Increasing for Larger Circles
The pattern for increasing continues to expand by adding one more “single stitch” between each increase point in subsequent rounds.
This maintains the flat shape as your circle grows larger.
- Round 4: Chain 1. Work 1 stitch in each of the first 2 stitches, then 2 stitches in the next stitch. Repeat (1 sc in next 2 sts, 2 sc in next st) around. (24 stitches for sc).
- Round 5: Chain 1. Work 1 stitch in each of the first 3 stitches, then 2 stitches in the next stitch. Repeat (1 sc in next 3 sts, 2 sc in next st) around. (30 stitches for sc).
- Subsequent Rounds: Continue this pattern. Each round will have one more single stitch between the increase sections. For example, Round 6 would be “1 sc in next 4 sts, 2 sc in next st,” repeated.
Pro Tip: To avoid creating a hexagonal shape, slightly offset your increases in later rounds. Instead of always placing the increase directly above the increase of the previous round, shift it by a few stitches. For example, in Round 4, you could start with 1 sc, then 2 sc in the next stitch, then continue with 2 sc, 2 sc in next st around, ending with 1 sc. This subtle shift helps maintain a perfectly round appearance.
Step 7: Fasten Off Your Work
Once your circle reaches the desired size, it’s time to secure your stitches.
This prevents your work from unraveling and completes the crocheting process.
- Make a slip stitch to join the final round, if you haven’t already.
- Chain 1 to secure the join.
- Cut your yarn, leaving a tail of about 6 inches.
- Pull the yarn tail completely through the loop on your hook, tightening it to create a knot.
Step 8: Weave In Ends
The final touch for a professional-looking crochet circle is to hide all loose ends. This makes your work neat and durable.
A tapestry needle is essential for this step.
- Thread your tapestry needle with the starting tail from your Magic Ring (if used) or chain 2 method.
- Weave the tail through several stitches on the wrong side of your circle, changing direction at least once to secure it.
- Repeat with the tail from where you fastened off.
- Trim any excess yarn close to your work.
Common Mistakes to Avoid
Too Many Increases
If your circle starts to look wavy, ruffled, or like a pie crust, you’ve likely added too many stitches in a round. The extra fabric has nowhere to go but to ruffle.
To fix this, go back to the round where the ruffling began. Reduce the number of stitches you’re adding per round, or try spacing your increases further apart.
Not Enough Increases
Conversely, if your circle starts to cup upwards, resembling a bowl or a hat, you haven’t added enough stitches. The fabric is pulling inwards because there isn’t enough material to lie flat.
To correct this, frog back to the cupping round and add more stitches. Ensure you’re following the standard increase pattern (e.g., 6 stitches added per round for single crochet).
Inconsistent Tension
Uneven tension can lead to a lopsided or irregular circle. Some stitches might be tight, while others are loose, making the circle pull in different directions.
Practice maintaining a consistent grip on your yarn and hook. Your stitches should feel firm but not so tight that they are difficult to work into. Pay attention to how you pull the yarn through each loop.
Losing Stitch Count
Forgetting your stitch count is a common pitfall that directly leads to either too many or too few increases. This results in the aforementioned cupping or waving.
Always use a stitch marker in the first stitch of each round. Count your stitches at the end of every round before joining. This simple habit prevents errors from compounding.
Troubleshooting
My Circle Isn’t Lying Flat (It’s Wavy or Cupping)
This is the most common issue when crocheting circles, and it almost always comes down to your increase rate.
If it’s wavy, you have too many stitches. If it’s cupping, you don’t have enough. Carefully review the increase pattern for your chosen stitch type (e.g., 6 increases per round for single crochet, 8 for half double, 12 for double crochet).
I Have a Hexagonal Shape Instead of a Round One
If your circle is developing distinct corners, it means your increases are consistently stacked directly on top of each other in every round.
To achieve a truly round shape, stagger your increases. For example, if your pattern is sc in 3, 2sc in next, for the next round, start with 2sc in the first stitch, then continue sc in 4, 2sc in next for the rest of the round, ending with sc in 2. This shifts the increase points.
My Stitches Look Messy or Uneven
This often points to inconsistent tension or not inserting your hook in the correct place for each stitch.
Practice making sure your loops are all the same size when you pull them up. Ensure you’re always inserting your hook under both loops of the previous stitch for stability, unless the pattern specifies otherwise.
Key Takeaways
- The Magic Ring or Chain 2 method forms the essential foundation for your circle.
- Consistent increases in each round are crucial for maintaining a flat shape.
- The standard increase pattern adds a fixed number of stitches (e.g., 6 for single crochet) per round.
- Use stitch markers and count your stitches diligently to prevent errors.
- Adjusting your increase placement helps maintain a smooth, round curve, avoiding hexagons.
- Practice is key to mastering tension and creating beautiful, flat crochet circles.
Frequently Asked Questions
Why does my crochet circle always cup up like a bowl?
Your circle is cupping because you are not adding enough stitches in each round. To keep it flat, you need to increase by the same number of stitches in every round (e.g., 6 single crochet stitches per round).
Can I use different stitches to make a flat circle?
Yes, you can use almost any basic crochet stitch to make a flat circle. The principle of even increases remains the same, but the initial number of stitches and the number of increases per round will vary depending on the height of the stitch. For example, double crochet stitches are taller and require more increases than single crochet.
How do I make my crochet circle bigger?
To make your circle bigger, simply continue the established increase pattern for more rounds. Each subsequent round will add more stitches, making the circle expand while staying flat. Just keep adding one more “single stitch” between your increase points in each new round.
What’s the best type of yarn for crocheting circles?
For beginners, a smooth, medium-weight acrylic or cotton yarn is ideal. These fibers are easy to work with, show stitch definition well, and don’t split easily. Avoid very dark, fuzzy, or highly textured yarns until you’re more comfortable.
Our Top Recommended Finds
- Ergonomic Crochet Hook Set: These hooks reduce hand fatigue, making long crochet sessions more comfortable and helping maintain consistent tension.
- High-Quality Worsted Weight Acrylic Yarn: A good quality acrylic yarn is affordable, comes in many colors, and is perfect for practice projects and durable finished items.
- Locking Stitch Markers: Essential for keeping track of your first stitch in each round, preventing errors and frustration.
Your Crochet Journey Continues
Mastering the flat circle is a significant milestone in your crochet journey. It’s a foundational skill that unlocks countless project possibilities, from simple coasters to intricate mandalas and wearable items.
Don’t be discouraged by initial imperfections; every stitch is a step towards mastery. Pick up your hook, choose a vibrant yarn, and start creating your first perfect circle today.
Once you’re comfortable, consider exploring variations like color changes or different stitch patterns to add unique flair to your flat circles.