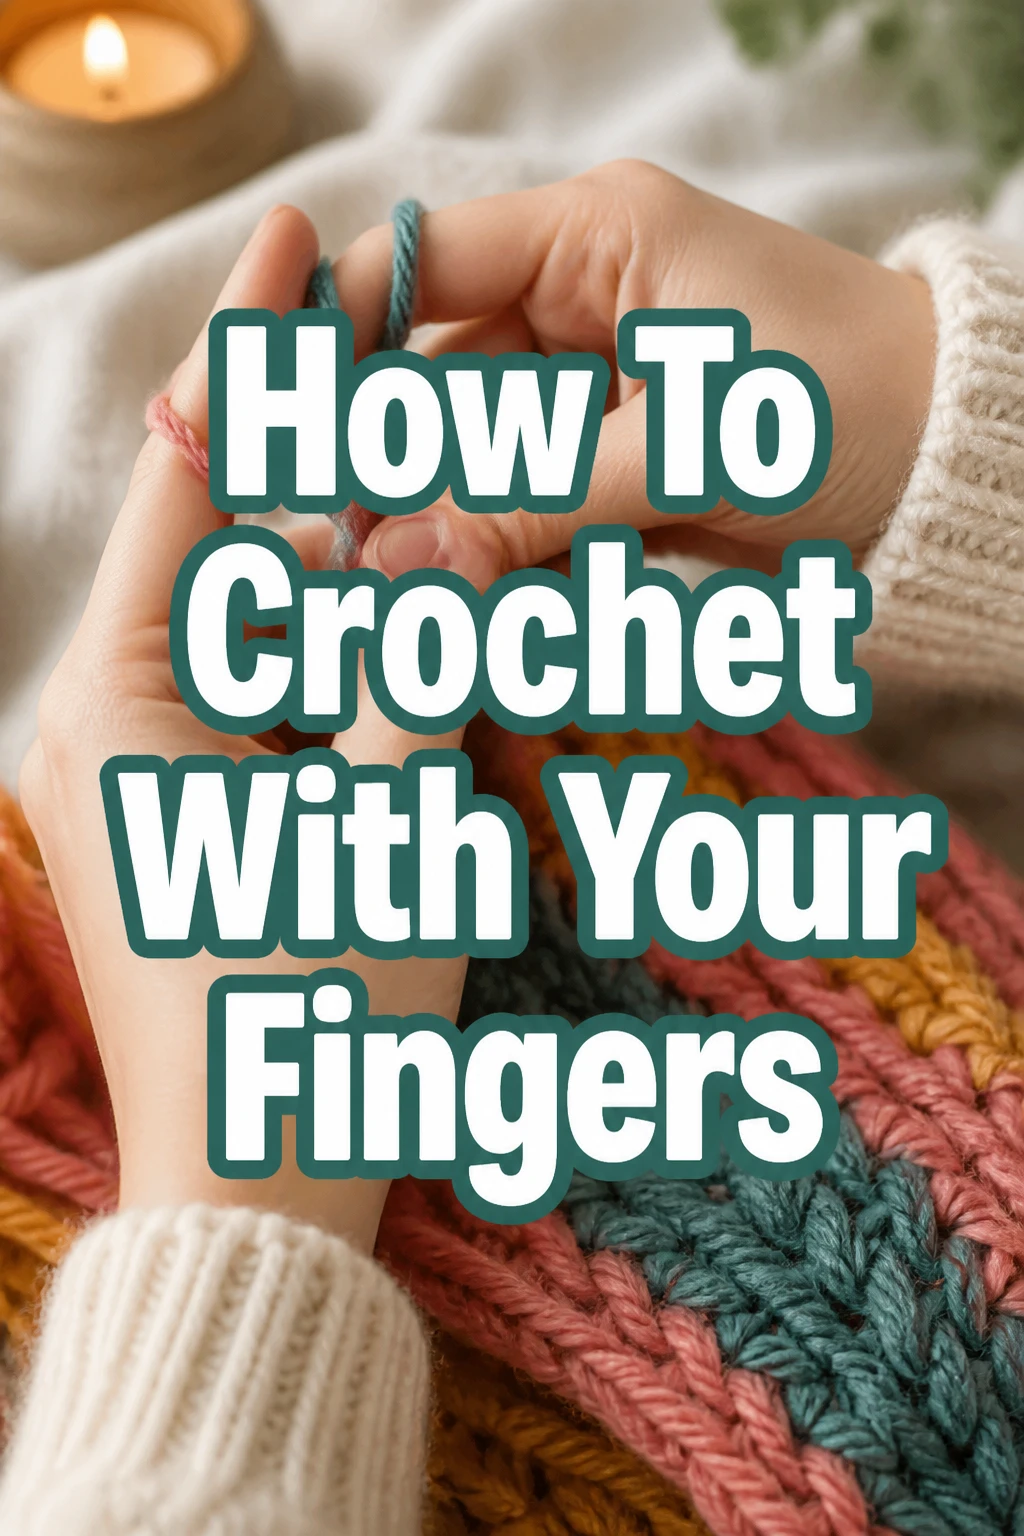
How To Crochet With Your Fingers
Learning a new craft can feel overwhelming, especially when tiny tools and complex patterns are involved.
I remember wanting to try crochet years ago, but the hooks felt so fiddly and intimidating to me.
Then I discovered finger crocheting, and it completely changed my perspective, proving that beautiful yarn creations are accessible to everyone.
Quick Overview
This guide will show you how to create simple, beautiful fabric using just your hands and yarn. You’ll learn the fundamental techniques to make a basic project without any hooks or special equipment.
- Time needed: 1-2 hours for your first simple project, ongoing practice for mastery.
- Difficulty: Beginner
- What you’ll need: Chunky yarn, scissors, and your own two hands.
Step-by-Step Instructions
Step 1: Gather Your Supplies
Select your yarn. For finger crocheting, a chunky or super bulky yarn works best.
Choose a smooth yarn that doesn’t split easily, as this will make learning much smoother.
Find a comfortable, well-lit spot where you can relax and focus on your hands.
Keep a pair of scissors nearby for when you need to finish your project.
Pro Tip: Brighter colored yarns can make it easier to see your stitches when you’re just starting out. Avoid very dark or variegated yarns for your first attempt.
Step 2: Form Your Slip Knot
Drape the yarn tail over your open palm, letting a good amount hang loose (about 6-8 inches).
Wrap the working yarn end twice around your index and middle fingers, keeping them slightly separated.
Insert your index finger and thumb through the first loop you made on your fingers.
Grab the working yarn strand from behind the second loop with those same fingers.
Pull this new loop gently through the first loop, creating a small knot.
Remove your fingers from the loops and pull on the working yarn tail and the main yarn strand to tighten the knot around a single finger, or just enough so it’s secure but not too tight.
Step 3: Create Your Foundation Chain
Hold the slip knot loop on your index finger, making sure it’s snug but not constricting.
Wrap the working yarn (the strand coming from the yarn ball) over your other hand’s index finger, creating tension.
Reach your finger, which holds the slip knot, into the working yarn loop you just created.
Pull this new loop through the slip knot loop on your finger.
Release the old loop and gently pull on the working yarn to tighten the new loop on your finger.
Repeat this “yarn over and pull through” motion to create a series of chain stitches.
Count your chain stitches as you go. Each “V” shape is one stitch.
Pro Tip: Keep your chain stitches loose and even. If they are too tight, it will be very difficult to work into them in the next step. Practice making a long chain until you feel comfortable with the motion and tension.
Step 4: Start Your First Row (Single Crochet Equivalent)
Identify the second chain stitch from your finger. You’ll skip the first one.
Insert your free index finger into the center of that second chain stitch.
Yarn over with the working yarn, wrapping it once around your free index finger.
Pull this new loop through the chain stitch. You should now have two loops on your finger.
Yarn over again with the working yarn.
Pull this new loop through both loops currently on your finger.
Complete your first finger single crochet stitch. One loop remains on your finger.
Repeat this process, inserting your finger into the next chain stitch and working a single crochet stitch, all the way across your foundation chain.
Step 5: Continue Crocheting Rows
Reach the end of your first row. You should have one loop remaining on your finger.
Chain one stitch (yarn over, pull through the loop on your finger).
Turn your work over, so the back of your last row is now facing you.
Identify the first stitch of the new row. It will be the “V” shape closest to your finger.
Insert your finger under both loops of that first stitch.
Work a finger single crochet stitch into it, just as you did in the previous row.
Continue making finger single crochet stitches into each stitch across the row.
Maintain consistent tension throughout your work to ensure an even fabric.
Step 6: Finish Your Project
Decide when your project has reached the desired length or size. This is often when you’re ready to stop.
Cut the working yarn, leaving a tail of about 6-8 inches. This is called the “finishing tail.”
Yarn over with this finishing tail, wrapping it around your finger.
Pull the entire finishing tail completely through the last loop on your finger.
Pull the tail firmly to secure the knot, which will prevent your project from unraveling.
Step 7: Weave In Ends
Locate the starting tail (from your slip knot) and the finishing tail.
Thread one of the yarn tails through a large-eye blunt needle if you have one. If not, you can use your fingers.
Tuck the tail into several existing stitches along the edge or within the fabric of your project.
Hide the tail securely, making sure it blends in and won’t come undone.
Repeat with the other yarn tail. This creates a neat and professional finish.
Trim any excess yarn close to the fabric once both tails are woven in.
Common Mistakes to Avoid
Too Tight Tension
New crocheters often hold their yarn or stitches too tightly. This makes it incredibly difficult to pull loops through and can lead to a stiff, unyielding fabric.
Consciously try to relax your grip. Your stitches should be snug enough to hold their shape but loose enough for your finger to easily pass through.
Skipping Stitches
It’s easy to accidentally skip a stitch at the beginning or end of a row, especially when you’re learning. This results in a project that gets narrower or develops holes.
Always count your stitches after each row to ensure consistency. Pay close attention to the very first and very last stitch of each row.
Uneven Edges
If your project edges look ragged or uneven, it’s likely due to inconsistent turning chains or missed stitches at the ends of rows.
Remember to chain one stitch before turning your work at the end of each row. This chain stitch helps maintain the height of your fabric and keeps your edges straight.
Using the Wrong Yarn
While technically you can finger crochet with almost any yarn, starting with very thin yarn can be frustrating. It’s harder to see the stitches and work with.
Stick to chunky or super bulky yarn for your first few projects. This allows you to clearly see the stitch definition and develop the muscle memory more easily.
Troubleshooting
Project is Curled or Wavy
If your fabric is curling or has wavy edges, it usually indicates a tension issue. You might be crocheting too tightly in some sections and too loosely in others, or your turning chain isn’t quite right.
Try to maintain a more consistent, relaxed tension throughout your work. If it’s curling, gently block your finished piece by dampening it and shaping it to lie flat, then letting it dry.
Stitches are Falling Apart
If your work seems to be unraveling, it means your slip knot wasn’t secured properly at the start, or your bind-off (finishing) knot wasn’t tight enough.
Ensure your initial slip knot is snug and the final knot after cutting the yarn is pulled very tight. Weaving in your ends securely also helps lock everything in place.
Hard to Pull Yarn Through Loops
This common problem can stem from two main issues: your stitches are too tight, or your yarn is too ‘sticky’ or prone to splitting.
Focus on loosening your grip and making your loops larger. If the yarn itself is the problem, consider switching to a smoother, more plied yarn that glides easily.
Key Takeaways
- Finger crocheting is an accessible and fun way to create without traditional tools.
- Chunky or super bulky yarn is your best friend for learning this technique.
- Consistent tension is crucial for a smooth, even fabric.
- Don’t be afraid to unravel your work and restart if a section isn’t looking right.
- Start with simple projects like scarves or blankets to build confidence.
- Embrace the process; the joy of creating is as important as the finished product.
Frequently Asked Questions
Can I use any type of yarn for finger crocheting?
While you can theoretically use any yarn, chunky or super bulky yarn is highly recommended for beginners. It’s easier to see your stitches, and the project works up quickly, providing satisfying results faster.
What kinds of projects can I make with finger crochet?
Finger crochet is perfect for larger, looser projects. Common items include scarves, cowls, blankets, rugs, and simple bags. The fabric tends to be thicker and more open than hook crochet.
Is finger crocheting faster than traditional hook crocheting?
Often, yes, especially when working with chunky yarn. Because you’re using your fingers instead of a small hook, you can manipulate larger loops more quickly, leading to faster project completion times.
How do I change colors when finger crocheting?
To change colors, simply introduce the new yarn color when you have two loops on your finger, right before the final pull-through of a stitch. Use the new color to complete that stitch, then continue crocheting with the new yarn. Remember to tie the old and new yarn ends together securely and weave them in later.
Our Top Recommended Finds
- Super Chunky Blanket Yarn: This type of yarn is soft, thick, and perfect for clearly seeing your stitches, making it ideal for beginners.
- Large Eye Blunt Needles: These plastic or metal needles have big eyes, making it easy to thread chunky yarn for weaving in ends without splitting the fibers.
- Project Bag: A simple tote or drawstring bag helps keep your yarn, scissors, and current project organized and portable.
Unleash Your Inner Maker Today
You now have the fundamental knowledge to begin your journey into the wonderful world of finger crocheting. This accessible craft offers a unique blend of relaxation and creative expression.
Why not grab some yarn and start your very first project right now? A simple scarf or a small blanket square is a fantastic starting point.
As you gain confidence, you might explore different stitch patterns or experiment with varying yarn weights. The possibilities for creating beautiful, handmade items are endless.