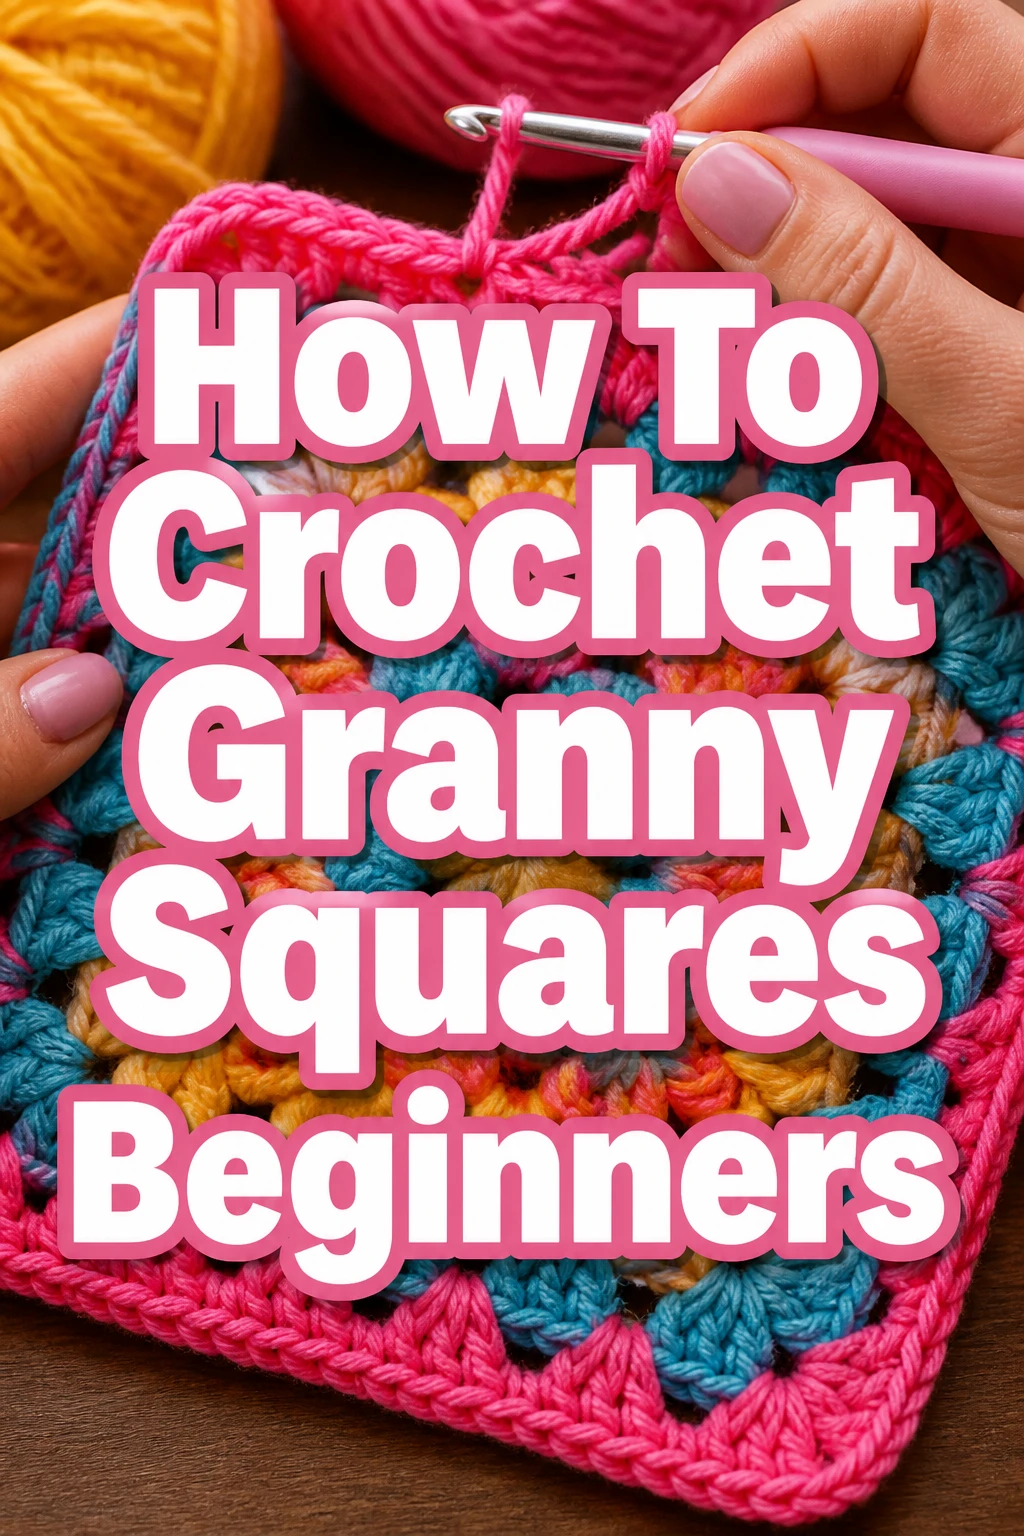
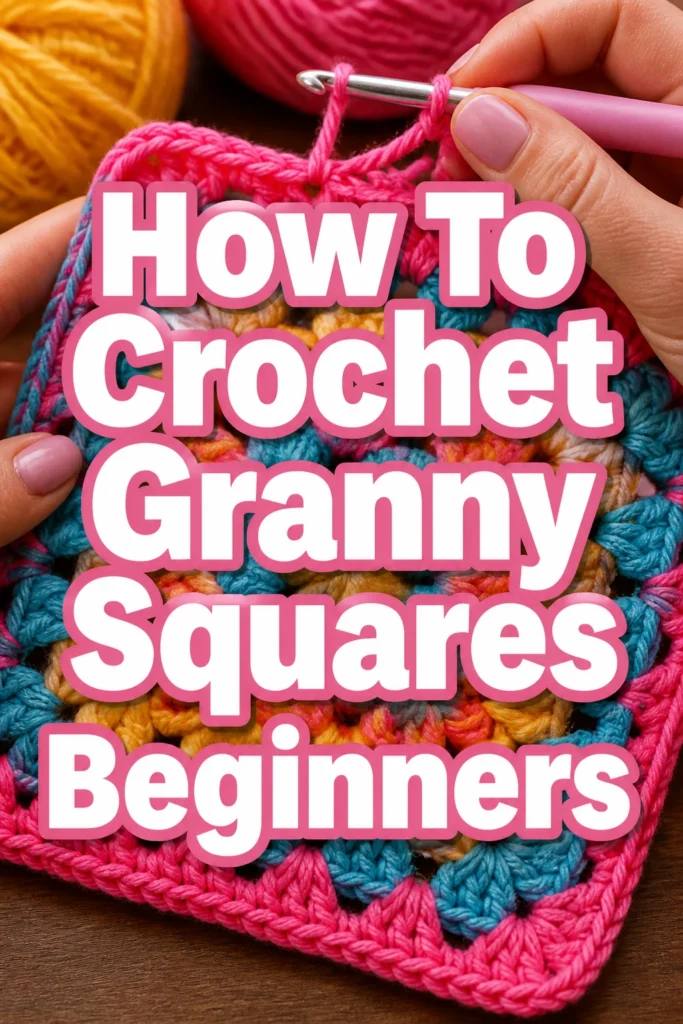
How To Crochet Granny Squares Beginners
Learning to crochet your first granny square is a truly rewarding experience. I remember the satisfaction of seeing those distinct squares take shape right in my hands. It felt like unlocking a secret creative language.
This guide will walk you through every stitch, helping you create your very own perfect granny square, even if you’ve never held a crochet hook before. You’ll gain the confidence to start many more projects.
Quick Overview
You’re about to embark on a fun journey to make a classic granny square. By the end, you’ll have a beautifully textured square, ready for joining or display. This foundational skill opens up a world of crochet possibilities.
- Time needed: 1-2 hours for your first square (will get much faster with practice)
- Difficulty: Beginner
- What you’ll need: Yarn, crochet hook, scissors, yarn needle
Step-by-Step Instructions
Step 1: Gather Your Supplies
Before you begin, make sure you have everything ready. This prevents interruptions and helps you focus. Choose a smooth, light-colored yarn for easy stitch visibility.
A medium-weight yarn (like worsted weight) and a corresponding hook (usually 5.0mm/H-8) are ideal for beginners. Check the yarn label for recommended hook sizes.
Step 2: Start with a Slip Knot and Chain
First, make a slip knot on your hook. This is the very beginning of your work. Wrap the yarn around your fingers, loop it, and pull a piece through to form a knot you can tighten on your hook.
Now, chain 4. To do this, wrap the yarn over your hook (yarn over) and pull it through the loop on your hook. Repeat this three more times. You should have a small chain of four stitches.
Step 3: Form Your Magic Ring (or Chain Ring)
You need a central ring to build your granny square from. For beginners, joining your chain of 4 with a slip stitch is often easiest. Insert your hook into the very first chain you made.
Yarn over and pull through both loops on your hook to create a ring. This forms the center hole of your granny square. Alternatively, you can learn the magic ring technique later for a tighter center.
Pro Tip: For your first few squares, don’t worry about the perfect tension. Focus on understanding the stitch formation and the pattern repeat. Your hands will learn with practice.
Step 4: Create Your First Cluster
Chain 3. This chain counts as your first double crochet (dc) stitch for the first cluster. We will be making groups of three double crochet stitches, called “clusters.”
Now, make 2 double crochet stitches into the center ring. To make a double crochet, yarn over, insert your hook into the ring, yarn over, pull up a loop (3 loops on hook).
Yarn over, pull through 2 loops (2 loops on hook). Yarn over, pull through the remaining 2 loops (1 loop on hook). Repeat this one more time into the ring. You now have your first “cluster” (chain 3 + 2 dc).
Step 5: Build the First Round
Chain 3. This creates the corner space for your granny square. It’s crucial for shaping.
Now, make another cluster of 3 double crochet stitches into the center ring. Yarn over, insert hook into the ring, and complete 3 dc stitches.
Repeat this sequence two more times: chain 3, then 3 double crochet stitches into the ring. You should now have four clusters of 3 dc, separated by three chain-3 spaces.
To complete the first round, chain 3 one last time. This forms your final corner space. Now, slip stitch into the top of the initial chain-3 you made at the very beginning of this round. Your first round is complete and should look like a small square.
Step 6: Begin the Second Round Corners
To start the second round, you need to move your hook to the first corner space. Slip stitch into the next two double crochet stitches. Then, slip stitch into the chain-3 corner space.
Once you are in the corner space, chain 3. This counts as your first double crochet for this corner. Make 2 more double crochet stitches into the same corner space.
Chain 3. This creates the corner space for the current round. Now, make 3 more double crochet stitches into the same corner space. You have just formed your first corner for the second round (3 dc, chain 3, 3 dc).
Pro Tip: Counting your stitches and chain spaces in each round is vital for a square shape. If your count is off, your square might start to warp.
Step 7: Work the Second Round Sides
Chain 1. This creates a small space between the corner and the next cluster along the side. It helps keep your square flat.
Move to the next chain-3 corner space from the previous round. Make a full corner into this space: 3 double crochet stitches, chain 3, then 3 more double crochet stitches.
Repeat this pattern for the remaining two corners. Always remember the chain-1 between corners on the sides.
Step 8: Complete the Second Round
After completing your third full corner (3 dc, ch 3, 3 dc), chain 1. This is the last chain-1 before joining.
Slip stitch into the top of the initial chain-3 that started this round. This joins the round securely. You should now clearly see a larger square taking shape with distinct corners and sides.
You can continue adding more rounds by repeating the pattern. Each new round will add more “side” spaces where you’ll place single clusters of 3 double crochet stitches, separated by chain-1 spaces. The corners always remain (3 dc, ch 3, 3 dc).
Step 9: Fasten Off and Weave In
Once your granny square is the desired size, it’s time to finish it. After your final slip stitch, chain 1 to secure the loop.
Cut your yarn, leaving a tail about 6 inches long. Pull the tail completely through the loop on your hook and tug gently to tighten the knot.
Now, use your yarn needle to weave in all loose ends. Thread the yarn tail through the eye of the needle. Carefully weave the needle through several stitches on the back of your work, changing direction once or twice to secure it. Trim any excess yarn close to the fabric.
Common Mistakes to Avoid
Inconsistent Tension
Many beginners struggle with keeping their stitches even. If your stitches are too tight, your square will curl and be stiff. If they are too loose, it will be floppy and full of gaps. Practice helps you find a comfortable, consistent tension. Try to keep your loops the same size as you pull them through.
Incorrect Stitch Count
Forgetting to count your chain spaces and double crochet clusters is a common pitfall. A granny square relies on a precise number of stitches and chains to maintain its square shape. Always double-check that you have four clusters per side and four chain-3 corner spaces in each round.
Forgetting Chain Spaces
The chain-1 spaces between clusters on the sides and the chain-3 spaces in the corners are crucial. Omitting them will cause your square to pull in or buckle. Always remember to chain 1 between side clusters and chain 3 for corners. These spaces define the square’s structure.
Not Weaving in Ends Properly
Leaving long, untidy tails or not weaving them in securely can cause your work to unravel over time. Take the extra minute to weave tails through several stitches, changing direction, to ensure they are hidden and secure. This makes your finished granny square look professional and last longer.
Troubleshooting
My Square is Wobbly or Curling
If your granny square isn’t lying flat, it’s often due to tension issues or incorrect stitch counts. If it’s curling inwards, you might have too few stitches or chains, or your tension is too tight. If it’s ruffling, you might have too many stitches or chain spaces.
Try loosening your grip on the yarn or using a slightly larger hook size. Carefully recount your stitches and make sure you’re consistently using chain-1 for sides and chain-3 for corners. Blocking your finished square can also help it lie flat.
There are Gaps or Holes in My Work
Large gaps usually mean your tension is too loose. Your stitches might be stretched out, or you could be skipping stitches inadvertently.
Try holding your yarn a little tighter as you crochet. Ensure you are inserting your hook into the correct spaces and not accidentally skipping a stitch. Sometimes, just practicing for a bit will naturally improve your tension control.
My Edges are Uneven
Uneven edges can happen if you’re not consistently joining your rounds in the same way or if your starting chain-3 isn’t uniform. Always slip stitch into the top of the initial chain-3 to close each round.
Ensure your starting chain-3 for each new round is consistent in height. If your edges still look a bit wobbly, a border stitch later on can help neaten them up.
Key Takeaways
- Practice Makes Perfect: Don’t get discouraged if your first square isn’t perfect; every stitch improves your skill.
- Tension is Key: Aim for consistent, even tension for a flat, well-shaped square.
- Count Your Stitches: Always verify your clusters and chain spaces to maintain the square’s structure.
- Corners Define the Shape: The (3 dc, ch 3, 3 dc) sequence in each corner is what gives the granny square its distinct shape.
- Weave in Ends Securely: Finishing neatly ensures your hard work lasts and looks professional.
- Enjoy the Process: Crocheting is a relaxing hobby; savor the creative journey.
Frequently Asked Questions
What kind of yarn is best for beginners?
Worsted weight (medium 4) acrylic yarn is highly recommended for beginners. It’s affordable, widely available, and easy to work with. The stitches are clear, and it’s forgiving if you need to unravel your work. Light colors also help you see your stitches better.
How do I make my granny square bigger?
To make your granny square larger, simply continue adding more rounds. Each new round will follow the same pattern: (3 dc, ch 3, 3 dc) in the corner spaces and (3 dc, ch 1) in the side spaces. The number of side spaces will increase with each round.
Can I join granny squares together?
Yes, joining granny squares is a popular way to create larger projects like blankets, scarves, or garments. There are several methods for joining, including slip stitch, single crochet, whip stitch, and even “join-as-you-go” techniques. You can explore these once you’re comfortable making individual squares.
What can I make with granny squares?
Granny squares are incredibly versatile! You can join them to create blankets, throws, scarves, bags, coasters, cardigans, and even home decor items like cushion covers. A single granny square can also be a standalone hot pad or a decorative patch.
Our Top Recommended Finds
- Worsted Weight Acrylic Yarn: Affordable, easy to find, and comes in a huge range of colors. It’s perfect for practicing and seeing your stitches clearly.
- Ergonomic Crochet Hook Set: A set with comfortable handles can make a big difference, especially for longer crocheting sessions. They reduce hand fatigue and offer a better grip.
- Blunt-Tipped Yarn Needles: Essential for weaving in ends neatly and safely. The blunt tip prevents splitting your yarn, and the large eye makes threading easy.
Your Creative Journey Starts Now
You’ve just taken the first step into the wonderful world of crochet. Making your first granny square is a significant accomplishment. This foundational skill will open up countless creative opportunities.
Don’t stop here! Try making a few more squares to solidify your technique. Experiment with different yarn colors and hook sizes. Soon, you’ll be ready to join your squares into a beautiful, personalized project. Grab your hook and yarn, and keep creating!