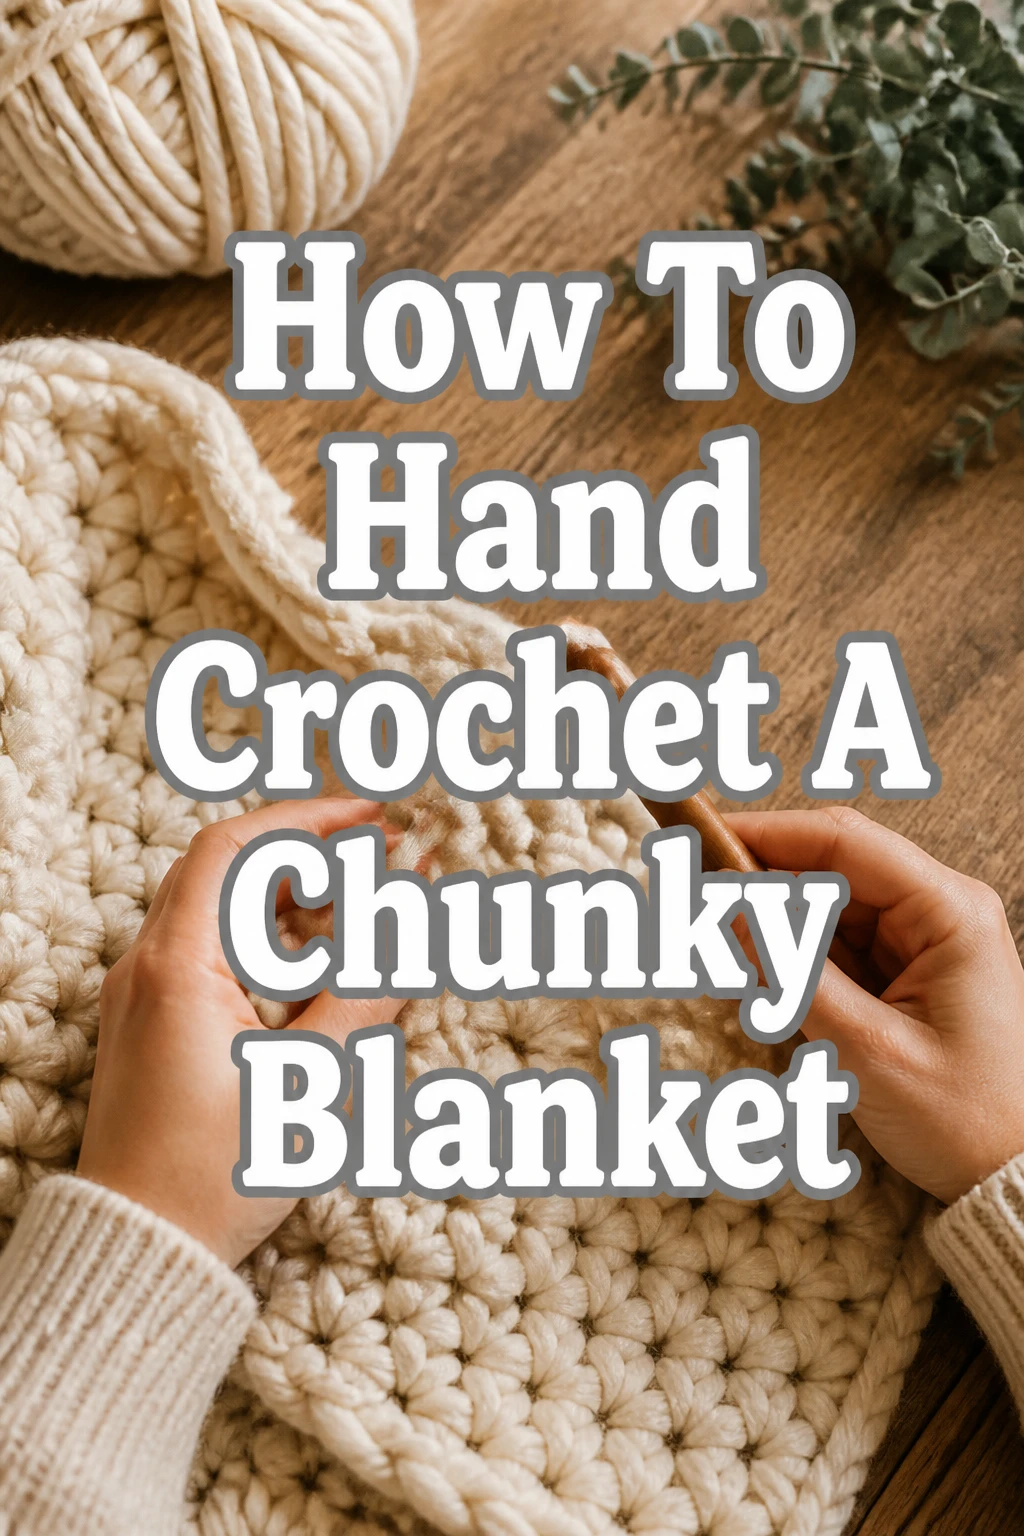
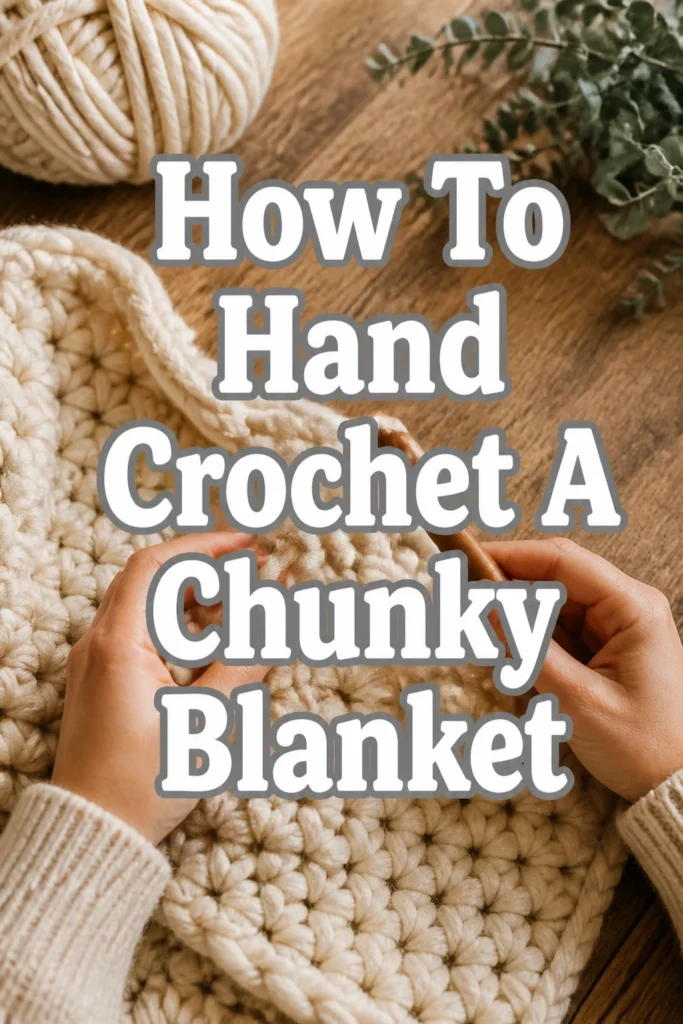
How To Hand Crochet A Chunky Blanket
There’s a special kind of warmth that comes from a chunky, hand-crocheted blanket.
I remember the first one I made; it felt like wrapping myself in a cloud of comfort.
This guide will show you exactly how to create that same cozy feeling for yourself.
Quick Overview
You are about to embark on a wonderfully satisfying project.
By the end of this guide, you will have the skills to hand crochet a beautiful, chunky blanket, perfect for snuggling.
- Time needed: 4-8 hours (depending on blanket size and speed)
- Difficulty: Beginner
- What you’ll need: Chunky yarn (super bulky or jumbo), scissors, a large tapestry needle
Step-by-Step Instructions
Step 1: Gather Your Materials
The right yarn makes all the difference for a chunky blanket.
Look for “super bulky” (category 6) or “jumbo” (category 7) weight yarn.
Merino wool roving or chenille yarn are popular choices for their softness and thickness.
For a lapghan, you might need 3-5 skeins. A throw blanket could require 6-10 skeins or more, depending on the yardage per skein.
Always check the label for recommended yardage for your desired blanket size.
Pro Tip: Buy all your yarn at once from the same dye lot. This prevents subtle color variations that can appear between different batches.
Step 2: Create a Slip Knot
This is your starting point for any crochet project.
Take the working end of your yarn and form a loop, crossing the tail over the working yarn.
Reach through the loop with your fingers and pull a loop of the working yarn through it.
Gently pull the tail and the working yarn to tighten the knot around the new loop, but keep it loose enough to move freely.
Step 3: Form Your Foundation Chain
The foundation chain determines the width of your blanket.
Place the slip knot loop onto your dominant hand’s pointer finger (or two fingers for a larger stitch).
Wrap the working yarn over your finger from back to front, then pull that wrapped yarn through the loop on your finger.
This creates your first chain stitch.
Repeat this process, wrapping the yarn and pulling it through the new loop, until your chain reaches your desired blanket width.
Do not pull the stitches too tightly; they need to be flexible.
Pro Tip: Lay your chain flat on the floor or a table to measure its width. This helps ensure it’s not twisting and gives you an accurate measurement. Add a few extra stitches if you are unsure; you can always adjust later.
Step 4: Begin Your First Row (Single Crochet Style)
Now you will start building the height of your blanket.
Skip the first chain stitch from your finger.
Insert your finger into the second chain stitch.
Wrap the working yarn over your finger, then pull that yarn through the chain stitch.
You now have two loops on your finger.
Wrap the working yarn over your finger again, then pull it through both loops on your finger.
This completes one hand-crocheted single crochet stitch.
Continue this stitch across the entire foundation chain, inserting your finger into each subsequent chain stitch and completing the single crochet.
Step 5: Turn Your Work and Continue Rows
Once you reach the end of your first row, it’s time to turn.
Make one “turning chain” stitch by wrapping the yarn over your finger and pulling it through the loop on your finger.
This turning chain helps maintain an even edge.
Now, flip your work over so the back of your first row faces you.
Insert your finger into the first stitch of the previous row (not the turning chain) and repeat the single crochet stitch process.
Continue working single crochet stitches across the row.
Repeat these steps – turning chain, turning work, and crocheting across – until your blanket reaches your desired length.
Pro Tip: Keep your tension consistent. If your stitches are too tight, your blanket will be stiff. If they are too loose, it might look gappy. Aim for a comfortable, even feel.
Step 6: Join New Yarn (If Needed)
Most chunky blankets require more than one skein of yarn.
When you are nearing the end of a skein, stop when you have about 6-8 inches of yarn remaining.
Take your new skein and overlap its end with the end of your old skein.
Tie a secure knot, like a square knot or a magic knot, to join them.
Trim any excess yarn close to the knot, leaving small tails.
Continue crocheting as normal, working the knot into a stitch to secure it further.
Step 7: Fasten Off Your Blanket
When your blanket is the desired length, you need to secure the last stitch.
Complete your final stitch of the last row.
Cut the working yarn, leaving a tail of about 8-10 inches.
Wrap this tail over your finger and pull it completely through the last loop on your finger.
Pull firmly to create a secure knot.
Step 8: Weave in Ends
A finished blanket has no loose ends showing.
Thread your tapestry needle with the remaining yarn tails, including the starting tail and any tails from joined skeins.
Carefully weave the needle through the stitches of your blanket, hiding the tails within the fabric.
Go in a few different directions to ensure the ends are securely hidden and will not unravel.
Trim any excess yarn that is still visible.
Step 9: Block Your Blanket (Optional but Recommended)
Blocking helps your blanket lay flat and evens out the stitches.
For wool yarn, a gentle steam block can work wonders.
For acrylic or chenille, a light misting with water and allowing it to air dry flat is often sufficient.
Spread your blanket out on a clean, flat surface, gently shaping it to your desired dimensions.
Common Mistakes to Avoid
Uneven Edges
New crocheters often struggle with keeping their blanket edges straight. This usually happens by either skipping the first stitch of a new row or adding an extra stitch at the end of a row. Always count your stitches at the end of each row to ensure consistency.
Too Tight or Too Loose Tension
Inconsistent tension can make your blanket look bumpy or gappy. Practice maintaining a relaxed grip on the yarn and ensure your stitches are uniform. Your fingers should move easily through the loops without resistance.
Running Out of Yarn Mid-Row
This is a common frustration, especially with larger projects. Always check your yarn supply before starting a new row. If a skein is nearly finished, consider joining a new one at the beginning of the row or finding a discreet spot within the row to make the join.
Forgetting the Turning Chain
The turning chain is crucial for maintaining the height and evenness of your rows. Without it, your blanket will start to curve inwards and shrink in width. Make sure to include one chain stitch at the beginning of each new row before turning your work.
Troubleshooting
My Blanket is Getting Wider/Narrower
This indicates you are either adding or losing stitches. If it’s getting wider, you might be accidentally crocheting into the turning chain or making an extra stitch at the end. If it’s getting narrower, you are likely skipping the last stitch of the previous row. Count your stitches frequently to catch this early.
My Stitches Look Messy and Uneven
Inconsistent tension is the most likely culprit here. Try to relax your hands and maintain a steady rhythm as you crochet. It takes practice, so do not get discouraged. The more you crochet, the more uniform your stitches will become.
The Yarn is Splitting
Some yarns, especially those with multiple plies, can split easily. This means your finger might go through the yarn strands instead of under them. Try to be deliberate with where you insert your finger. If it continues to be a problem, consider a different yarn type for your next project, such as a single-ply roving or a tightly spun chenille.
Key Takeaways
- Select super bulky or jumbo yarn for that signature chunky look.
- Practice your slip knot and foundation chain until they feel comfortable.
- Maintain consistent tension throughout your project for even stitches.
- Always count your stitches at the end of each row to keep your edges straight.
- Securely join new yarn and weave in all ends for a polished finish.
- Hand crocheting is a relaxing skill that improves with practice and patience.
Frequently Asked Questions
Can I wash a hand-crocheted chunky blanket?
Yes, but always check your yarn label for specific care instructions. Many chunky yarns, especially wool, require hand washing in cold water and laying flat to dry. Acrylic and chenille often tolerate gentle machine washing on a delicate cycle, but air drying is still best to maintain shape.
How much yarn do I need for a king-size blanket?
A king-size blanket requires a significant amount of yarn. Depending on the yarn weight and desired stitch density, you could need anywhere from 20 to 30 skeins or more of super bulky yarn. It is best to calculate based on the yardage per skein and the dimensions of your desired blanket.
Can I use a different stitch for hand crocheting?
Absolutely. While single crochet is excellent for beginners, you can adapt other simple stitches like half double crochet or even double crochet for hand crocheting. The technique remains similar: wrap the yarn and pull through loops, just with different numbers of wraps and pulls.
Why is my blanket curling up?
Curling often occurs if your foundation chain is too tight compared to your subsequent rows. Ensure your initial chain stitches are loose and flexible. Inconsistent tension across the rows can also contribute to curling. Blocking can help relax the fibers and flatten the blanket.
Our Top Recommended Finds
- Jumbo Chenille Yarn: Incredibly soft and easy to work with, perfect for beginners.
- Giant Merino Wool Roving: Offers a luxurious, cloud-like feel and a beautiful drape.
- Large Tapestry Needle Set: Essential for neatly weaving in thick yarn tails.
Your Cozy Creation Awaits
You now have all the knowledge to create your very own chunky, hand-crocheted blanket.
This project is not just about making something beautiful; it is about the meditative process and the joy of crafting with your hands.
Gather your yarn, find a comfortable spot, and begin your creative journey today.
Imagine snuggling under that soft, handmade warmth soon.