How To Crochet A Cat Beanie
There’s something uniquely satisfying about creating a handmade gift or accessory.
I still remember the joy of finishing my first crochet project, a simple scarf, and the feeling of accomplishment that came with it.
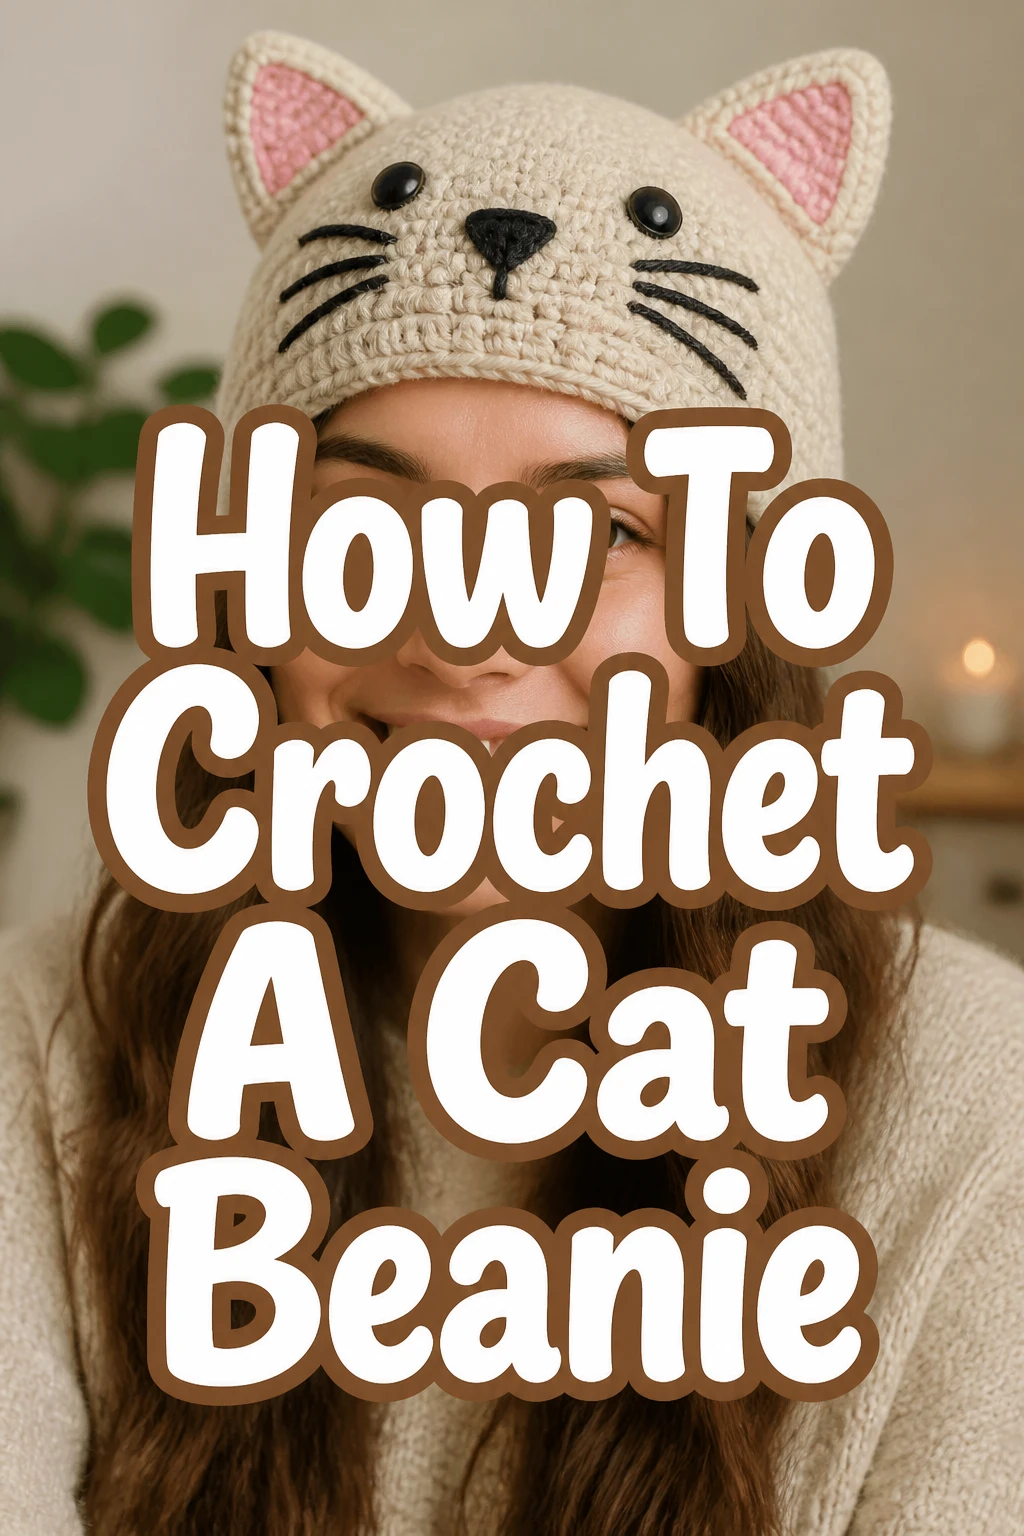
This guide draws on years of personal crafting experience to walk you through making an adorable cat beanie, perfect for chilly days or a thoughtful present.
Quick Overview
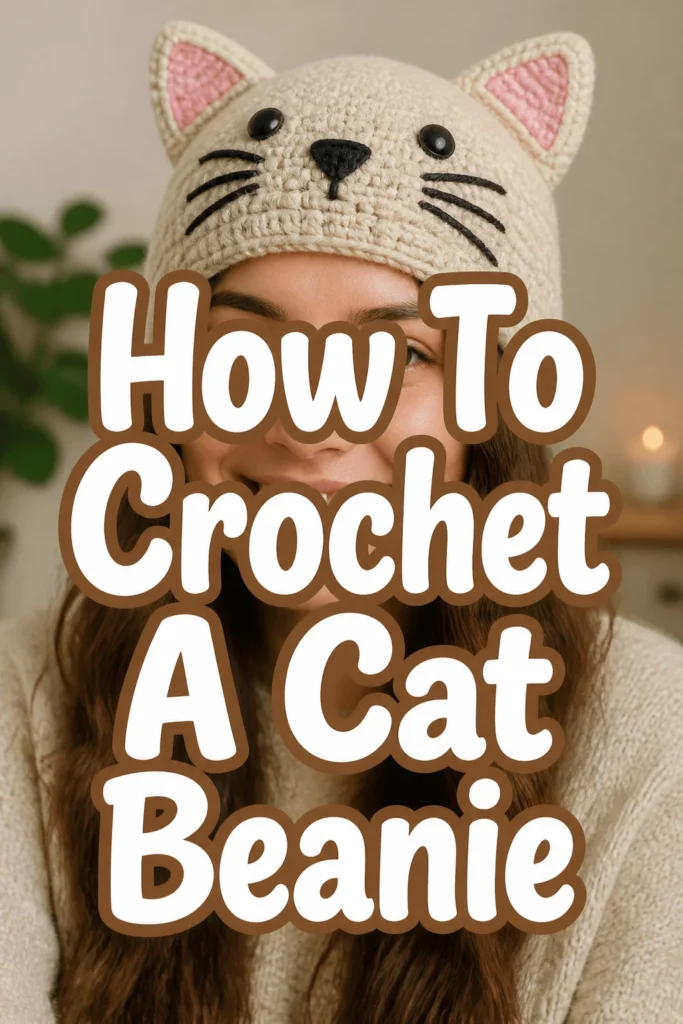
Get ready to transform some yarn into a charming cat-eared beanie. This project is a fantastic way to practice fundamental crochet stitches while creating something truly fun.
You’ll learn how to build a basic beanie shape, add those iconic pointy ears, and even personalize it with cute facial details.
- Time needed: 4-8 hours (depending on experience level and breaks)
- Difficulty: Intermediate (Beginners with some basic stitch knowledge can follow along!)
- What you’ll need: Yarn, crochet hook, scissors, yarn needle, stitch marker.
Step-by-Step Instructions
Step 1: Gather Your Materials and Understand the Basics
Before you begin, ensure you have all your supplies ready. Choosing the right yarn and hook size is crucial for the final look and fit of your beanie.
A medium-weight (worsted weight) yarn is generally recommended for beanies, as it works up quickly and provides good warmth.
For this yarn, a crochet hook in the H/5.0mm or I/5.5mm range is usually a good starting point. Check your yarn label for specific recommendations.
You will need scissors to cut your yarn and a yarn needle for weaving in ends and assembling parts.
A stitch marker is incredibly helpful for keeping track of your rounds, especially when working in a spiral.
Pro Tip: Always make a small swatch before starting your project. This helps you check your gauge and ensure your beanie will be the correct size. If your swatch is too small, go up a hook size; if it’s too large, go down a hook size.
Step 2: Create the Beanie Base – The Magic Ring and Initial Increases
The foundation of your beanie starts with a magic ring. This technique creates a tight, closed center, preventing a hole at the top of your hat.
If a magic ring feels too tricky, you can chain 2 and then work your first round of stitches into the second chain from the hook.
For the first round, make 10-12 double crochet (dc) stitches into your magic ring. Join with a slip stitch (sl st) to the first dc or continue in a spiral.
If working in a spiral, place a stitch marker in the first stitch of each round.
In round 2, you will increase your stitches to create a flat circle. Work 2 dc into each stitch around.
This will double your stitch count from the previous round.
For round 3, the increase pattern changes. Work 1 dc in the first stitch, 2 dc in the next stitch and repeat this pattern around.
You are now creating a gradual increase that helps maintain a flat circle.
Pro Tip: To prevent your circle from becoming hexagonal, try to stagger your increases in alternating rounds. For example, in Round 3, instead of 1 dc, 2 dc, you could start with 2 dc, 1 dc then continue the 1 dc, 2 dc pattern.
Step 3: Continue Increasing and Build the Beanie Body
You will continue with a structured increase pattern until your beanie base reaches the desired diameter for your head size.
For round 4, the pattern is 1 dc in the first 2 stitches, 2 dc in the next stitch, repeated around.
Each subsequent increase round will add one more single dc between the increase stitches. For example, round 5 would be 1 dc in the first 3 stitches, 2 dc in the next stitch.
Measure the diameter of your flat circle against the crown of the head it’s intended for.
A general guideline for an adult beanie is a diameter of about 7-8 inches (18-20 cm) before you stop increasing.
Once you reach the correct diameter, you will stop increasing. Now you will work 1 dc in each stitch around for subsequent rounds.
This creates the straight sides of the beanie, forming its depth. Continue working even rounds until the beanie reaches the desired length, typically about 7-8 inches (18-20 cm) from the crown to the bottom edge.
Remember to measure periodically to ensure the fit is correct.
Step 4: Finish the Beanie Rim
Once your beanie reaches the desired length, you can add a simple or decorative rim to give it a neat finish.
A common choice is to work a few rounds of single crochet (sc) or half double crochet (hdc) stitches.
You could also create a ribbed brim by working front post/back post double crochet stitches if you want a more advanced look.
For a basic finish, work 1-2 rounds of sc stitches evenly around the bottom edge of your beanie.
Join with a slip stitch at the end of the final round.
Fasten off your yarn, leaving a tail long enough to weave in.
Pro Tip: If your beanie edge feels a bit loose, you can slightly decrease in the first round of your sc/hdc rim by skipping a few stitches evenly around. This will create a snugger fit.
Step 5: Crochet the Cat Ears
The cat ears are what give your beanie its distinctive charm. You will need to make two identical ears.
Start each ear with a magic ring or by chaining 2.
Work 6 single crochet (sc) stitches into the magic ring (or 2nd chain from hook).
Join with a sl st to the first sc, or continue in a spiral.
For round 2, work 1 sc in the first stitch, 2 sc in the next stitch and repeat around (9 sc total).
For round 3, work 1 sc in the first 2 stitches, 2 sc in the next stitch and repeat around (12 sc total).
Continue increasing in this manner, adding one more sc between increases, until your ear is the desired size.
Typically, 4-5 rounds of increases are sufficient for a good ear size.
After your last increase round, work 1-2 rounds of sc stitches evenly around without increasing. This creates the height of the ear.
Fasten off, leaving a long tail for sewing the ear onto the beanie.
Pro Tip: For slightly more pointed ears, you can work your increases into the same stitch more frequently in the last round, or finish with a slip stitch and then a chain 1 to create a little peak. You can also add a contrasting color yarn in the center for an inner ear effect.
Step 6: Attach the Ears and Add Facial Features (Optional)
Now it’s time to bring your cat beanie to life by attaching the ears.
Position the ears on the beanie, typically a few inches apart towards the top of the head.
Pin them in place to ensure they are symmetrical and facing the correct direction.
Using your yarn needle and the long tail left from the ears, sew the ears securely onto the beanie.
Go through both layers of the ear and the beanie fabric, making small, neat stitches.
To add facial features, you can embroider eyes, a nose, and whiskers using a contrasting color yarn.
For eyes, create two small circles or simple “V” shapes. A small triangle makes a cute nose.
Long straight stitches on either side of the nose form whiskers.
Alternatively, you can crochet small circles for eyes and sew them on, or use safety eyes designed for amigurumi.
Step 7: Weave in All Ends and Finish
This final step is crucial for giving your beanie a professional and polished look.
Thread any remaining yarn tails onto your yarn needle.
Weave them into the inside of your beanie, going through several stitches in different directions.
This ensures the ends are securely hidden and won’t unravel.
Trim any excess yarn close to the fabric once the ends are woven in.
Inspect your beanie for any loose stitches or areas that need tidying.
Your adorable cat beanie is now complete and ready to wear or gift!
Common Mistakes to Avoid
Skipping Stitch Markers
Working in the round, especially in a spiral, can make it incredibly difficult to tell where one round ends and the next begins. Skipping a stitch marker often leads to an uneven number of stitches, causing your beanie to become lopsided or not lie flat.
Always place a stitch marker in the first stitch of each new round. Move it up as you progress to maintain accuracy and save yourself from frustrating recounting.
Inconsistent Tension
Your crochet tension refers to how tightly or loosely you hold your yarn and pull your stitches. Inconsistent tension results in a fabric that looks bumpy, uneven, or has varying hole sizes.
Try to maintain a consistent grip on your yarn throughout the project. Practice helps, but also take breaks if your hands start to cramp, as this can affect your tension.
Not Checking Gauge
Gauge refers to the number of stitches and rows per inch. While often overlooked, matching the pattern’s gauge ensures your finished item will be the correct size. If your gauge is off, your beanie might be too tight, too loose, or completely the wrong dimensions.
Always make a small swatch (e.g., a 4×4 inch square) before starting. Measure your stitches and rows against the pattern’s recommendation. Adjust your hook size accordingly until your swatch matches the desired gauge.
Forgetting to Count Stitches
It’s easy to get lost in the rhythm of crocheting and forget to count your stitches at the end of a round. This can lead to unintentionally increasing or decreasing stitches, causing your beanie to flare out or pull in prematurely.
Make it a habit to count your stitches at the end of every few rounds, especially increase rounds. This small step can prevent major headaches later on and ensures the beanie’s shape remains consistent.
Troubleshooting
My Beanie is Ruffling or Wavy
If your beanie base is ruffling or developing a wavy edge, it means you have too many stitches in your increase rounds. Your circle is growing too quickly for the space available.
To fix this, go back to the round where the ruffling began. Reduce the number of increases in that round, or skip an increase in the next round. Ensure your increase pattern (e.g., X stitches, then increase) is correctly followed, with X increasing by one stitch each round.
My Beanie is Cupping or Not Lying Flat
When your beanie base starts to cup or curl upwards instead of lying flat, it indicates you don’t have enough stitches in your increase rounds. Your circle isn’t growing fast enough.
Review your increase pattern. You might be missing increases or not working enough stitches between them. Go back and add more increases evenly around the problematic rounds to help flatten the circle.
My Ears Look Floppy or Don’t Stand Up
If your crocheted cat ears are floppy, it could be due to loose tension, using a hook that’s too large for your yarn, or not enough rounds to create sufficient structure.
Try making the ears with a smaller hook size or using a tighter tension. You can also add an extra round or two of single crochet without increasing to give them more height and rigidity. Sometimes, a bit of fabric stiffener or starch can also help them hold their shape.
Key Takeaways
- Always begin with a magic ring or chain-2 for a neat beanie crown.
- Follow a consistent increase pattern to create a flat, even circle for the beanie base.
- Stop increasing once your beanie reaches the correct diameter for the head size.
- Use stitch markers diligently to keep track of your rounds and stitch count.
- Leave long tails when finishing ear pieces for easier and more secure attachment.
- Weave in all yarn ends thoroughly for a professional and durable finish.
Frequently Asked Questions
What if my beanie is too big or too small?
The size of your beanie largely depends on your gauge and the number of increase rounds. If it’s too big, try using a smaller crochet hook or reducing the number of increase rounds. If it’s too small, use a larger hook or add an extra increase round.
Can I use different types of yarn?
Yes, you can use different yarn types, but be aware that this will significantly affect the final look and feel. Thicker yarns will result in a larger, warmer beanie, while thinner yarns will create a lighter, more delicate fabric. Always adjust your hook size to match your chosen yarn.
How do I make the beanie slouchy?
To make a slouchy beanie, simply continue working additional rounds of even stitches (no increases) after you’ve reached the desired head circumference. This adds extra length, allowing the beanie to gather at the back of the head.
Can I machine wash my crocheted cat beanie?
The washability depends entirely on the yarn you used. Always check your yarn label for specific care instructions. Most acrylic yarns are machine washable and dryable, while wools often require hand washing and air drying to prevent shrinking or felting.
Your Next Creative Adventure Awaits
You’ve just crafted an adorable cat beanie, a testament to your growing crochet skills!
This project is more than just a hat; it’s a statement of handmade charm and creativity.
Why not experiment with different yarn colors for the ears or add unique embroidery details?
Consider making a matching scarf or a set for a friend. The possibilities are endless when you have the basic skills down.
Grab your hook and yarn, and let your imagination lead the way to your next cozy creation!