How To Train Your Dragon Crochet
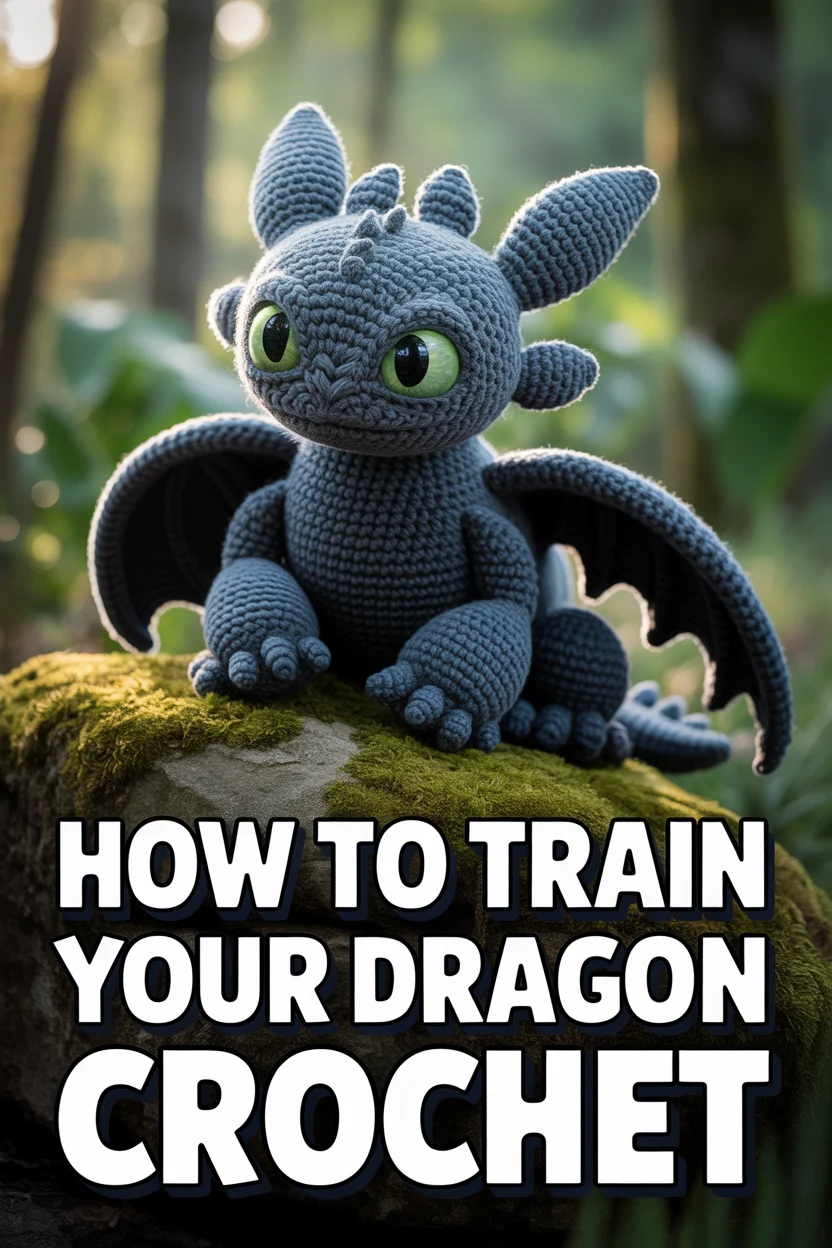
Imagine holding your very own miniature Night Fury or a vibrant Monstrous Nightmare, crafted by your own hands.
This guide will walk you through transforming yarn into an enchanting dragon, ready to guard your shelves or inspire new adventures.
I’ve personally spent countless hours perfecting dragon patterns, and I’m excited to share the practical steps to bring your favorite mythical creatures to life with a hook and yarn.
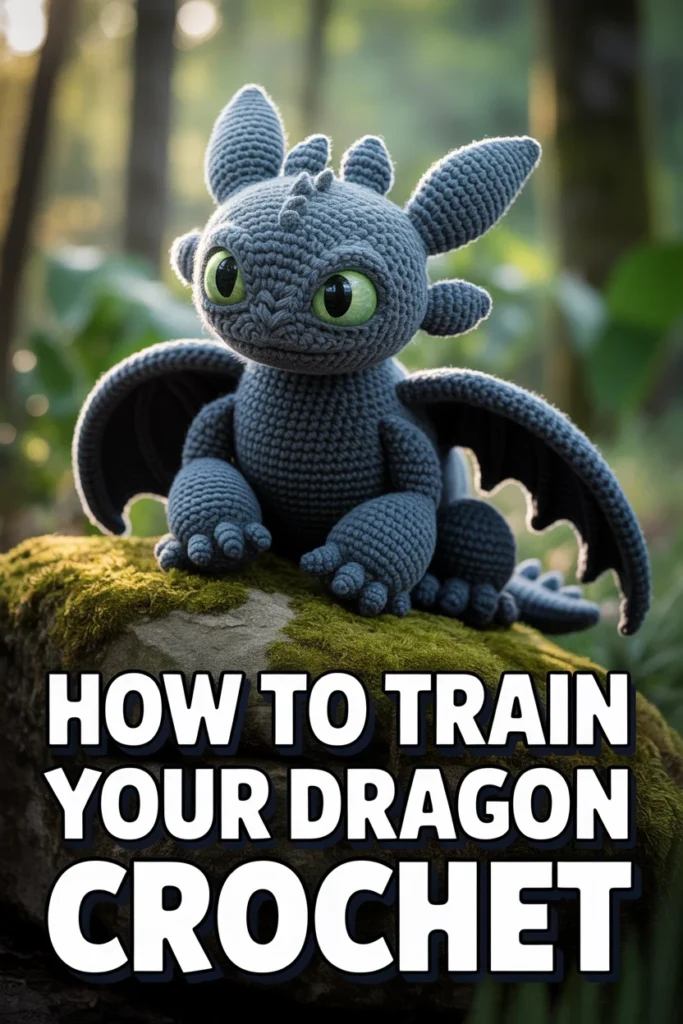
Quick Overview
You are about to embark on a creative journey, culminating in a charming, handcrafted dragon.
This project will not only teach you specific techniques but also build your confidence in amigurumi.
- Time needed: 15-30 hours (depending on complexity and experience)
- Difficulty: Intermediate
- What you’ll need: Yarn, crochet hook, stuffing, safety eyes, tapestry needle, stitch markers, scissors
Step-by-Step Instructions
Step 1: Gather Your Materials and Choose a Pattern
Preparation is key to a smooth crafting experience.
Before you begin, ensure you have all necessary items and a clear pattern to follow.
- Select your yarn. Choose worsted weight acrylic for durability and a wide color range, or a softer yarn for a cuddlier dragon.
- Pick a crochet hook size that matches your yarn and pattern recommendations. A smaller hook creates tighter stitches, preventing stuffing from showing.
- Find a reliable dragon crochet pattern. Look for patterns with clear instructions, stitch counts, and helpful photos.
- Collect your stuffing, safety eyes (or embroidery floss for eyes), tapestry needle for assembly, stitch markers, and sharp scissors.
Pro Tip: Read through your chosen pattern entirely before starting. This helps you anticipate techniques and avoid surprises.
Step 2: Master Essential Amigurumi Stitches
Even experienced crocheters benefit from a quick stitch review.
Amigurumi relies on a few core stitches to create its characteristic dense fabric.
- Practice the magic ring (or magic circle). This creates a tight, closed center for starting round projects like heads and bodies.
- Work single crochet (sc) stitches. These are the backbone of amigurumi, creating a firm, consistent texture.
- Learn how to increase (inc) and decrease (dec) stitches. These techniques shape your dragon’s features, from its rounded head to its tapered tail.
- Understand how to work in continuous rounds. Most amigurumi patterns do not join rounds, instead spiraling upwards. Use a stitch marker to keep track of your first stitch in each round.
Step 3: Begin with the Head and Body
The head and body often form the largest and most central parts of your dragon.
These pieces establish the overall scale and character of your creation.
- Start with the magic ring and work your initial single crochet stitches into it. Follow your pattern’s instructions carefully for the first few rounds.
- Increase stitches evenly as directed to shape the head. Maintain consistent tension to ensure a uniform look.
- Continue crocheting the body, often working straight for several rounds before beginning decreases for the tail.
- Insert safety eyes if your pattern calls for them, typically after a few rounds of the head are complete, before the opening becomes too small. Position them symmetrically.
- Stuff the head and body firmly as you crochet, but do not overstuff. You want a plump, defined shape without distorting the stitches.
Pro Tip: Use small amounts of stuffing at a time, pushing it into all areas with a chopstick or the back of your crochet hook to ensure even filling.
Step 4: Craft the Limbs and Tail
The limbs and tail give your dragon its dynamic posture and distinct silhouette.
These parts are often smaller and require careful shaping.
- Crochet the legs and arms according to your pattern. These are usually worked in the round, similar to the head but on a smaller scale.
- Shape the feet or claws as indicated, often using increases and decreases to create definition.
- Stuff each limb gently but completely. Ensure the stuffing reaches the very ends of the feet and hands.
- Work the tail, which often starts wider and gradually tapers with decreases. This part can be quite long, so patience is key.
- Stuff the tail as you go, making sure it’s firm enough to hold its shape but flexible enough to pose.
Step 5: Form the Wings
Wings are perhaps the most iconic feature of any dragon, adding majesty and a sense of flight.
They can be simple or intricate, depending on your chosen pattern.
- Create the wing base. Many patterns start with a flat piece crocheted in rows or a small circle, then build outward.
- Work the wing membranes. These can be made with various stitches, often incorporating chains and taller stitches like double crochet (dc) to create an open, airy effect.
- Consider adding wire if your pattern suggests it for poseable wings. Carefully insert the wire along the edges or through the structure of the wing, bending the ends for safety.
- Edge the wings for a finished look. A simple single crochet border can neaten the edges and provide structure.
- Make two identical wings, ensuring they mirror each other if there’s a distinct right and left side.
Step 6: Add Details like Horns, Spikes, and Ears
These smaller elements personalize your dragon and bring its unique character to life.
They are often worked as separate, tiny pieces.
- Crochet the horns and ears. These are usually small cones or triangles, often starting with a magic ring and decreasing rapidly.
- Form the spikes for the dragon’s back or tail. These can be tiny triangles, shells, or even small stuffed shapes.
- Embroider facial features if you didn’t use safety eyes, such as eyebrows, nostrils, or a mouth. Use a tapestry needle and embroidery floss for precise lines.
- Attach these details securely. Use the tail ends of your yarn to sew them onto the head, back, or tail, making sure they are firmly fastened.
- Ensure symmetry when attaching pairs of details like horns or ears. Pin them in place first to check positioning.
Step 7: Assemble Your Dragon
Bringing all the individual pieces together is a rewarding step, as your dragon finally takes shape.
Careful assembly ensures a sturdy and well-proportioned finished toy.
- Position the limbs onto the body. Use pins to hold them in place temporarily, checking the desired pose and balance.
- Sew the limbs securely to the body using a tapestry needle and the yarn tails. Use a whip stitch or mattress stitch for a clean, strong join.
- Attach the wings to the back of the body. Again, pin them first to find the best placement, often slightly angled.
- Secure all remaining small details like horns, ears, and spikes. Weave in any remaining loose ends for a tidy finish.
- Check all seams and attachments to ensure they are firm and won’t come undone with handling.
Step 8: Finishing Touches and Personalization
The final details elevate your dragon from a collection of parts to a cherished companion.
This is where you can truly make it your own.
- Add any extra embellishments like embroidered scales, painted eyes (if using non-safety eyes), or a small saddle.
- Brush out fuzzy yarn for a softer look, if desired. A pet slicker brush works well for this.
- Stitch a small heart or initial onto your dragon for a personal touch.
- Consider adding weighted beads to the bottom of the body for a more stable sitting dragon, if appropriate for its use.
- Give your dragon a name. This simple act completes its transformation and makes it truly yours.
Common Mistakes to Avoid
Inconsistent Tension
Crocheting too loosely or too tightly in different sections can lead to a lumpy, uneven dragon. Stitches might gape, allowing stuffing to show through, or become too dense, making it hard to work.
Maintain consistent tension throughout your project. Practice your stitches before starting and try to keep your hook and yarn hand movements steady. If your tension tends to vary, try using a slightly smaller hook size for amigurumi to ensure a tight fabric.
Under-stuffing or Over-stuffing
An under-stuffed dragon will appear floppy and shapeless, while an over-stuffed one can distort the stitches, create bulges, and risk bursting seams. Both compromise the aesthetic and durability.
Stuff your dragon firmly and evenly. Add small amounts of fiberfill at a time, pushing it into all crevices. Use a chopstick or the blunt end of your crochet hook to reach tight spots. The goal is a firm, sculpted feel without stretching the fabric.
Incorrect Stitch Count
Missing or adding stitches can quickly throw off the shaping of your dragon, leading to a lopsided head, uneven limbs, or a wonky body. It can be frustrating to fix later in the project.
Always use a stitch marker to mark the first stitch of each round, especially when working in continuous spirals. Count your stitches at the end of every round, or at least every few rounds, to catch mistakes early. If your count is off, unravel and correct it immediately.
Rushing Assembly
Hurriedly sewing on parts can result in crooked limbs, detached wings, or a generally unstable dragon. Poorly attached parts detract from the overall appearance and longevity of your creation.
Take your time with assembly. Pin all parts in place before sewing to visualize the final look and ensure symmetry. Use strong, secure stitches, weaving through both the body and the attached piece multiple times. Weave in all yarn tails neatly to prevent unraveling.
Troubleshooting
My Dragon’s Head is Wobbly
A wobbly head often indicates insufficient stuffing in the neck area or a loose attachment to the body. This can make your dragon look unsupported.
Ensure the neck area is very firmly stuffed, creating a solid base. When attaching the head, use strong, tight stitches, going through several layers of fabric on both the head and body. You might need to add a small amount of extra stuffing through the neck opening before fully closing the seam.
Stuffing is Showing Through My Stitches
If you see white fiberfill peeking through your crochet fabric, your stitches might be too loose or your hook size too large for your chosen yarn.
Try using a smaller crochet hook size for future projects. For the current project, you can try to gently push the stuffing back in or, for a temporary fix, use a piece of matching felt cut to shape and sewn inside to create a barrier.
My Pieces Are Not Symmetrical
Differences in the size or shape of identical pieces, like wings or limbs, can happen due to inconsistent tension or slight variations in stitch count between pieces.
When starting a new identical piece, try to replicate your tension from the first. Count stitches meticulously. If the difference is minor, you might be able to gently stretch or manipulate the smaller piece to match. For significant differences, re-crocheting the problematic piece might be the best option.
Key Takeaways
- Thorough preparation, including reading your pattern and gathering materials, sets you up for success.
- Consistent tension and accurate stitch counting are fundamental for well-shaped amigurumi.
- Stuffing correctly is crucial for achieving the desired form and preventing a floppy or lumpy dragon.
- Take your time with assembly; pinning pieces first ensures symmetrical and secure attachments.
- Personalize your dragon with unique details to truly make it your own cherished creation.
- Mistakes are learning opportunities; don’t be afraid to unravel and correct your work.
Frequently Asked Questions
Can a beginner make a crochet dragon?
While this guide targets intermediate crocheters, determined beginners can certainly try. Start with a simpler dragon pattern that uses basic stitches and fewer small parts. Practice your single crochet and magic ring extensively before beginning the project.
What type of yarn is best for crochet dragons?
Worsted weight acrylic yarn is highly recommended. It’s affordable, comes in a vast array of colors, is durable, and holds its shape well. For a softer, cuddlier dragon, you might consider chenille or blanket yarn, but these can be trickier to work with for intricate details.
How do I make my dragon poseable?
To make parts of your dragon poseable, you can incorporate armature wire during the stuffing and assembly process. Carefully insert floral wire or pipe cleaners into limbs, tails, or wings, ensuring the ends are bent back or secured to prevent sharp points from poking out. This allows you to gently bend and position the dragon’s features.
How do I clean my finished crochet dragon?
For most acrylic yarn dragons, spot cleaning with a damp cloth and mild soap is best. If a deeper clean is needed, hand wash gently in cool water with a small amount of wool wash or baby shampoo, then squeeze out excess water in a towel and air dry completely. Avoid machine washing and drying unless your yarn specifically states it’s safe.
Our Top Recommended Finds
- Ergonomic Crochet Hook Set: Comfortable handles reduce hand fatigue during long crafting sessions, making intricate dragon details easier to manage.
- Premium Fiberfill Stuffing: High-quality, hypoallergenic stuffing ensures your dragon is plump, retains its shape, and is safe for all ages.
- Locking Stitch Markers: Essential for keeping track of your rounds in amigurumi, preventing errors and frustration.
Your Dragon Awaits
Bringing a crochet dragon to life is a truly magical experience, blending skill with imagination.
Each stitch you make weaves a piece of this fantastical creature into being.
Don’t just dream of a dragon companion; pick up your hook and yarn today and begin crafting your very own legendary friend.